One-Bowl Chocolate Cake (No Mixer Required): The Effortless, Rich, & Perfectly Moist Classic—Made Simple
Introduction
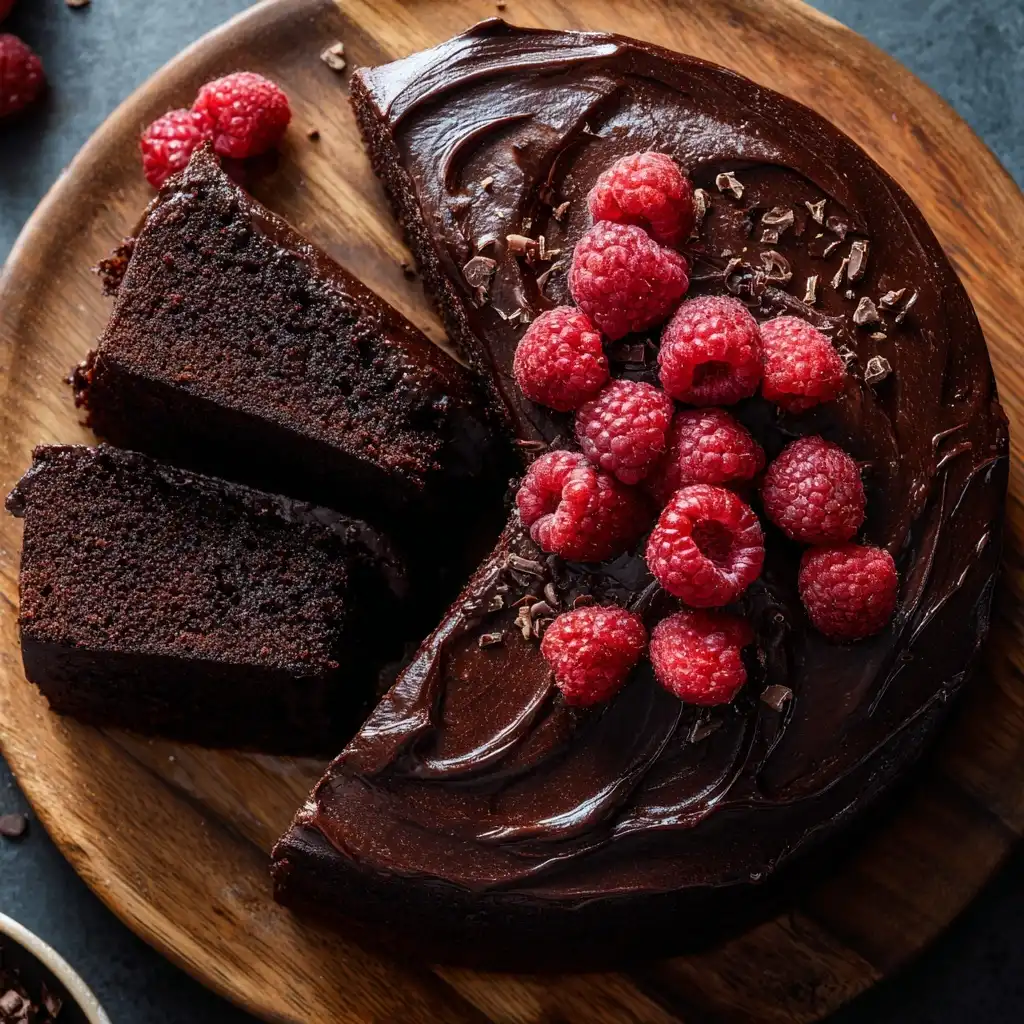
Imagine sinking your fork into a deeply chocolatey, tender-crumbed cake—warm, fragrant with cocoa and vanilla, crowned with a glossy ganache or dusted with powdered sugar—all without turning on a stand mixer, hauling out multiple bowls, or even washing a whisk. The One-Bowl Chocolate Cake is more than just a recipe; it’s a philosophy of joyful, accessible baking. Designed for weeknight treats, last-minute birthdays, classroom potlucks, or solo self-care moments, this cake proves that extraordinary flavor and texture don’t demand complexity—they demand clarity, balance, and smart technique. With no electric mixer, no sifting (unless you prefer it), and only *one* mixing vessel from start to finish, this recipe eliminates friction while maximizing depth—delivering a rich, fudgy-yet-light crumb, intense chocolate notes, and a subtle tang that keeps every bite intriguing. Whether you’re a nervous beginner, a time-strapped parent, a college student with a hotplate and one mixing bowl, or an experienced baker craving simplicity, this cake meets you exactly where you are—and leaves you with just one bowl to wash.
The History
The origins of the “one-bowl” or “mug cake–inspired” chocolate cake trace back not to a single inventor, but to a slow, global evolution rooted in resourcefulness and democratization of baking. In the early-to-mid 20th century, as home kitchens gained access to reliable ovens and standardized ingredients like Dutch-process cocoa and granulated sugar, bakers began experimenting with streamlined methods—especially during wartime rationing, when minimizing dishwashing and conserving energy were practical necessities. The iconic “Wacky Cake” (also known as Depression Cake or Crazy Cake), which emerged in the 1930s and ’40s, was its bold, vegan precursor: no eggs, no butter, no milk—just pantry staples mixed directly in the baking pan with vinegar and baking soda creating lift. While our modern One-Bowl Chocolate Cake embraces eggs and butter for richness, it inherits Wacky Cake’s revolutionary spirit: *mixing in the pan—or one bowl—is not a compromise, but a clever, science-backed advantage.* Over decades, food scientists and test kitchen editors refined the method: understanding how gentle folding prevents gluten overdevelopment, how room-temperature ingredients emulsify effortlessly by hand, and how the order of ingredient addition (dry first, then wet, then final liquids) creates uniform distribution without lumps. Today, this cake stands as a beloved staple across blogs, cookbooks (from Joy of Cooking to Salt Fat Acid Heat), and viral social media reels—not because it’s “basic,” but because it’s *unfailingly reliable*, culturally resonant, and quietly brilliant in its restraint.
Ingredients Breakdown
Every ingredient here serves a precise functional and flavor role—no filler, no redundancy. Understanding *why* each is included transforms you from follower to confident creator:
- All-Purpose Flour (1 ¾ cups / 210g): Provides essential structure via gluten formation—but used in careful proportion to avoid density. Spooned and leveled (not scooped!) ensures accuracy; too much flour is the #1 cause of dryness in no-mixer cakes.
- Unsweetened Cocoa Powder (¾ cup / 75g): The soul of the cake. Use natural cocoa (like Hershey’s) for bright, fruity acidity that balances sweetness—or Dutch-process (like Droste or Valrhona) for deeper, smoother, less acidic chocolate notes. *Do not substitute hot chocolate mix.*
- Granulated Sugar (1 ½ cups / 300g): Sweetens, tenderizes (by inhibiting gluten), and aids in browning and moisture retention. Superfine sugar dissolves faster by hand, but regular works perfectly with proper mixing technique.
- Baking Powder (1 ½ tsp) & Baking Soda (1 tsp): A dual-leavening system. Baking powder provides steady, heat-activated lift, while baking soda reacts instantly with the acidity in cocoa, buttermilk, and brown sugar (if using) for extra rise and tenderness. This synergy is critical for height and open crumb without a mixer’s aeration.
- Salt (1 tsp): Not just for seasoning—it sharpens chocolate flavor, balances sweetness, and strengthens gluten just enough for structure without toughness.
- Large Eggs (2, room temperature): Emulsifiers and binders. Room temperature eggs incorporate more evenly into the batter, preventing curdling and ensuring a smooth, homogenous mix. Cold eggs can seize the melted butter.
- Vegetable Oil (½ cup / 120ml): The secret to unparalleled moisture and shelf life. Unlike butter, oil remains liquid at room temperature, coating flour proteins to inhibit gluten formation—yielding a supremely tender, velvety crumb that stays fresh for days. Canola, grapeseed, or light olive oil all work; avoid strongly flavored oils like coconut (unless refined).
- Vanilla Extract (2 tsp, pure): Enhances complexity and rounds out chocolate’s bitterness. Mexican or Tahitian vanilla adds floral nuance; Madagascar offers classic warmth.
- Buttermilk (1 cup / 240ml, room temperature): Adds tang, tenderness, and activates baking soda. Its acidity also helps break down gluten for softness. *No buttermilk? Make your own:* Add 1 tbsp white vinegar or lemon juice to 1 cup whole milk; let sit 5 minutes until slightly curdled.
- Hot Coffee or Strong Brewed Tea (½ cup / 120ml, just below boiling): The magic enhancer—not for “coffee flavor,” but to bloom cocoa, deepen chocolate intensity, and create steam for extra lift. Instant espresso powder (1 tsp) stirred into the hot liquid amplifies richness. Water works in a pinch, but coffee is transformative.
Step-by-Step Recipe (With Rationale & Visual Cues)
- Preheat & Prep (5 minutes): Position oven rack in the center. Preheat to 350°F (175°C). Generously grease a 9-inch round or square cake pan with softened butter or non-stick spray, then line the bottom with parchment paper and grease the parchment. *Why?* Ensures flawless release and prevents dry, stuck edges—critical when you’re not relying on mixer-aerated batter for structural resilience.
- Whisk Dry Ingredients (2 minutes): In your *single large mixing bowl*, add flour, cocoa powder, sugar, baking powder, baking soda, and salt. Whisk vigorously for 45–60 seconds until fully combined and no streaks of cocoa remain. Pass through a fine-mesh sieve *only if* your cocoa or sugar shows visible lumps—otherwise, skip to honor the “no extra tools” ethos. *Rationale:* Thorough dry mixing prevents pockets of bitter cocoa or salty shock later. Whisking aerates slightly and breaks up clumps far better than stirring.
- Create the Well & Add Wet (1 minute): Make a wide, deep well in the center of the dry ingredients. Into the well, crack eggs, pour oil, and add vanilla. *Do not stir yet.* This “well method” prevents premature activation and allows controlled incorporation.
- Initial Mix (90 seconds): Using a sturdy silicone spatula or wooden spoon, gently stir from the center outward in a slow, circular motion—just until the wet ingredients are *barely* moistened and no large dry patches remain. Expect a thick, shaggy, almost dough-like batter. *Crucial:* Do not overmix. You want streaks of dry flour still visible—that’s your signal to stop. Overmixing = tough, dense cake.
- Incorporate Buttermilk (60 seconds): Pour buttermilk over the batter. Fold gently 8–10 times with a cutting-and-turning motion—scraping the bottom and sides—until just combined. Batter will loosen significantly but may still have a few tiny lumps. *Lumps are fine and expected—forcing them out guarantees gluten development.*
- Add Hot Liquid (30 seconds—TIMING MATTERS): Carefully pour the hot coffee (or tea) over the batter. Immediately begin folding—starting at the center and moving outward—in smooth, deliberate strokes. Fold just until the batter is uniformly dark, glossy, and fluid, with no streaks of dry flour or separated liquid. This takes 6–8 folds max. *The heat thins the batter, activates leaveners instantly, and begins gentle cooking—so speed and minimal agitation are key.*
- Pour & Smooth (1 minute): Immediately pour batter into the prepared pan. Tilt and rotate the pan to distribute evenly. Use the spatula to smooth the top—don’t worry about perfection; slight ripples bake out. Tap the pan firmly on the counter 3 times to release large air bubbles that could cause tunnels.
- Bake (30–35 minutes): Place in preheated oven. Bake undisturbed for 30 minutes. At 30 minutes, insert a toothpick into the center: it should emerge with *moist crumbs* clinging—not wet batter, not completely clean. If needed, bake 2–5 minutes more. *Resist opening the oven before 25 minutes—temperature shock causes collapse.*
- Cool (Critical Step – 25 minutes): Remove cake from oven. Let cool in pan on a wire rack for 15 minutes. Then, run a thin knife around the edges, invert onto the rack, peel off parchment, and invert again (right-side-up) to cool completely—about 10 more minutes. *Why?* Cooling in the pan too long traps steam, making the base soggy. Full cooling ensures clean slicing and optimal frosting adhesion.
Tips for Unfailing Success
- Room Temperature is Non-Negotiable: Eggs, buttermilk, and even butter (if substituting for oil) must be at least 70°F (21°C). Cold ingredients cause the oil to seize, create lumps, and prevent emulsion. Take them out 1 hour ahead—or place eggs in warm water for 5 minutes and buttermilk in a warm spot.
- Measure Like a Pro: Use the “spoon-and-level” method for flour and cocoa: spoon lightly into the measuring cup, then level with a straight edge. Scooping packs flour, adding up to 25% extra—and guaranteeing dryness.
- Your Spatula is Your Mixer: Choose a flexible, heat-resistant silicone spatula with a broad, angled head. It scrapes efficiently, folds gently, and reaches corners without scratching bowls. No wooden spoons for the final folds—they absorb moisture and leave residue.
- Hot Liquid = Hot, Not Boiling: Water or coffee should be steaming hot (about 200°F / 93°C), not bubbling violently. Boiling liquid can scramble eggs if accidentally hit, or cause premature, uneven rising.
- Undermix, Never Overmix: When in doubt, stop stirring. Lumps vanish during baking. Overmixing develops gluten, turning your tender cake into rubbery disappointment. Trust the process—the batter looks imperfect, but bakes perfect.
- Oven Thermometer Required: Most home ovens run hot or cold. An inexpensive oven thermometer ensures your 350°F is truly 350°F—preventing burnt edges or sunken centers.
- Don’t Rush the Cool: Frosting a warm cake melts icing and causes sliding. Cutting into warm cake yields crumbles, not slices. Patience rewards you with bakery-quality results.
Variations and Customizations (Endless Possibilities)
- Gluten-Free: Substitute 1:1 gluten-free all-purpose flour blend (like King Arthur or Bob’s Red Mill) + ½ tsp xanthan gum (if blend doesn’t include it). Add 1 tbsp ground flaxseed for binding. Texture remains remarkably close.
- Vegan: Replace eggs with ¼ cup unsweetened applesauce + ¼ cup mashed ripe banana (adds moisture & mild sweetness) OR 2 flax eggs (2 tbsp ground flax + 5 tbsp water, rested 5 min). Use plant-based buttermilk (1 cup soy/oat milk + 1 tbsp vinegar) and vegan butter instead of oil for richer mouthfeel.
- Double Chocolate: Fold in 1 cup high-quality semi-sweet or dark chocolate chips *after* adding hot liquid. For molten centers, press a few whole chocolate chunks into the batter before baking.
- Orange-Chocolate: Add 1 tbsp finely grated orange zest to dry ingredients and swap 2 tbsp buttermilk for fresh orange juice. Finish with orange-infused chocolate ganache.
- Espresso Intensifier: Dissolve 1–2 tsp instant espresso powder into the hot coffee. Deepens chocolate without tasting like coffee.
- Spiced Velvet: Add 1 tsp ground cinnamon, ¼ tsp ground cardamom, and a pinch of cayenne to dry ingredients for warm, complex depth.
- Mini Bundt or Muffin Version: Fill greased mini bundt pans ⅔ full; bake 18–22 minutes. Or use a standard muffin tin (lined); bake 16–18 minutes. Perfect for portion control or gifting.
- Streusel-Topped: Before baking, sprinkle batter with a simple streusel (¼ cup flour, ¼ cup brown sugar, 2 tbsp cold butter, ½ tsp cinnamon, rubbed together).
- Frosting Pairings: Classic Chocolate Buttercream, Salted Caramel, Whipped Mocha Ganache, Cream Cheese Frosting, Fresh Berries & Whipped Cream, or simply dust with cocoa and flaky sea salt.
Health Considerations and Nutritional Value (Per Standard Slice, 12 servings)
This cake is indulgent by design—but understanding its composition empowers mindful enjoyment. A typical slice (approx. 130g) contains:
- Calories: ~290–320 kcal (varies with frosting)
- Total Fat: 12–14g (mostly unsaturated from oil; heart-healthy when consumed in context of balanced diet)
- Carbohydrates: 45–48g (including 30–33g sugars—naturally occurring from milk + added)
- Protein: 4–5g (modest, enhanced by eggs and dairy)
- Fiber: 2–3g (from cocoa and whole grain flours in GF versions)
- Key Micronutrients: Iron (from cocoa), Magnesium (cocoa), Calcium (buttermilk), B Vitamins (eggs, dairy)
Considerations:
• Lower-Sugar Option: Reduce granulated sugar to 1 cup (200g) and add 2 tbsp unsweetened applesauce for moisture. Crumb becomes slightly denser but remains delicious.
• Oil Swap: Replace half the oil with unsweetened Greek yogurt (¼ cup) for added protein and tang—batter thickens slightly; add 1–2 tsp extra buttermilk if needed.
• Whole Grain Boost: Substitute ½ cup (60g) of flour with oat flour or whole wheat pastry flour for extra fiber and nuttiness—do not exceed ⅓ substitution to maintain tenderness.
• Allergen Note: Naturally nut-free and soy-free (with soy-free oil). Always verify labels on cocoa, baking powder, and vanilla for specific sensitivities.
• Mindful Enjoyment: This cake is best viewed as a celebratory, nourishing treat—not a health food, nor something to be guilt-ridden over. Its simple ingredients, lack of artificial additives, and homemade integrity make it a far superior choice to highly processed alternatives.
Ingredients
- 1 ¾ cups (210g) all-purpose flour, spooned and leveled
- ¾ cup (75g) unsweetened natural or Dutch-process cocoa powder
- 1 ½ cups (300g) granulated sugar
- 1 ½ tsp baking powder
- 1 tsp baking soda
- 1 tsp fine sea salt
- 2 large eggs, room temperature
- ½ cup (120ml) neutral vegetable oil (canola, grapeseed, or light olive oil)
- 2 tsp pure vanilla extract
- 1 cup (240ml) buttermilk, room temperature
- ½ cup (120ml) hot coffee or strong brewed tea (just below boiling, ~200°F)
Directions
- Preheat oven to 350°F (175°C). Grease a 9-inch round or square cake pan and line the bottom with parchment paper; grease parchment.
- In a large mixing bowl, whisk together flour, cocoa powder, sugar, baking powder, baking soda, and salt until no streaks remain (about 60 seconds).
- Make a well in the center of the dry ingredients. Add eggs, oil, and vanilla into the well.
- Gently stir from the center outward with a silicone spatula until just combined and shaggy—about 15–20 seconds. A few dry patches are okay.
- Pour buttermilk over batter. Fold gently 8–10 times until mostly combined and thickened.
- Pour hot coffee over batter. Immediately fold 6–8 times until smooth, glossy, and uniform—do not overmix.
- Pour batter into prepared pan. Smooth top. Tap pan firmly on counter 3 times.
- Bake 30–35 minutes, until a toothpick inserted in center comes out with moist crumbs (not wet batter).
- Cool in pan on wire rack for 15 minutes. Invert, peel off parchment, invert again onto rack, and cool completely (10+ minutes) before frosting or serving.
FAQ
Q: Can I use a different size pan?
A: Yes! For a 9×13-inch pan: bake 25–30 minutes. For two 8-inch rounds: divide batter evenly; bake 28–32 minutes. Adjust time and check early—thin layers bake faster.
Q: Why did my cake sink in the middle?
A: Most common causes: 1) Underbaked (toothpick had wet batter), 2) Oven door opened too early, 3) Too much leavener (measure baking soda/powder precisely), or 4) Overmixed batter. Ensure accurate oven temp with a thermometer.
Q: Can I make this ahead?
A: Absolutely. Baked, unfrosted cake keeps tightly wrapped at room temperature for 2 days, refrigerated for 5 days, or frozen (wrapped in plastic + foil) for 3 months. Thaw overnight in fridge, then bring to room temp before frosting.
Q: My batter looks too thin/thick—did I mess up?
A: After adding hot coffee, batter should be fluid, glossy, and pourable—similar to heavy cream. If too thick, you likely measured flour too heavily or used cold buttermilk. If too thin, possibly under-measured flour or overmixed. But don’t panic—it often bakes up perfectly regardless!
Q: Can I omit the coffee?
A: Yes—you’ll lose depth, but it’s still delicious. Substitute with hot water or hot milk. For similar richness without caffeine, use hot black tea or add 1 tsp instant espresso powder to hot water.
Q: Is this cake suitable for carving or stacking?
A: Yes! Its tight, moist crumb holds shape beautifully. Chill fully before leveling or torting. For multi-layer cakes, use a sturdy frosting like Swiss meringue buttercream or chocolate ganache for support.
Q: Can I use melted butter instead of oil?
A: Yes, but expect a slightly denser, less moist crumb with a more pronounced butter flavor. Use ½ cup (113g) unsalted butter, melted and cooled to lukewarm—not hot—before adding. Oil remains the gold standard for tenderness in no-mixer cakes.
Summary
This One-Bowl Chocolate Cake redefines simplicity without sacrificing sophistication—delivering restaurant-quality richness, a cloud-like crumb, and profound chocolate depth using just one vessel and zero electric appliances. It’s a timeless, adaptable, scientifically grounded masterpiece that turns everyday moments into celebrations, one effortless, unforgettable slice at a time.