Introduction
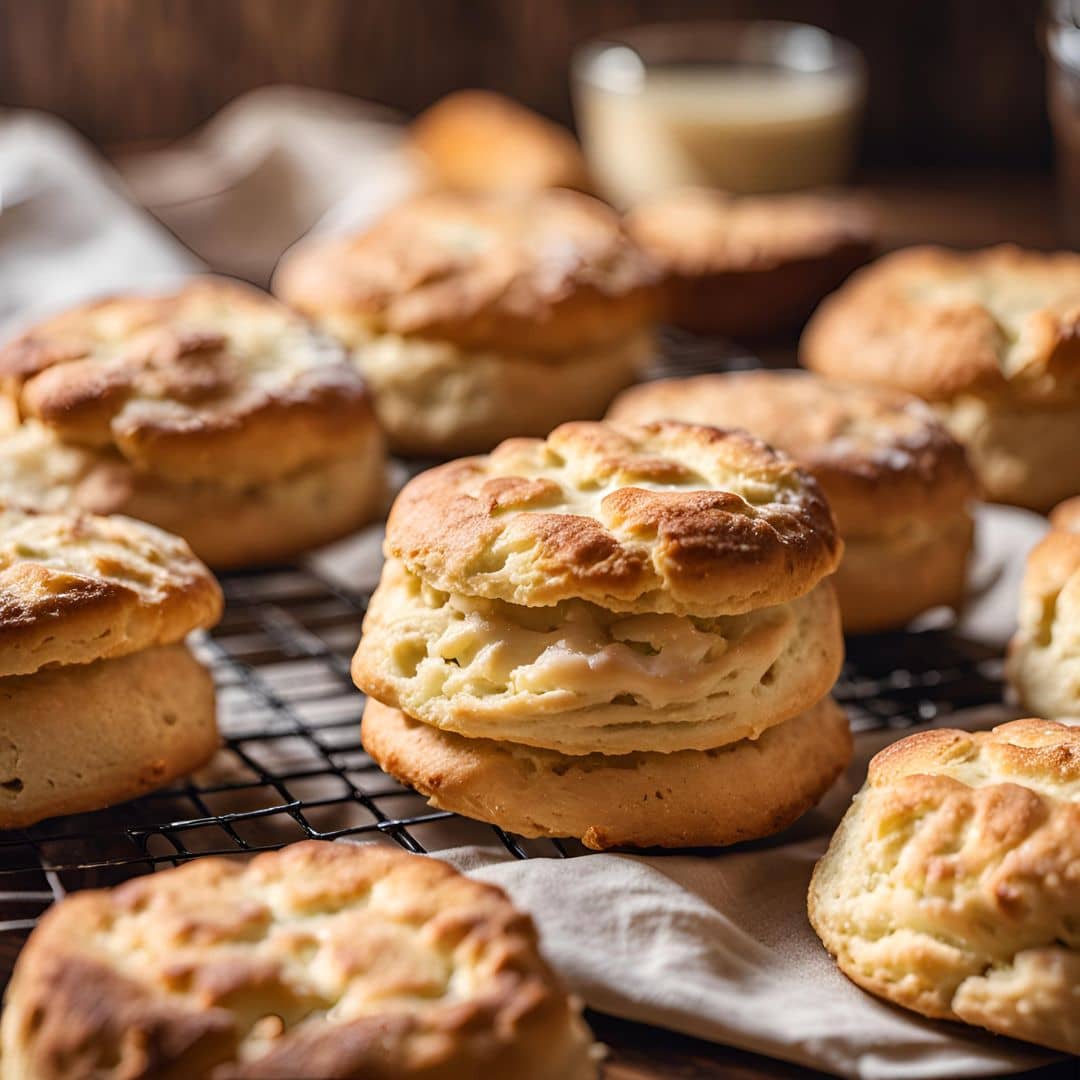
Buttermilk biscuits are a classic comfort food, known for their flaky, tender texture and rich flavor. Originating in the Southern United States, these biscuits have become a staple at breakfast tables and family gatherings. The tangy buttermilk combined with the buttery goodness makes them irresistible!
The History of Buttermilk Biscuits
The origins of biscuits can be traced back to the early American settlers, who adapted British scones and baking traditions. Buttermilk, a byproduct of churning butter, became a common ingredient in Southern kitchens, providing moisture and acidity that help to create light and fluffy biscuits. Over the years, these biscuits have evolved, becoming a beloved symbol of Southern hospitality.
Ingredients Breakdown
- All-Purpose Flour: Provides structure and a light, tender crumb.
- Baking Powder: A leavening agent that helps the biscuits rise.
- Baking Soda: Works with buttermilk to create additional lift.
- Salt: Enhances flavor.
- Cold Butter: Creates flakiness; the cold temperature prevents the butter from fully melting into the flour.
- Buttermilk: Adds flavor and moisture, contributing to the biscuits’ tenderness.
Step-by-Step Recipe
Ingredients:
- 2 cups all-purpose flour
- 1 tablespoon baking powder
- 1/2 teaspoon baking soda
- 1 teaspoon salt
- 1/2 cup cold unsalted butter, cubed
- 3/4 cup buttermilk
Instructions:
- Preheat the Oven: Preheat your oven to 450°F (230°C).
- Mix Dry Ingredients: In a large bowl, whisk together the flour, baking powder, baking soda, and salt.
- Cut in Butter: Add the cold, cubed butter to the flour mixture. Use a pastry cutter or your fingers to blend until the mixture resembles coarse crumbs.
- Add Buttermilk: Pour in the buttermilk, stirring until just combined. Do not overmix.
- Knead and Roll: Turn the dough onto a floured surface. Gently knead it 3-4 times, then roll out to about 1-inch thickness.
- Cut Biscuits: Use a biscuit cutter or glass to cut out biscuits. Place them on a baking sheet, touching each other for softer sides.
- Bake: Bake for 12-15 minutes or until golden brown.
- Serve: Enjoy warm with butter, jam, or gravy!
Tips for the Perfect Biscuits
- Keep Ingredients Cold: Use cold butter and buttermilk to ensure flaky layers.
- Don’t Overwork the Dough: Mix until just combined to keep biscuits tender.
- Use a Sharp Cutter: A sharp biscuit cutter makes clean edges, helping the biscuits rise better.
- Bake Immediately: For the best texture, bake the biscuits as soon as they’re cut.
Variations and Customizations
- Herbed Biscuits: Add fresh herbs like rosemary or chives for added flavor.
- Cheddar Biscuits: Mix in shredded cheddar cheese for a savory twist.
- Sweet Biscuits: Add a tablespoon of sugar and some cinnamon for a sweet breakfast option.
- Gluten-Free: Substitute all-purpose flour with a gluten-free blend.
Health Considerations and Nutritional Value
Buttermilk biscuits can be a rich source of carbohydrates and fats, primarily from flour and butter. While they’re delicious, moderation is key. You can make them slightly healthier by using whole wheat flour, reducing butter, or using low-fat buttermilk.
Nutritional Information (per biscuit, approximate):
- Calories: 180
- Total Fat: 8g
- Saturated Fat: 5g
- Carbohydrates: 23g
- Protein: 3g
FAQ
Can I freeze biscuits?
Yes! Freeze the cut biscuits on a baking sheet, then transfer to a freezer bag. Bake from frozen, adding a few extra minutes to the baking time.
What can I substitute for buttermilk?
You can make a substitute by mixing 3/4 cup milk with 1 tablespoon of vinegar or lemon juice. Let it sit for about 5 minutes before using.
How do I store leftovers?
Store biscuits in an airtight container at room temperature for up to 2 days. For longer storage, refrigerate or freeze.
Why are my biscuits tough?
Overmixing the dough or using warm ingredients can lead to tough biscuits. Be gentle and keep everything cold!

Buttermilk Biscuits
Ingredients
- 2 ½ cups all-purpose flour
- 2 tablespoons aluminum free baking powder *not baking soda*
- 1 teaspoon salt
- 2 teaspoons honey
- 1/2 cup very cold butter equal to 1 stick.
- 1 cup + 3 Tablespoons cold Buttermilk
Topping
- 2 Tablespoons honey
- 1 Tablespoon butter
Instructions
- Preheat oven to 425°.
- Add the flour, baking powder, and salt to a large mixing bowl. Stir until well-combined.
- Cut the cold butter into cubes and add it to the bowl. Use a pastry cutter (or the back of a fork) to work it in until coarse crumbs form.
- Create a hole in the middle of the dry mixture and add the cold buttermilk and honey. Use a silicone spatula to gently stir until just combined. Don’t overmix. It will be crumbly.
- Add the dough to a floured surface and create a rectangle with your hands about 9 inches long.
- Fold the left side into the middle, then the right side. (See process shots.)
- Rotate the dough so that it’s horizontal. Gently flatten into a rectangle again, and repeat the same folding process 2 more times.
- Form into a 10 x 7 inch rectangle about 1-inch thick.
- Use a 3-inch cookie cutter to cut 6 circles. Do not twist the cutter, it will seal the edges and prevent airflow which will hinder them from rising. Lightly flour the inside of the cutter in between. I like to store them in the fridge as I cut them to prevent them from getting too warm.
- Roll the dough back out until it’s 1 inch thick again and cut 2 more biscuits. You should end up with about 8 biscuits total.
- Butter a 10-inch cast iron skillet and place the biscuits inside so that they are almost touching. The close proximity makes them rise better. You could also place them close together on parchment paper on top of a baking sheet.
- Bake for 15 minutes or until the tops are golden brown.
- Combine the honey and melted butter and brush the warm biscuits with it. For more browning on top, bake for up to 5 more minutes at 450°.
- Store in an airtight container or in the refrigerator for up to 5 days. You can also freeze leftover biscuits.
Notes
To properly measure the flour, take a spoon and scoop it into the measuring cup as opposed to dipping the measuring cup into the flour. Use the knife to level off the top. This is important to have an accurate measurement. Alternatively, you can weigh the flour. 2 ½ cups all-purpose flour is equal to 300 grams. Be sure to subtract the measuring cup from the weight.
Salt: Non-iodized salt is best for baking. (Table salt is generally supplemented with iodine, which can generate a bitter taste in baked goods.) I use Redmond Real Salt for all of my baking and cooking recipes. (Enter code ‘COZY‘ for 15% off!)
Butter: I use salted butter for this recipe but feel free to use unsalted. Land O’ Lakes or Cabot Butter are my preferred brands. If you have frozen butter, you can shred it and incorporate it into the dough instead of refrigerated butter.
If you don’t have honey, an equal amount of sugar can be used in the biscuits and you can brush the tops with just butter. (But honey really adds *great* flavor!)
Don’t overmix the dough or it will become too dense and won’t be as flakey and soft.
Buttermilk Substitutes (Yields 1 cup):
- 4 tablespoons milk + 3/4 cup sour cream.
- 2 tablespoons milk + enough plain yogurt to make a cup.
- 1 tablespoon white vinegar + enough milk to make a cup. Let sit for 5-10 minutes.
- 1 tablespoon lemon juice + enough milk to make a cup. Let sit for 10 minutes. It’ll look curdled. Stir to combine.
Make-Ahead Method
- Method #1: Prepare the dough and cut the biscuits. Refrigerate for up to 2 days prior to baking. Alternatively, you can prepare the dough and complete the folding steps, cover the dough with plastic wrap and cut the biscuits prior to baking.
- Method #2: Make dough and cut biscuits as outlined. Flash freeze on a baking sheet for 2 hours, then store in a freezer bag for up to 3 months.
- Let them defrost in the fridge overnight, then bake as outlined.
- Store in an airtight container and refrigerate for up to 5 days.
- Refrigerated biscuits retain more moisture and therefore taste better when reheated (vs. storing at room temperature).

