Cheesecake-Stuffed Baked Apples: A Decadent Twist on a Classic Dessert
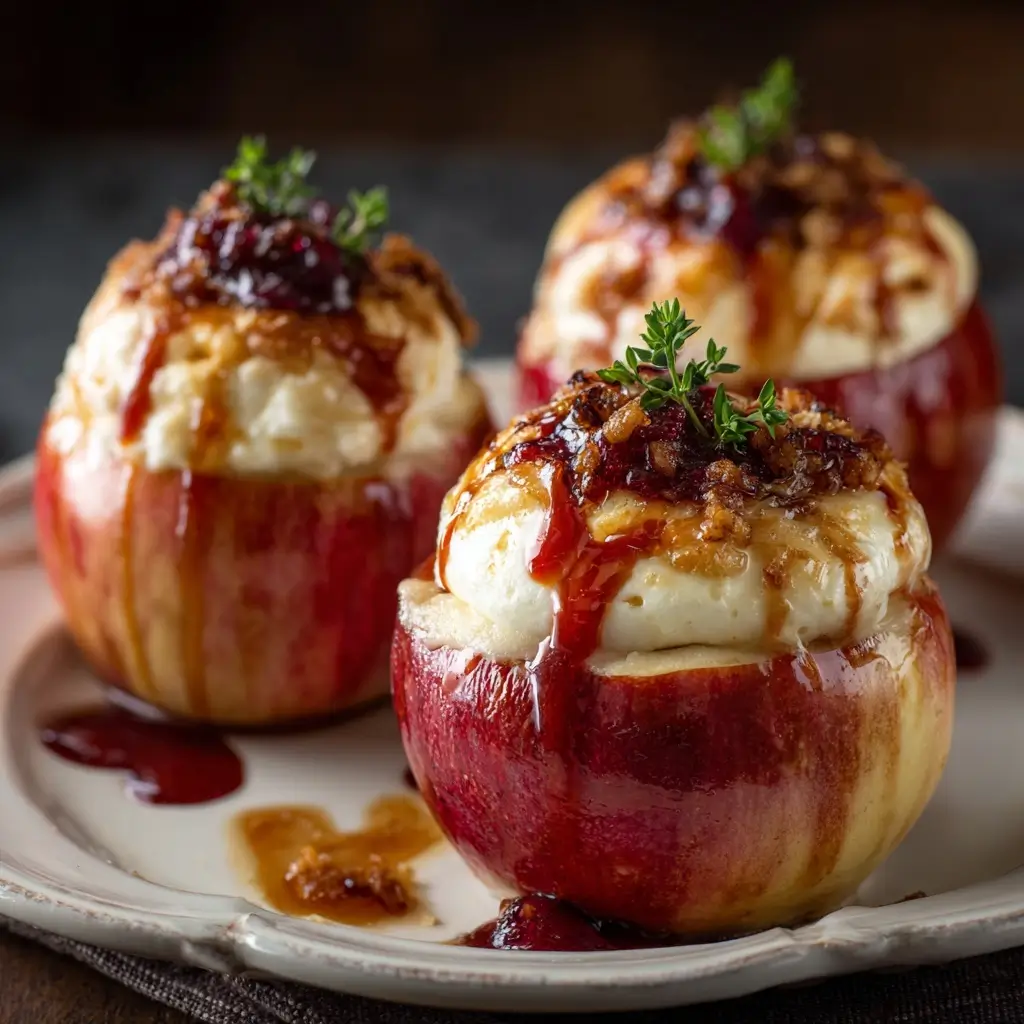
Baked apples have long been cherished as a comforting, homey dessert—warm, tender, and fragrant with cinnamon and spice. But what happens when you elevate this humble treat by filling it with rich, creamy cheesecake? Enter the Cheesecake-Stuffed Baked Apples—a dessert that marries the rustic charm of oven-baked fruit with the luxurious texture of New York-style cheesecake. This indulgent yet approachable recipe transforms simple ingredients into a show-stopping dessert perfect for holiday dinners, intimate gatherings, or even as a cozy weeknight treat. With its golden apple skins, soft flesh, and luscious center oozing sweetened cream cheese, every bite is a harmonious blend of warmth, tartness, and decadence.
The History: From Farmhouse Tradition to Gourmet Reinvention
Baked apples trace their roots back to early American and European farm kitchens, where they were a practical way to use up autumn-harvested apples. Often stuffed with oats, brown sugar, dried fruits, or nuts, they were slow-cooked in wood-fired ovens or nestled beside open hearths. These desserts required minimal ingredients and no refined tools—just apples cored, filled, and baked until tender.
Over time, regional variations emerged—from Dutch apple boats baked with butter and raisins to German apfelsinen filled with marzipan. The concept of stuffing apples evolved alongside culinary trends. In the 20th century, American home bakers began experimenting with richer fillings, inspired by the growing popularity of cream cheese and cheesecakes. By the 1980s and ’90s, food magazines and cooking shows featured “stuffed” versions combining fruit and dairy-based fillings, setting the stage for modern hybrids like Cheesecake-Stuffed Baked Apples.
Today, this dish represents a delightful fusion of old-world simplicity and contemporary indulgence. It’s frequently seen on fall-themed menus, Thanksgiving tables, and Instagram feeds alike—proof that tradition can be both honored and reinvented with a little creativity.
Ingredients Breakdown: What Makes This Recipe Shine
The magic of Cheesecake-Stuffed Baked Apples lies in the balance between fresh fruit and creamy richness. Each ingredient plays a vital role in creating layers of flavor and texture:
- Apples (Granny Smith, Honeycrisp, or Braeburn): Choose firm, medium-sized apples that hold their shape during baking. Granny Smith offers a tart contrast to the sweet filling, while Honeycrisp provides juiciness and natural sweetness.
- Cream Cheese (full-fat preferred): The star of the stuffing—smooth, tangy, and rich. Full-fat cream cheese ensures a velvety texture without curdling.
- Granulated Sugar & Brown Sugar: Granulated sugar lightens the filling, while brown sugar adds moisture and deep molasses notes to complement the apples.
- Egg Yolk: Acts as a binder to stabilize the cheesecake mixture and give it a custard-like consistency when baked.
- Vanilla Extract: Enhances sweetness and rounds out the flavors with warm aromatic depth.
- Cinnamon: A classic pairing with apples; ground cinnamon infuses both the apple cavity and the filling with cozy warmth.
- Lemon Juice: Prevents the apples from browning after coring and brightens the overall flavor profile.
- Butter: Dotting the top of each apple keeps them moist and adds a silky richness that melds with the juices during baking.
- Nuts (optional – walnuts or pecans): Chopped nuts add crunch and earthy contrast to the smooth filling and tender fruit.
- Raisins or Dried Cranberries (optional): For a pop of chewy sweetness and color, especially festive during holidays.
- Topping Options: Whipped cream, caramel drizzle, vanilla ice cream, or a sprinkle of graham cracker crumbs for that full cheesecake experience.
Step-by-Step Recipe: How to Make Cheesecake-Stuffed Baked Apples
Prep Time: 20 minutes
Cook Time: 45–60 minutes
Total Time: About 1 hour 15 minutes
Servings: 4–6 large stuffed apples
Ingredients
- 4–6 medium firm apples (Granny Smith, Honeycrisp, or Braeburn)
- 8 oz (1 package) full-fat cream cheese, softened
- 1/4 cup granulated sugar
- 1/4 cup packed brown sugar
- 1 large egg yolk
- 1 tsp pure vanilla extract
- 1/2 tsp ground cinnamon (plus more for dusting)
- 1 tbsp lemon juice
- 4 tbsp unsalted butter, divided
- 1/4 cup chopped walnuts or pecans (optional)
- 2 tbsp raisins or dried cranberries (optional)
- 1/4 cup water or apple juice (for the baking dish)
Directions
- Preheat Oven: Set your oven to 350°F (175°C). Lightly grease a baking dish just large enough to hold the apples upright without tipping.
- Prepare the Apples: Wash the apples thoroughly. Using a sharp paring knife or an apple corer, carefully cut around and remove the core from each apple, creating a well about 1 inch in diameter. Be sure not to pierce the bottom—leave about 1/2 inch intact so the filling won’t leak. Peel a thin strip of skin around the top rim of each apple to prevent splitting during baking.
- Treat for Browning: Brush or toss the cored apples lightly with lemon juice to keep them from oxidizing and turning brown.
- Make the Cheesecake Filling: In a medium bowl, beat the softened cream cheese with an electric mixer until smooth and fluffy (about 1–2 minutes). Add granulated sugar, brown sugar, egg yolk, vanilla extract, and cinnamon. Beat until fully combined and creamy. Fold in chopped nuts and dried fruit if using. Set aside.
- Stuff the Apples: Spoon the cheesecake mixture evenly into the cored centers of each apple, mounding slightly on top. Don’t overfill—leave a small space at the top since the filling expands slightly.
- Add Butter: Place 1/2 tablespoon of butter (or more) on top of each stuffed apple. This will melt into the filling and apple, enriching the flavor and keeping everything moist.
- Prepare the Baking Dish: Pour 1/4 cup of water or apple juice into the bottom of the baking dish. This creates steam, helping the apples cook evenly and preventing sticking.
- Arrange and Bake: Place the stuffed apples in the dish. Dust the tops lightly with extra cinnamon. Cover the dish loosely with aluminum foil to prevent over-browning.
- Bake: Place in the preheated oven and bake for 30 minutes. Remove the foil and continue baking for another 15–30 minutes, depending on apple size and desired tenderness. The apples are done when the flesh is tender when pierced with a fork but still holds its shape.
- Cool Slightly: Let the apples rest for 5–10 minutes before serving. This allows the cheesecake filling to set slightly and prevents burns from hot filling.
- Serve: Plate each apple and consider topping with a dollop of whipped cream, a scoop of vanilla ice cream, or a drizzle of caramel sauce for maximum indulgence.
Tips for Perfect Cheesecake-Stuffed Baked Apples
- Choose the Right Apples: Firm varieties are essential. Soft apples like Red Delicious will collapse during baking.
- Don’t Overfill: Leave room at the top of the apple cavity—overstuffing leads to messy spills and uneven cooking.
- Softened Cream Cheese is Key: Take it out of the fridge 30–60 minutes ahead to ensure smooth mixing without lumps.
- Use Foil Wisely: Covering the dish traps moisture and helps apples cook through without drying out the filling.
- Check for Doneness: Insert a skewer into the side of the apple (not the filling). If it slides in easily, they’re ready.
- Avoid Leakage: If your apples have thin bases, place a thick slice of bread or a silicone baking mat under them to catch drips and absorb excess liquid.
- Chill Leftovers: Store uneaten portions in an airtight container in the refrigerator for up to 3 days. Reheat gently in the oven or microwave.
Variations and Customizations: Make It Your Own
This recipe is incredibly versatile. Here are some creative twists to try:
- Mini Version: Use smaller apples or even crabapples for bite-sized treats. Adjust baking time accordingly (25–35 minutes).
- Gluten-Free Option: Naturally gluten-free! Just ensure all added toppings (like graham cracker crumbs) are certified GF if needed.
- Dairy-Free/Lighter Version: Substitute cream cheese with dairy-free alternative (e.g., almond-based), use coconut oil instead of butter, and skip the egg yolk or replace with flax yolk (1 tbsp ground flax + 3 tbsp water).
- Fruit Variations: Try pears instead of apples for a mellower, floral twist. Pears pair beautifully with cardamom and ginger in the filling.
- Chocolate Lover’s Twist: Mix in 2 tbsp cocoa powder into the filling or add chocolate chips for a gooey surprise.
- Savory-Sweet Option: Reduce sugar, add a pinch of nutmeg and a dash of sea salt, and top with crumbled blue cheese and toasted walnuts for an elegant appetizer or cheese course.
- Seasonal Themes: Add pumpkin pie spice in the fall, orange zest and cranberries at Christmas, or lavender and honey in spring.
- Layered Presentation: Slice baked apples horizontally and stack with extra filling for a deconstructed mini-cheesecake look.
Health Considerations and Nutritional Value
While undeniably indulgent, Cheesecake-Stuffed Baked Apples do offer some nutritional benefits when enjoyed in moderation:
- Apples: Rich in dietary fiber (especially pectin), vitamin C, and antioxidants like quercetin. They support digestive health and may help regulate blood sugar due to their low glycemic index.
- Cream Cheese: Provides protein and fat-soluble vitamins (A, D, E, K), though high in saturated fat and calories. Opt for reduced-fat versions if watching intake.
- Portion Control: One stuffed apple serves as a single-serving dessert, naturally limiting portion size compared to a full cheesecake slice.
- Sugar Content: Contains added sugars from both the filling and optional toppings. To reduce, use monk fruit sweetener or erythritol blends in place of granulated and brown sugar.
- Heart-Healthy Fats: Nuts like walnuts contribute omega-3 fatty acids and plant-based protein.
- Balanced Indulgence: Pair with a green salad or serve after a lean protein meal to balance the carbohydrate load.
Nutritional Estimate (per serving, assuming 4 servings):
Calories: ~320–380 | Fat: 20–25g | Saturated Fat: 12g | Carbohydrates: 35–40g | Fiber: 4g | Sugar: 28g (including natural fruit sugars) | Protein: 5g
Note: Values vary based on apple size, exact ingredients, and additions. For lower-calorie options, omit butter on top, reduce sugar by half, and skip ice cream toppings.
Frequently Asked Questions (FAQ)
Can I make these ahead of time?
Yes! Assemble the stuffed apples up to one day in advance, cover tightly, and refrigerate. Bring to room temperature for 20–30 minutes before baking. You may need to add 5–10 minutes to the baking time.
Can I freeze Cheesecake-Stuffed Baked Apples?
It’s not recommended to freeze after baking—the apples become mushy upon thawing. However, you can freeze unbaked stuffed apples: wrap individually in plastic and foil, store for up to 2 months, then thaw overnight in the fridge before baking.
Why did my filling crack or sink?
Cracking usually occurs from overbaking or rapid cooling. Avoid opening the oven too often. Sinking may happen if the egg yolk wasn’t well-incorporated or if the cream cheese was too cold. Ensure proper mixing and don’t skip the resting period after baking.
Can I use a whole egg instead of just the yolk?
Yes, but the filling may be slightly firmer and less creamy. The yolk adds richness without making the texture rubbery. For a lighter set, stick with the yolk.
Are these kid-friendly?
Absolutely! Kids love the sweet taste and fun presentation. Consider reducing cinnamon or adding mini marshmallows on top for extra appeal.
Can I cook them in an air fryer?
Yes! Preheat air fryer to 320°F. Place apples in the basket with space around them. Cook for 15 minutes, then increase to 350°F and cook 10–15 more minutes until tender. Watch closely to avoid burning.
What sides go well with this dessert?
Pair with vanilla ice cream, bourbon-spiked whipped cream, spiced cider, or a crisp white dessert wine like Riesling. For a brunch twist, serve with bacon or sausage for a sweet-and-salty contrast.
Summary
Cheesecake-Stuffed Baked Apples are a heavenly fusion of warm, tender fruit and creamy, dreamy cheesecake—perfect for cozy nights and festive occasions alike. Simple enough for beginner bakers yet impressive enough for dinner parties, this dessert brings comfort and elegance to every spoonful.