Introduction
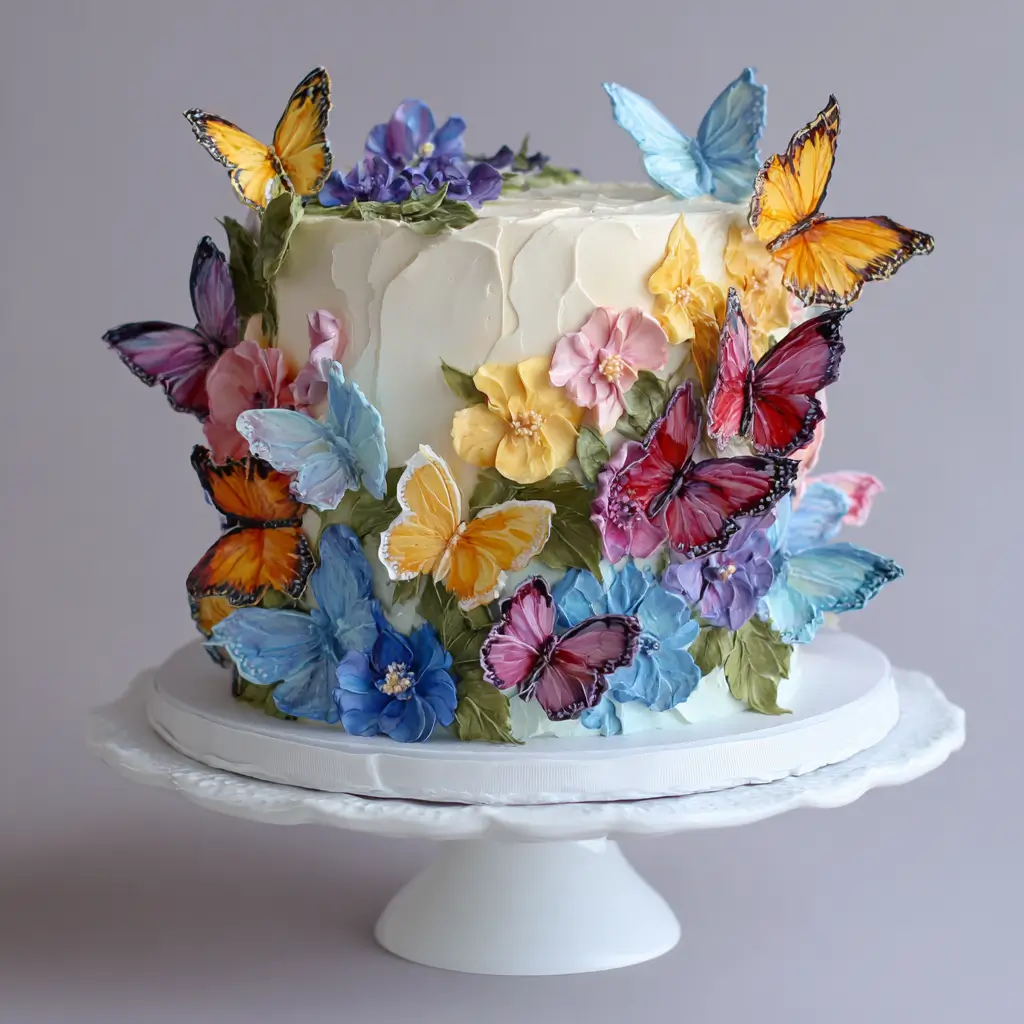
Welcome to the enchanting world of baking artistry—where flavor meets fantasy and every slice tells a story. The Watercolor Butterfly Garden Cake is not just a dessert; it’s a breathtaking masterpiece that transforms your kitchen into an edible canvas. Inspired by the delicate beauty of fluttering butterflies dancing through a blooming garden, this cake captures the essence of springtime whimsy in both appearance and taste. With its soft pastel hues, hand-painted watercolor effects, and intricately piped butterfly designs, this cake is perfect for birthdays, baby showers, weddings, or any occasion where you want to leave guests absolutely spellbound.
This guide will take you on a comprehensive journey—from understanding the origins of decorative cakes to mastering advanced techniques like airbrushing, edible painting, and fondant sculpting—all centered around creating your very own Watercolor Butterfly Garden Cake. Whether you’re a seasoned baker or a passionate beginner, this recipe combines approachable methods with artistic flair to ensure success at every step. Get ready to unleash your inner pastry artist and create a cake that’s as delicious as it is dazzling.
The History
The tradition of decorating cakes dates back centuries, evolving from simple sweet breads adorned with fruits in ancient Rome to elaborate confections fit for royal courts during the Victorian era. However, the concept of “watercolor” cakes—those featuring soft, blended hues reminiscent of painted canvases—emerged more recently, gaining popularity in the early 2010s alongside the rise of social media platforms like Pinterest and Instagram. These visual-driven networks celebrated food artistry, encouraging bakers to experiment with color gradients, marbling, and brushstroke techniques that mimicked fine art.
Butterflies have long symbolized transformation, beauty, and freedom across various cultures—from Greek mythology (Psyche, whose name means “soul” and was depicted with butterfly wings) to Japanese folklore, where they represent the spirits of loved ones. Incorporating butterflies into cake design became a natural extension of this symbolism, especially in celebration cakes marking life milestones such as births, first birthdays, and weddings.
The fusion of watercolor aesthetics with butterfly motifs reached new heights when celebrity bakers and cake artists began showcasing their creations online, often using edible paints, airbrush kits, and hand-cut fondant pieces to achieve lifelike, ethereal effects. The Watercolor Butterfly Garden Cake embodies this modern trend, blending technical precision with poetic imagination. It reflects not only advancements in baking tools and ingredients but also our growing desire to make desserts meaningful works of art.
Ingredients Breakdown
To craft a truly stunning Watercolor Butterfly Garden Cake, you’ll need a combination of high-quality baking staples and specialty decorative items. Each ingredient plays a crucial role—not only in flavor and texture but also in structural integrity and visual appeal. Below is a detailed breakdown of all components, categorized for clarity.
Cake Base Ingredients:
- All-Purpose Flour: Provides structure through gluten formation. For a lighter crumb, some bakers substitute part of the flour with cake flour.
- Granulated Sugar: Sweetens the batter and contributes to moisture retention and browning.
- Baking Powder & Baking Soda: Leavening agents that help the cake rise evenly. Baking soda requires an acidic component (like buttermilk), while baking powder works independently.
- Salt: Enhances overall flavor and balances sweetness.
- Unsalted Butter (room temperature): Adds richness and helps aerate the batter when creamed with sugar, resulting in a tender texture.
- Eggs (room temperature): Bind the ingredients together and contribute to volume and stability.
- Vanilla Extract: A key flavor enhancer. Pure extract offers superior aroma compared to imitation.
- Whole Milk or Buttermilk: Adds moisture. Buttermilk provides a slight tang and reacts with baking soda for extra lift.
Filling & Frosting Ingredients:
- Unsalted Butter (softened): Forms the base of buttercream, providing creamy consistency and rich mouthfeel.
- Powdered Sugar (confectioners’ sugar): Sweetens and thickens the frosting. Sifted to avoid lumps.
- Heavy Cream or Milk: Adjusts the consistency of buttercream for spreading or piping.
- Meringue Powder or Pasteurized Egg Whites: Used in Swiss or Italian meringue buttercream for stability and shine.
- Clear Vanilla Extract: Prevents discoloration in white buttercream, especially important for watercolor effects.
- Gel Food Coloring (highly concentrated): Preferred over liquid dyes because they don’t alter the frosting’s texture. Available in vibrant shades like sky blue, lavender, peach, mint green, and rose pink.
Decorative Elements:
- Edible Paints: Made from food-grade pigments mixed with alcohol or lemon extract for painting on fondant or gum paste.
- Fondant (premade or homemade): Used for crafting butterflies, flowers, and other 3D decorations. Rollable, moldable, and holds shape well.
- Gum Paste: Dries harder than fondant, ideal for delicate butterfly wings and fine details.
- Edible Glitter or Luster Dust: Adds shimmer and dimension to butterfly wings and floral accents.
- Food-Grade Airbrush Kit: Allows for smooth gradient coloring on fondant or directly onto frosted cakes.
- Isomalt or Rock Candy: Can be melted and shaped into translucent “glass-like” garden elements such as dewdrops or abstract crystals.
- Edible Markers: Useful for adding intricate patterns to butterfly wings.
Flavor Variations:
You can customize the cake base and filling to suit personal preferences. Popular options include:
- Lemon Vanilla: Zest and juice of fresh lemons added to the batter and buttercream.
- Raspberry Almond: Fold raspberry purée into the batter and use almond extract instead of vanilla.
- Strawberry Champagne: Infuse champagne into whipped cream filling with crushed freeze-dried strawberries.
- Lavender Honey: Steep culinary lavender in warm milk before adding to batter; pair with honey-sweetened buttercream.
Step-by-Step Recipe
Creating a Watercolor Butterfly Garden Cake involves three main stages: baking the cake layers, preparing and applying the frosting with watercolor effects, and designing the butterfly garden decoration. Follow these detailed steps for professional results.
Stage 1: Baking the Cake Layers
- Preheat Oven: Set oven to 350°F (175°C). Grease and line two or three 8-inch round cake pans with parchment paper.
- Mix Dry Ingredients: In a bowl, whisk together 3 cups all-purpose flour, 2 ½ teaspoons baking powder, ½ teaspoon baking soda, and ½ teaspoon salt. Set aside.
- Cream Butter and Sugar: In a stand mixer fitted with paddle attachment, beat 1 ½ cups softened unsalted butter with 2 cups granulated sugar until light and fluffy (about 4 minutes).
- Add Eggs: Incorporate 4 large room-temperature eggs one at a time, mixing well after each addition. Add 2 teaspoons pure vanilla extract.
- Alternate Wet and Dry: Gradually add the dry mixture in three parts, alternating with 1 cup whole milk (or buttermilk) in two parts, beginning and ending with dry ingredients. Mix just until combined—do not overmix.
- Pour and Bake: Divide batter evenly among pans. Tap gently to release air bubbles. Bake for 25–30 minutes or until a toothpick inserted in center comes out clean.
- Cool Completely: Let cakes cool in pans for 10 minutes, then transfer to wire racks. Once cooled, level tops with a serrated knife if needed.
Stage 2: Preparing the Buttercream and Crumb Coating
- Make Buttercream: Beat 2 cups softened butter until creamy. Gradually add 8 cups sifted powdered sugar, ¼ teaspoon clear vanilla, and 3–4 tablespoons heavy cream. Whip on high speed for 5 minutes until fluffy.
- Color Palette Setup: Divide buttercream into separate bowls (at least 4–6) for different colors: soft pink, baby blue, lilac, mint, peach, and ivory.
- Apply Gel Colors: Use gel food coloring to tint each portion. Keep most shades pale for watercolor effect; reserve one darker shade for contrast accents.
- Crumb Coat: Place one cake layer on turntable. Spread a thin layer of white buttercream over top. Add second layer and repeat. Crumb coat entire cake with white frosting. Chill for 30 minutes.
Stage 3: Creating the Watercolor Effect
- Smooth Final Coat: Apply a thicker, even layer of white buttercream. Use bench scraper and turntable to smooth sides and top. Chill again briefly.
- Prepare Painting Tools: Dip a large, soft paintbrush into vodka or lemon extract and mix with small amounts of gel color to create edible paint.
- Paint Base Gradients: Starting from lower half, lightly brush on diluted colors in overlapping strokes—blues and greens near bottom, pinks and lavenders toward top—to mimic a sunrise garden.
- Blend with Heat: Gently pass a heat gun or hairdryer over painted areas to help colors spread and merge naturally. Wipe excess with paper towel if needed.
- Optional Airbrushing: For smoother gradients, use an airbrush kit loaded with thinned gel colors to mist soft clouds of color across the surface.
Stage 4: Crafting the Butterfly Garden Decorations
- Roll Fondant: Use white and pastel-colored fondant to cut butterfly shapes using silicone molds or freehand cutting with a knife.
- Shape Wings: Drape cutouts over curved surfaces (like spoons or egg cartons) to give wings a natural curve.
- Paint Details: Once dry, use edible paints and fine brushes to add veining, spots, and iridescent highlights with luster dust.
- Create Flowers: Make simple roses or daisies from gum paste petals. Attach to wires for stems.
- Assemble Garden Scene: Arrange butterflies and flowers asymmetrically on cake—some perched on edges, others appearing to fly upward.
- Add Sparkle: Lightly dust wings and blossoms with edible glitter using a dry brush.
Tips
- Work in a Cool Environment: Warm kitchens can soften buttercream and fondant quickly. Consider working near AC or taking breaks to chill the cake.
- Use Vodka for Edible Paint: It evaporates faster than water, reducing smudging risk on frosting.
- Chill Between Steps: Always refrigerate the cake after crumb coating and before detailed decorating to maintain sharp edges.
- Test Colors First: Try paint mixtures on parchment before applying to cake.
- Invest in Quality Tools: A rotating cake stand, offset spatula, sifter, and set of decorating brushes make a huge difference.
- Plan Your Design: Sketch the layout beforehand. Decide where butterflies will land and how colors will flow.
- Don’t Rush Fondant Work: Allow at least 24 hours for gum paste butterflies to dry completely before placing them on the cake.
- Balance Sweetness: If serving many slices, opt for less sweet fillings like stabilized whipped cream or fruit curds between layers.
- Handle with Care: Transport the cake on a non-slip base and avoid tilting. Use a cake box with ample headspace.
- Photograph Immediately: Lighting affects how colors appear. Capture images under natural light right before serving.
Variations and Customizations
The Watercolor Butterfly Garden Cake is incredibly versatile and can be tailored to match any theme, season, or dietary preference.
Dietary Adaptations:
- Gluten-Free: Substitute all-purpose flour with a 1:1 gluten-free baking blend containing xanthan gum.
- Dairy-Free: Use plant-based butter and milk alternatives (e.g., almond or oat milk). Choose vegan buttercream recipes using shortening and non-dairy cream.
- Egg-Free: Replace eggs with commercial egg replacers or flaxseed meal slurry (1 tbsp ground flax + 3 tbsp water per egg).
- Low-Sugar: Utilize monk fruit sweetener blends compatible with baking and sugar-free powdered erythritol for frosting.
Thematic Twists:
- Fantasy Garden: Add glowing mushrooms made from isomalt, fairy lights embedded safely in the base, and metallic dragonflies.
- Monarch Migration Theme: Focus on orange-and-black butterflies with milkweed-inspired floral accents.
- Enchanted Forest: Incorporate moss (shredded coconut dyed green), edible dirt (crushed cookies), and tiny fondant animals.
- Boho Wedding Style: Pair muted terracotta, sage, and blush tones with loose wildflower arrangements and gold leaf detailing.
Size and Shape Options:
- Create a cupcake version by baking in liners and painting individual cupcakes with mini watercolor effects.
- Try a naked cake style with exposed layers and minimal frosting, focusing decoration on cascading butterflies.
- Opt for a square or hexagonal tiered cake for a modern geometric twist.
- Build a 3D garden scene on a board beneath the cake, complete with fondant grass, pebbles, and hidden nests.
Health Considerations and Nutritional Value
While the Watercolor Butterfly Garden Cake is undeniably indulgent, mindful modifications can improve its nutritional profile without sacrificing beauty or taste.
A typical slice (1/12 of an 8-inch double-layer cake with buttercream) contains approximately:
- Calories: 450–550 kcal
- Total Fat: 20–28g (mostly from butter)
- Saturated Fat: 12–16g
- Carbohydrates: 65–75g
- Sugars: 50–60g (primarily from granulated and powdered sugar)
- Protein: 4–6g
- Sodium: 200–300mg
Health Notes:
- The high sugar content may not be suitable for individuals managing diabetes or insulin resistance. Consider using low-glycemic sweeteners like allulose or tagatose, which behave similarly in baking.
- Butter and full-fat dairy contribute saturated fats. Moderation is advised for those monitoring cholesterol levels.
- Fondant contains corn syrup and refined sugars. Homemade versions using marshmallow or healthier bases can reduce processed ingredients.
- Edible paints and lusters are generally safe but should be consumed in moderation, especially in children.
- For increased nutrition, incorporate whole grain flour blends (like spelt or oat), add mashed banana or applesauce to reduce fat, or infuse layers with antioxidant-rich berry purées.
Ingredients
For the Cake:
- 3 cups (360g) all-purpose flour (or cake flour for softer crumb)
- 2 cups (400g) granulated sugar
- 2 ½ tsp baking powder
- ½ tsp baking soda
- ½ tsp salt
- 1 ½ cups (3 sticks / 340g) unsalted butter, softened
- 4 large eggs, room temperature
- 2 tsp pure vanilla extract
- 1 cup (240ml) whole milk or buttermilk, room temperature
For the Buttercream Frosting:
- 2 cups (4 sticks / 450g) unsalted butter, softened
- 8 cups (960g) powdered sugar, sifted
- ¼ tsp clear vanilla extract
- 3–4 tbsp heavy cream or milk
- Gel food coloring (pink, blue, purple, green, peach, yellow)
For Decoration:
- 2 lbs white fondant (store-bought or homemade)
- Assorted colored fondants for butterflies
- Gum paste (for delicate wings)
- Edible luster dust (pearl, silver, gold)
- Edible paint brushes (various sizes)
- Food-grade alcohol (vodka or lemon extract)
- Butterfly molds or templates
- Edible glue or tylose powder (to strengthen fondant)
- Wire supports (for butterfly antennae)
- Edible glitter or disco dust
- Small floral picks or toothpicks (for arranging)
Directions
- Bake the Cakes: Preheat oven to 350°F. Prepare three 8-inch round pans. Whisk dry ingredients. Cream butter and sugar, add eggs and vanilla, then alternate dry mix and milk. Divide batter and bake 25–30 minutes. Cool completely.
- Make Buttercream: Beat butter until smooth. Gradually add powdered sugar, vanilla, and cream. Whip until fluffy. Tint portions with gel colors.
- Assemble Layers: Level cakes. Stack with buttercream between layers. Apply thin crumb coat. Chill 30 min.
- Final Frosting: Apply final layer of white buttercream. Smooth with bench scraper. Chill again.
- Watercolor Painting: Mix gel color with vodka. Brush onto chilled cake in soft streaks. Blend with heat. Repeat for desired depth.
- Create Butterflies: Roll fondant, cut shapes, drape to curve. Let dry overnight. Paint details and highlight with luster dust.
- Make Flowers: Craft simple blooms from gum paste. Attach to wires. Let dry.
- Arrange Decorations: Position butterflies and flowers artistically on cake. Use edible glue for secure placement.
- Add Final Shine: Dust wings and petals with edible glitter using a dry brush.
- Serve: Store in refrigerator. Bring to room temperature before serving for best texture. Slice with warm knife.
FAQ
Q: Can I make this cake ahead of time?
A: Yes! Bake and freeze unfrosted layers up to 2 months in advance. Assembled decorated cakes can be stored refrigerated for 2–3 days. Add final glitter just before serving.
Q: How do I prevent colors from bleeding?
A: Avoid over-wetting the frosting. Use minimal liquid in paint mixtures and allow each color to set slightly before applying adjacent ones.
Q: Can I use regular food coloring?
A: Liquid coloring dilutes buttercream and causes runny textures. Always use **gel** or **powdered** food coloring for best results.
Q: Are the decorations edible?
A: Yes—fondant, gum paste, edible paints, and luster dust are all food-safe and meant to be eaten, though some may prefer to remove wires or stiff supports.
Q: How do I transport the cake safely?
A: Use a sturdy cake box with nonslip mat. Keep refrigerated until departure. Drive slowly, avoiding sudden stops. Elevate the cake if stacking.
Q: Can I make it without fondant?
A: Absolutely! Use piped buttercream butterflies, wafer paper cutouts, or even fresh flowers (ensure they’re pesticide-free and food-safe).
Q: What if my buttercream cracks?
A: Over-chilling or too much sugar can cause cracking. Let cake sit at room temperature briefly, then re-smooth with heated spatula.
Summary
The Watercolor Butterfly Garden Cake is a mesmerizing fusion of culinary skill and artistic expression, transforming simple ingredients into a vivid celebration of nature’s beauty. From its tender vanilla layers to its dreamy painted finish and delicate butterfly adornments, this cake is sure to captivate hearts and taste buds alike.