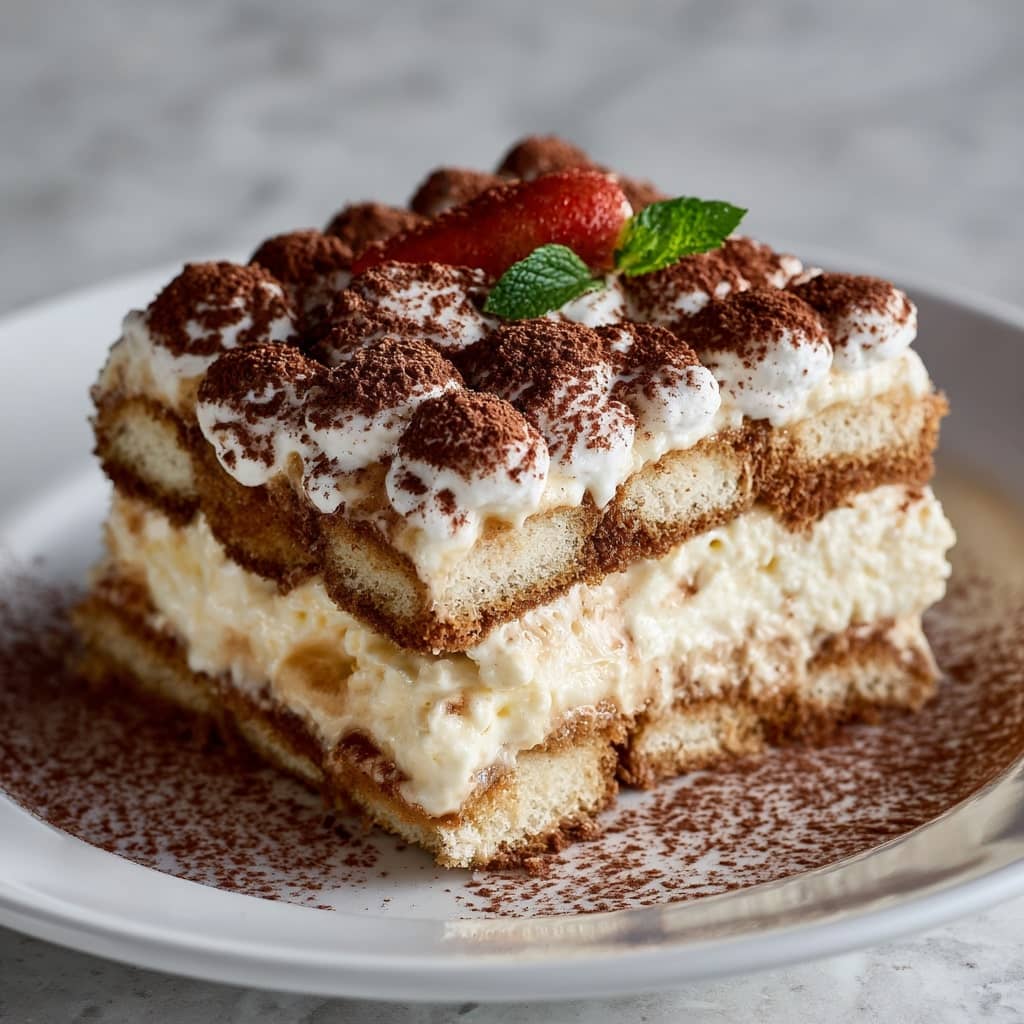
Tiramisu Icebox Cake is a delightful and simplified twist on the classic Italian tiramisu that requires no baking, making it an easy yet impressive dessert for any occasion. This version layers coffee-soaked ladyfingers with a luscious mascarpone cream filling, chilled in the refrigerator until the ladyfingers soften to a cake-like texture. Perfect for warm weather or last-minute entertaining, the icebox cake captures all the rich coffee and creamy flavors of traditional tiramisu but with minimal effort and fuss. The creamy layers meld beautifully with the coffee-soaked biscuits, resulting in a dessert that is both indulgent and refreshingly light.
The History of Tiramisu Icebox Cake
The original tiramisu dates back to Italy in the late 1960s and quickly became beloved worldwide for its distinctive combination of espresso, mascarpone, and cocoa. The icebox cake is an American adaptation inspired by no-bake layered desserts, popularized in the mid-20th century, especially during the rise of refrigeration technology. Icebox cakes rely on chilling rather than baking to set layers, usually combining cookies or biscuits with whipped cream or pudding. The Tiramisu Icebox Cake merges these traditions, adapting the classic coffee-soaked ladyfingers and mascarpone cream into a convenient refrigerated dessert. This evolution has made tiramisu more accessible and versatile for home cooks, inspiring countless variations using different flavors and textures.
Ingredients Breakdown
The base uses ladyfinger biscuits, also known as savoiardi, which are crisp and absorbent, ideal for soaking in coffee or espresso. The soaking liquid is typically strong brewed espresso or coffee, sometimes mixed with a coffee-flavored liqueur such as Kahlua or Marsala to enhance depth and complexity. The creamy filling combines mascarpone cheese, heavy cream whipped to stiff peaks, sugar for sweetness, and sometimes egg yolks or vanilla extract to enrich flavor and texture. Cocoa powder or finely grated dark chocolate is used for dusting the top layer, providing the classic bittersweet contrast to the sweet, creamy layers. Optional ingredients can include chocolate shavings, coffee beans, or even a splash of rum for personalization.
Step-by-Step Recipe:
Begin by brewing strong espresso or coffee and allowing it to cool completely. Optionally, stir in a tablespoon of coffee liqueur. In a large bowl, whip heavy cream with powdered sugar and vanilla extract until stiff peaks form. Gently fold mascarpone cheese into the whipped cream until the mixture is smooth and creamy. In a shallow dish, combine cooled coffee and sugar until dissolved. Quickly dip ladyfingers into the coffee mixture one at a time, ensuring they soak briefly to avoid becoming too soggy. Arrange a layer of soaked ladyfingers evenly at the bottom of your serving dish or springform pan. Spread about one-third of the mascarpone cream over the layer, smoothing it evenly. Repeat the process with two more layers of soaked ladyfingers and mascarpone cream. Finish with a final layer of cream, smoothing the top. Cover the dish with plastic wrap and refrigerate for at least 6 hours or overnight to allow the ladyfingers to soften and the flavors to meld. Before serving, dust the top generously with cocoa powder and garnish as desired with chocolate shavings or espresso beans.
Tips for the Perfect Tiramisu Icebox Cake
Use freshly brewed, strong espresso or coffee for the best flavor; avoid instant coffee unless necessary. Do not oversoak the ladyfingers—dip them quickly to prevent sogginess. Use high-quality mascarpone cheese for a creamy and authentic taste. Whip the cream to stiff peaks for structure, but fold gently to maintain airiness. Refrigerate the cake for a minimum of 6 hours, preferably overnight, to allow proper setting and flavor development. Use a clear glass dish or trifle bowl to showcase the beautiful layers. For an extra touch, add a splash of coffee liqueur to the soaking liquid or mascarpone cream. When dusting cocoa powder, use a fine sieve to create an even, elegant finish.
Variations and Customizations
The Tiramisu Icebox Cake can be adapted in numerous ways. Substitute coffee with chai or matcha for different flavor profiles. Incorporate chocolate or hazelnut spreads between layers for added richness. For a fruit twist, add layers of fresh berries or a raspberry coulis. To make it vegan or dairy-free, use plant-based cream, mascarpone alternatives, and gluten-free ladyfingers or biscuits. Alcohol-free versions simply omit the liqueur. For a lighter option, replace some mascarpone with whipped Greek yogurt or ricotta. Spice lovers can add cinnamon, nutmeg, or cardamom to the cream mixture for warming notes. Individual portions can be assembled in jars or cups for convenience and presentation.
Health Considerations and Nutritional Value
Tiramisu Icebox Cake is a rich dessert, typically high in calories, sugar, and saturated fat due to mascarpone, cream, and sugar content. Each serving can range between 350–500 calories depending on portion size and ingredients. It provides calcium and some protein from dairy, but should be enjoyed in moderation, especially for those watching cholesterol or sugar intake. Lower-fat mascarpone or reduced sugar options can make it somewhat lighter. Using alternative sweeteners or dairy substitutes can accommodate dietary restrictions such as lactose intolerance or veganism. Since this dessert contains raw or lightly cooked eggs in traditional recipes, opting for pasteurized eggs or eggless versions reduces food safety concerns. Proper refrigeration is essential for maintaining freshness and preventing spoilage.
FAQ
Can I make the Tiramisu Icebox Cake ahead of time? Yes, it’s best chilled overnight for optimal flavor and texture.
How long will it keep in the fridge? Store covered for up to 3 days to maintain freshness.
Can I freeze the icebox cake? Freezing is possible but may alter texture; thaw in the fridge before serving.
Is alcohol necessary? No, it’s optional; you can omit or substitute with vanilla or coffee extracts.
Can I use store-bought ladyfingers? Yes, quality store-bought ladyfingers work perfectly.
What if I don’t have mascarpone? Cream cheese or a blend of cream cheese and ricotta can be used, but the flavor will differ.
How do I avoid soggy ladyfingers? Dip them quickly in coffee and avoid soaking for more than a second or two.
Can I make individual servings? Yes, assemble in small glasses or jars for easy serving and presentation.

Tiramisu Icebox Cake
Ingredients
- 500 grams mascarpone cheese at room temperature
- 200 grams cream cheese at room temperature
- 1/2 teaspoon vanilla extract
- 1 1/4 cups powdered sugar
- 400 ml heavy whipping cream whipped to stiff peaks
- Approximately 3 to 4 cups strong coffee cooled to room temperature
- 350 grams ladyfinger cookies
- Rum or rum extract to taste
- 1/4 cup cocoa powder
Instructions
- In a large bowl, combine the mascarpone cheese, cream cheese, and vanilla extract. Using an electric hand mixer or stand mixer, whip on high speed until smooth and well blended. Add the powdered sugar and continue whipping on high speed until fully incorporated. Using a rubber spatula, gently fold in the whipped cream until the mixture is light, fluffy, and evenly combined. Stir the rum or rum extract into the coffee, then dip the ladyfingers one by one into the coffee mixture. Arrange a layer of soaked ladyfingers evenly across the bottom of a 9×13-inch pan. Spread half of the mascarpone mixture over the ladyfinger layer, smoothing it out, and dust the top with cocoa powder. Add another layer of coffee-soaked ladyfingers over the cocoa-dusted mascarpone, then top with the remaining mascarpone mixture, smoothing the surface as much as possible. Cover the pan with plastic wrap and refrigerate for at least 2 hours or overnight. Just before slicing and serving, dust the top with the remaining cocoa powder.