Introduction
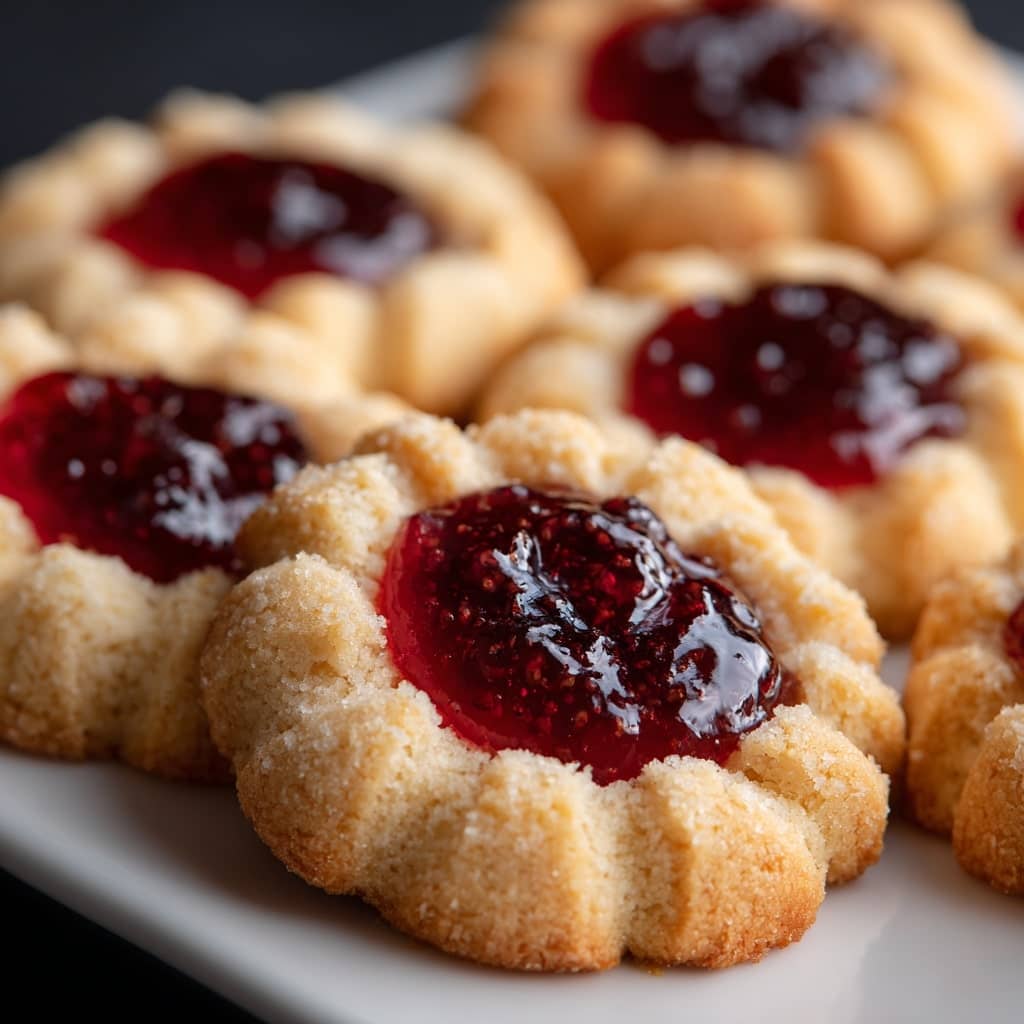
Thumbprint cookies are timeless, charming treats that combine buttery shortbread with a sweet fruit-filled center, creating a perfect balance of flavor and texture in every bite. These cookies are as delightful to eat as they are to make, with their signature indentation—made by pressing a thumb or spoon into the center of the dough—holding a generous dollop of jam, curd, or even chocolate. Soft, tender, and slightly crumbly, thumbprint cookies melt in your mouth and are endlessly adaptable, making them ideal for holidays, afternoon tea, or year-round baking. Their inviting appearance and rich flavor have made them a staple in cookie jars around the world for generations.
The History of Thumbprint Cookies
The origin of thumbprint cookies is somewhat debated, but they are most often associated with Scandinavian and Eastern European baking traditions. In Sweden, they are known as “Hallongrotta,” which translates to “raspberry cave,” a fitting name for their jam-filled centers. These cookies became popular in the United States during the 20th century, particularly in festive holiday baking. Their simple preparation and customizable filling made them an instant classic, often passed down in family recipe boxes and featured in community cookbooks. Over time, creative bakers have taken the basic thumbprint cookie and infused it with global influences, using a wide variety of fillings, spices, and glazes to reflect personal taste and cultural tradition.
Ingredients Breakdown
- Unsalted butter: Forms the rich, buttery base of the cookie, giving it its soft and crumbly texture.
- Powdered sugar or granulated sugar: Sweetens the dough and helps create a tender, melt-in-your-mouth texture. Powdered sugar adds smoothness while granulated sugar provides a touch more structure.
- All-purpose flour: Provides body and structure to the dough.
- Salt: Enhances flavor and balances sweetness.
- Vanilla extract: Adds warmth and depth to the cookie dough.
- Almond extract (optional): Gives the cookies a classic European bakery flavor.
- Jam or fruit preserves: The centerpiece of the cookie—popular choices include raspberry, strawberry, apricot, and blueberry.
- Egg yolk (optional): Sometimes added for richness or to bind the dough.
- Optional toppings: Confectioners’ sugar for dusting, glaze, or even chopped nuts for rolling the edges.
Step-by-Step Recipe
- Preheat the oven to 325°F (165°C) and line a baking sheet with parchment paper.
- In a large bowl or stand mixer, cream the softened butter and sugar together until light and fluffy, about 2–3 minutes.
- Add the vanilla extract (and almond extract, if using) and mix until incorporated.
- Gradually add the flour and salt to the creamed mixture, mixing just until the dough comes together—it should be soft but not sticky.
- Roll the dough into 1-inch balls using clean hands or a small cookie scoop.
- Place the dough balls on the prepared baking sheet, spacing them about 2 inches apart.
- Using your thumb or the back of a small spoon, gently press an indentation into the center of each ball, being careful not to flatten the cookie entirely.
- Fill each indentation with about ½ teaspoon of jam or preserves. Be careful not to overfill, as the jam may bubble over during baking.
- Bake the cookies for 12–15 minutes, or until the edges are set and lightly golden.
- Let the cookies cool on the baking sheet for 5 minutes before transferring them to a wire rack to cool completely. Optionally, dust with powdered sugar or drizzle with glaze once cooled.
Tips for the Perfect Thumbprint Cookies
Make sure your butter is properly softened but not melted—it should be slightly pliable for easy creaming. Use high-quality jam for the best flavor and consider stirring it before using to loosen it up for easier spooning. If your dough cracks when forming the indentation, simply pinch and smooth the edges with your fingers. Chill the dough before baking if it becomes too soft—this helps prevent excessive spreading. Don’t overfill the center, and be cautious with fillings that become too runny when hot, as they may burn or spill. Bake until just lightly golden on the bottom to keep the cookies soft. Let them cool fully before handling, as they firm up as they rest.
Variations and Customizations
Thumbprint cookies can be customized endlessly to suit different seasons or personal preferences. Swap the traditional jam with lemon curd, caramel, or Nutella for a richer flavor. Add a pinch of cinnamon, cardamom, or citrus zest to the dough for a subtle aromatic twist. For a festive version, roll the dough balls in chopped nuts or shredded coconut before baking. Use different extracts like orange or maple for unique undertones. If making a chocolate version, substitute part of the flour with cocoa powder. For a holiday look, use red and green jams or add colored icing drizzle after baking. Vegan versions can be made using plant-based butter and jam, and gluten-free flour blends can be substituted for all-purpose flour as needed.
Health Considerations and Nutritional Value
While delicious, thumbprint cookies are a treat and should be enjoyed in moderation. They typically contain 80–120 calories per cookie, depending on size and ingredients. Most of the calories come from butter and sugar, which contribute to the cookie’s rich texture and flavor. To make them slightly healthier, consider reducing the sugar slightly or using fruit-sweetened preserves. Whole wheat flour can be used in place of white flour for added fiber, though it may alter the texture. For dietary restrictions, use dairy-free butter substitutes and ensure jam is free from added sugars or artificial ingredients. Because the recipe contains few ingredients, it’s important to use high-quality components to get the best taste with minimal additives.
FAQ
Can I use homemade jam? Yes! Homemade jam or preserves work wonderfully, but make sure they’re thick enough not to run while baking.
Why did my cookies crack when I pressed them? This can happen if the dough is too cold or dry. Let the dough soften slightly at room temperature and smooth any cracks with your fingers.
Do I need to chill the dough? Not always, but chilling helps if your dough is too soft or if the cookies spread too much in the oven.
Can I make them ahead of time? Yes. You can prepare the dough a day ahead, refrigerate it, and then bake as needed. Baked cookies also store well in an airtight container.
How do I store them? Keep in a sealed container at room temperature for up to 4–5 days or freeze for up to 3 months.
Can I make these gluten-free or vegan? Absolutely—use a gluten-free all-purpose flour and vegan butter. Be sure your jam is also compliant with your dietary needs.
How do I keep the jam from overflowing? Use a thick jam and don’t overfill the indentations—½ teaspoon is usually enough.

Thumbprint Cookies
Ingredients
Cookies:
- ⅓ cup powdered sugar unsifted
- 1 stick unsalted butter softened to room temperature
- 1 large egg yolk
- 1 teaspoon vanilla extract
- ¼ teaspoon fine salt
- ⅛ teaspoon almond extract
- 1¼ cups all-purpose flour
- ⅓ cup granulated white sugar for rolling, adjust as needed
- ½ cup fruit jam divided among cookies
Icing:
- 1 cup powdered sugar adjust as needed for consistency
- 1 tablespoon milk more or less as needed
Instructions
- Preheat your oven to 325°F (165°C) and line a baking sheet with a silicone baking mat or parchment paper. Make sure to have all ingredients measured and ready to go.
- In a large mixing bowl, combine powdered sugar and softened butter, using a rubber spatula or spoon until the mixture is creamy and smooth. Add the egg yolk, vanilla extract, salt, and almond extract, mixing thoroughly to incorporate. Gradually blend in the flour until just combined—avoid overmixing.
- Using a small scoop or tablespoon (about ½ ounce of dough per cookie), portion the dough into evenly sized balls. Roll each dough ball in granulated white sugar to coat, then roll between your palms to smooth out the surface.
- Place the dough balls a few inches apart on the prepared baking sheet. Lightly flatten each one with your fingers.
- To shape the cookies:
- For a rounder shape with a smaller amount of jam, use your thumb or the end of a thick wooden spoon (lightly dusted with powdered sugar) to press a deep well into the center of each cookie. Spoon a small amount of fruit jam into each well. Gently tap the baking sheet on the counter to help the jam settle.
- For flatter, jammier cookies, press your thumb directly into the center to create a larger, shallow indentation, then fill with jam. Tap the tray again to level the filling.
- Bake the cookies in the preheated oven for about 15 minutes, or until the edges are lightly golden. Allow cookies to rest on the baking sheet for 5 minutes, then transfer them to a wire rack to cool completely. Once cooled, dust lightly with powdered sugar for a classic finish.
- To make the icing, place powdered sugar in a small bowl and add milk, a little at a time, until the icing reaches a thick but pipeable consistency. Transfer the icing to a piping bag (or a small zip-top bag with the corner snipped off), and drizzle over the cooled cookies in a zigzag pattern. Let the icing set for 15 minutes before serving or storing.