Introduction
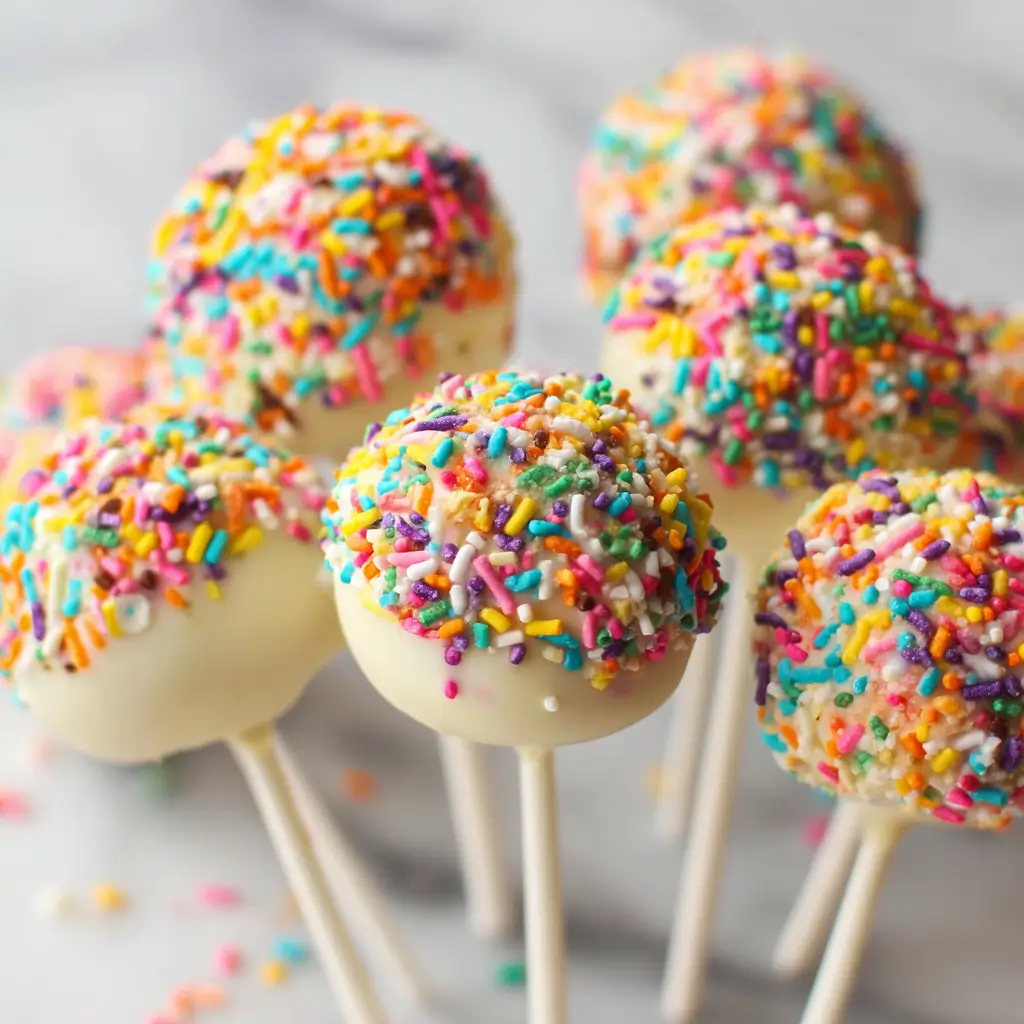
The Rainbow Sprinkle Explosion Cake Pops are not just a dessert—they’re a celebration on a stick. With their vibrant colors, playful texture, and whimsical presentation, these cake pops are guaranteed to bring smiles at birthdays, baby showers, holiday gatherings, or even as a fun weekend baking project with the kids. Imagine biting into a perfectly moist cake ball only to discover a colorful burst of rainbow sprinkles at the center—like edible confetti! This delightful treat combines the nostalgia of childhood desserts with the sophistication of modern confectionery art. Whether you’re a seasoned baker or trying your hand at cake pops for the first time, this recipe is designed to guide you through every step to create a stunning, delicious masterpiece that looks almost too good to eat (almost).
The History
Cake pops, in their modern form, gained widespread popularity in the late 2000s, thanks in large part to baker Angie Dudley and her blog Bakerella. Her creative designs, including adorable animal shapes and themed treats, turned cake pops into a viral sensation. However, the concept of repurposing leftover cake into bite-sized morsels has roots that go back much further. In fact, many cultures have traditions of using cake scraps or stale cake, combining them with binders like syrup or frosting, and reshaping them into new desserts.
The Rainbow Sprinkle Explosion Cake Pop, while not historically documented in cookbooks of old, represents a joyful evolution of this idea. It blends American love for over-the-top celebrations with the universal appeal of rainbows and sprinkles. The “explosion” element—where a core of rainbow jimmies bursts from the center upon biting—adds an interactive surprise factor that elevates the experience beyond the ordinary. Today, these cake pops are a staple at parties, featured in dessert tables, bridal showers, and even gourmet gift boxes. They’ve become symbolic of fun, creativity, and indulgence—all wrapped around a simple lollipop stick.
Ingredients Breakdown
Creating the perfect Rainbow Sprinkle Explosion Cake Pops requires a careful balance of flavors, textures, and structural integrity. Each ingredient plays a crucial role:
- Vanilla Cake Mix (or homemade vanilla cake): Forms the base of the cake pop. A light, fluffy vanilla cake provides the ideal canvas for the colorful explosion inside. You can bake a standard 9×13 inch sheet cake or use a boxed mix for convenience.
- Buttercream Frosting (vanilla): Acts as the “glue” that binds the cake crumbs together. It adds moisture and richness, ensuring the cake balls hold their shape without being dry.
- Rainbow Sprinkles (jimmies): These are the stars of the show. Unlike nonpareils, jimmies hold up better during mixing and melting processes. Use high-quality, food-grade sprinkles for the most vivid color burst.
- Candy Melts or Chocolate Coating (white chocolate preferred): Used to coat the cake balls. White chocolate allows the rainbow colors to shine through visibly once set. Available in wafers or bars, they melt smoothly and harden into a glossy shell.
- Lollipop Sticks: Standard cake pop sticks, typically 4–6 inches long. Metal or paper-wrapped sticks work best for stability.
- Vegetable Shortening or Coconut Oil (optional): Added to the melted candy coating to improve consistency, prevent cracking, and aid in smooth dipping.
- Edible Glitter or Luster Dust (optional): For added sparkle and elegance. Gold, silver, or rainbow dust can elevate the visual appeal.
- Food Coloring (gel-based, optional): If you want colored cake balls instead of plain white, gel coloring mixes well without altering texture.
All ingredients should be fresh and stored properly. Avoid using wax-based sprinkles if you plan to melt the coating, as they may bleed color.
Step-by-Step Recipe
- Bake the Cake: Prepare a vanilla cake according to box instructions or your favorite homemade recipe. Bake in a 9×13 inch pan for even thickness. Cool completely on a wire rack. Pro tip: Chill the cake in the refrigerator for 30 minutes to make crumbling easier.
- Crumble the Cake: Once cooled, break the cake into fine crumbs using your hands or a food processor. Aim for uniform, breadcrumb-like pieces for consistent texture.
- Mix with Frosting: Add ½ cup of vanilla buttercream frosting to the crumbs. Start with less and gradually add more until the mixture holds together when pressed. It should be moldable but not sticky. Over-mixing can make the cake pops dense.
- Create the Explosion Core: Take a small portion of the cake mixture (about 1 tablespoon) and flatten it in your palm. Place ½ to 1 teaspoon of rainbow sprinkles in the center, then wrap the cake around it, sealing tightly. Roll into a smooth ball. This hidden core will “explode” when bitten.
- Chill the Balls: Place formed cake balls on a parchment-lined tray and refrigerate for at least 1 hour (or freeze for 20 minutes). Chilling prevents them from falling apart during dipping.
- Melt the Coating: Melt white candy wafers in a microwave-safe bowl in 30-second intervals, stirring between each. Add ½ teaspoon of vegetable shortening or coconut oil per cup of candy melts to achieve a silky, drip-free consistency.
- Dip the Cake Pops: Insert a lollipop stick into each cake ball about halfway. Dip each ball into the melted coating, twirling gently to cover evenly. Tap lightly against the bowl to remove excess. Allow excess to drip off before placing on parchment or Styrofoam block to set.
- Add Extra Sprinkles: Immediately after dipping, roll or sprinkle additional rainbow jimmies onto the wet coating before it hardens. This creates a confetti-coated exterior that hints at the surprise inside.
- Set and Decorate: Let the coating harden completely (15–20 minutes at room temperature). For extra flair, drizzle with colored candy melts or dust with edible glitter using a dry brush.
- Serve or Store: Arrange on a decorative tray, insert into a foam block for display, or package individually in cellophane bags tied with ribbon.
Tips
- Don’t skip the chill time: Cold cake balls are far easier to handle and dip without breaking.
- Avoid water in melted candy: Even a drop can cause the coating to seize. Always use dry utensils and bowls.
- Use a styrofoam block for drying: Stick the dipped cake pops into a foam block or floral foam to hold them upright while setting.
- Work in batches: Melt only enough coating to dip 5–6 cake pops at a time to prevent overheating.
- Prevent air bubbles: When rolling cake balls, ensure no air pockets are trapped inside, especially around the sprinkle core.
- Uniform size matters: Use a cookie scoop (1-inch) for consistent sizing. This ensures even chilling and dipping.
- Room temperature is key: If your kitchen is too warm, the coating may not set properly. Consider using an air-conditioned room or brief fridge time (no longer than 5 minutes) to speed up hardening.
- Label allergens: If serving at events, note common allergens like dairy, eggs, gluten, or soy present in ingredients.
Variations and Customizations
The beauty of Rainbow Sprinkle Explosion Cake Pops lies in their adaptability. Here are some creative twists to personalize your treats:
- Flavor Swaps: Use chocolate, red velvet, or funfetti cake instead of vanilla. Pair with complementary frostings like cream cheese or chocolate ganache.
- Colored Coatings: Dip in pastel-colored candy melts for baby showers, or use dark chocolate for a more sophisticated twist.
- Themed Sprinkles: Swap rainbow jimmies for seasonal varieties—heart-shaped for Valentine’s Day, orange and black for Halloween, or metallic gold for weddings.
- Gluten-Free/Vegan Version: Use gluten-free cake mix and vegan buttercream. Opt for plant-based candy melts and egg-free sprinkles.
- Mini Explosion Pops: Make bite-sized versions using a mini scoop for cocktail party favors.
- Stuffed Variations: Replace sprinkles with mini M&Ms, crushed cookies, jelly beans, or even a gooey marshmallow center for different textures.
- Drizzled Designs: After the base coating sets, drizzle with contrasting colored melts in zigzags or polka dots for artistic flair.
- Personalized Toppers: Attach tiny fondant flags, edible images, or custom labels to the sticks for gifts or events.
Health Considerations and Nutritional Value
While undeniably delicious, Rainbow Sprinkle Explosion Cake Pops are a treat best enjoyed in moderation. Here’s a general nutritional breakdown per average cake pop (approx. 45g):
- Calories: 180–220
- Fat: 9–12g (including saturated fat from butter and candy coating)
- Carbohydrates: 28–35g (mainly from sugar and refined flour)
- Sugars: 20–25g
- Protein: 2–3g
- Sodium: 80–120mg
Key considerations:
- High Sugar Content: Due to frosting, candy coating, and sprinkles, these are high in added sugars. Diabetics or those on low-sugar diets should consume sparingly.
- Gluten and Allergens: Most recipes contain gluten, dairy, eggs, and soy. Always check labels if allergies are a concern.
- Artificial Colors: Many sprinkles and candy melts contain artificial dyes (e.g., Red 40, Blue 1). Choose naturally colored options if avoiding synthetic additives.
- Portion Control: Serve as mini treats to satisfy cravings without overindulging.
- Healthier Swaps: Use Greek yogurt or applesauce in place of some frosting, opt for dark chocolate coating, or reduce sugar in homemade cake batter.
Ingredients
- 1 prepared vanilla cake (9×13 inch, about 24 oz)
- ½ to ¾ cup vanilla buttercream frosting (homemade or store-bought)
- ½ cup rainbow jimmies (plus extra for outer coating)
- 18–24 lollipop sticks
- 18 oz white candy melts or white chocolate coating
- 1–2 teaspoons vegetable shortening or coconut oil
- Optional: Edible glitter, luster dust, or colored candy melts for decoration
Directions
- Bake and cool the vanilla cake completely. Crumble into fine pieces in a large mixing bowl.
- Add ½ cup of buttercream frosting and mix until the texture resembles damp sand and holds together when squeezed.
- Take small portions (about 1 tablespoon) and flatten in hand. Place ½–1 tsp rainbow sprinkles in center, then seal cake around them and roll into a smooth ball. Repeat for all cake pops.
- Chill cake balls on a parchment-lined tray for 1 hour (or freeze for 20 minutes).
- Melt white candy coating in 30-second intervals, stirring well. Add shortening or coconut oil for smoother consistency.
- Insert lollipop stick into each chilled cake ball about halfway. Dip each into melted coating, twirling gently to cover completely.
- Immediately roll or sprinkle with extra rainbow jimmies before the coating sets.
- Place upright in a Styrofoam block or cup with holes to dry. Allow 15–20 minutes to fully harden.
- Optional: Drizzle with colored candy melts or dust with edible glitter for extra glam.
- Serve immediately or store in an airtight container.
FAQ
Q: Can I make these cake pops ahead of time?
A: Yes! Assemble and dip up to 3 days in advance. Store in an airtight container in the refrigerator. Bring to room temperature before serving for best texture.
Q: Why did my cake pops crack after dipping?
A: This usually happens if the cake balls were too cold or the coating was too hot. Let cake balls sit at room temp for 5–10 minutes before dipping, and avoid overheating the candy melts.
Q: Can I use chocolate instead of candy melts?
A: Yes, but real chocolate can be more temperamental. Use couverture chocolate and consider tempering for a shiny, snap-worthy finish.
Q: How do I store leftover cake pops?
A: Keep in an airtight container in the fridge for up to 5 days or freeze for up to 2 months. Thaw in the refrigerator overnight.
Q: Can I mail these as gifts?
A: Absolutely! Pack in a rigid box with tissue paper and ice packs in warm weather. Use insulated shipping for best results.
Q: Are rainbow sprinkles safe to eat?
A: Yes, FDA-approved sprinkles are safe. For natural options, look for brands using plant-based colors like beet juice or turmeric.
Summary
Rainbow Sprinkle Explosion Cake Pops are a dazzling fusion of flavor, fun, and surprise—perfect for any celebration. With a soft vanilla exterior hiding a confetti-like burst of color inside, each bite is pure joy on a stick.