
Introduction
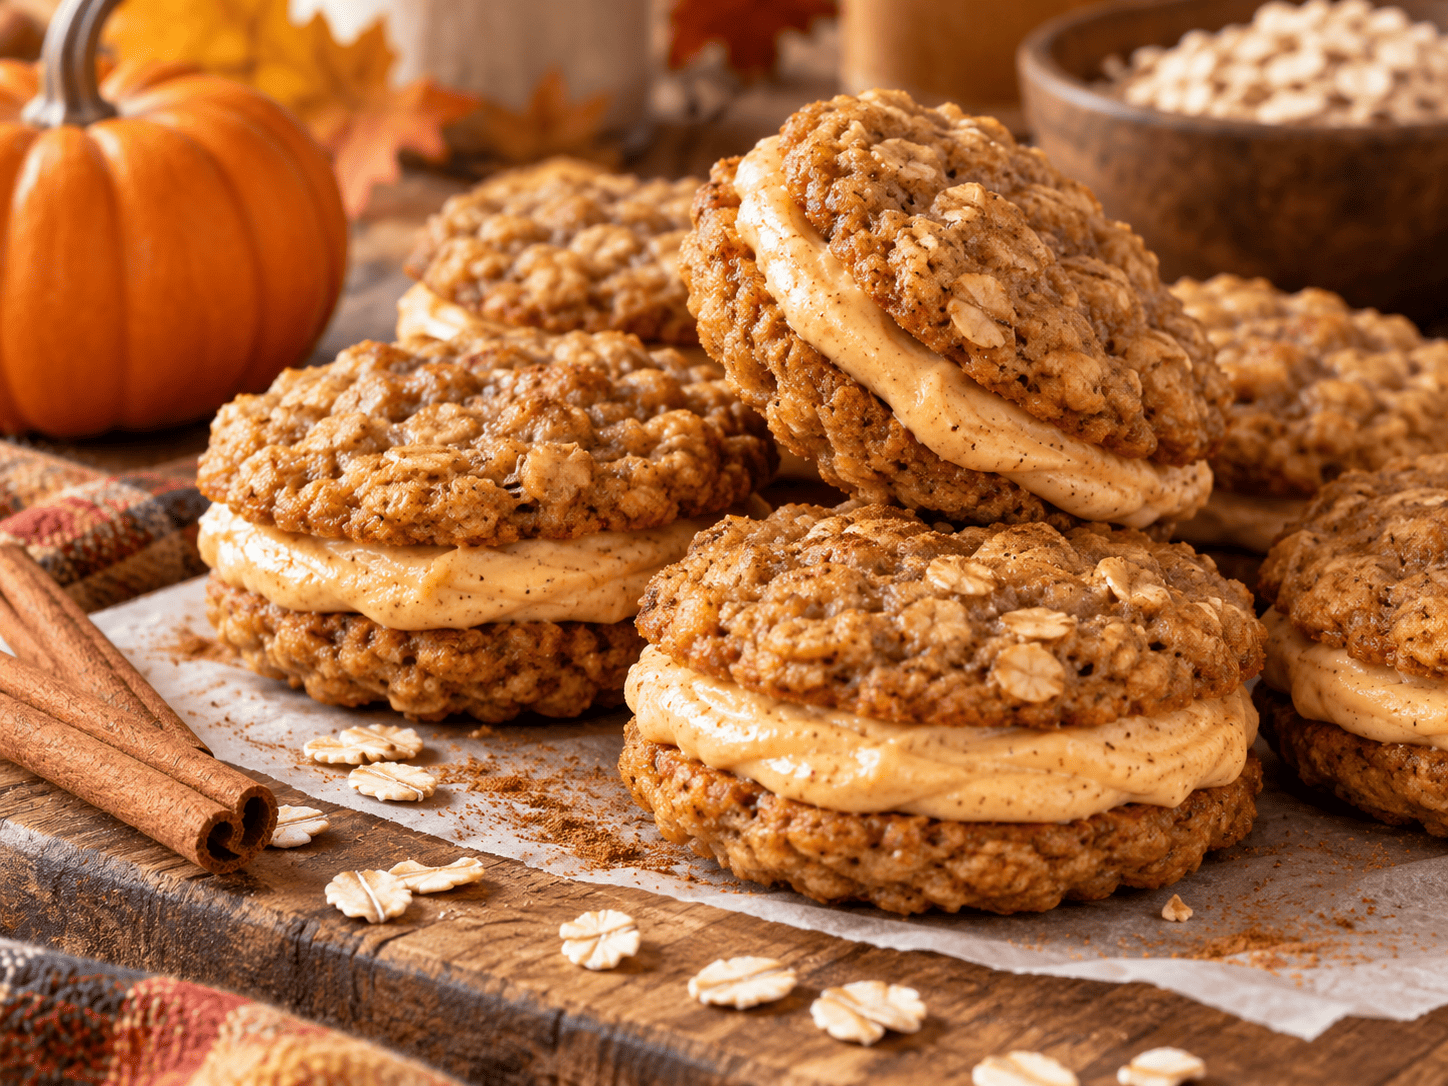
There is something undeniably magical about the arrival of autumn, a season marked by crisp air, changing leaves, and the resurgence of warm, comforting flavors that evoke memories of home and hearth. Among the plethora of seasonal treats that dominate bakeries and kitchens during this time, the Pumpkin Oatmeal Cream Pie stands out as a supreme fusion of nostalgic comfort and seasonal spice. This delightful dessert marries the chewy, hearty texture of a classic oatmeal cookie with the moist, spiced richness of pumpkin puree, all sandwiched together with a lush, vanilla-infused cream filling. It is a treat that transcends mere sustenance, offering a sensory experience that balances the earthiness of oats with the sweet warmth of cinnamon, nutmeg, and cloves. Whether you are a seasoned baker looking to expand your fall repertoire or a novice eager to create something impressive for a holiday gathering, these pies offer a perfect canvas for creativity and culinary satisfaction. The following guide will delve deep into the origins, science, and artistry required to craft the perfect Pumpkin Oatmeal Cream Pie, ensuring your results are nothing short of extraordinary.
The History
To truly appreciate the Pumpkin Oatmeal Cream Pie, one must understand the lineage of its components, which stretch back through decades of American confectionery history. The concept of the oatmeal cream pie itself is widely attributed to the Little Debbie brand, which introduced the iconic snack cake in 1960. Originally created by O.D. McKee in Chattanooga, Tennessee, the original oatmeal cream pie was designed to be a soft, portable treat that could withstand shipping and remain fresh on store shelves. It quickly became a staple in lunchboxes across the nation, defining the texture profile of soft oatmeal cookies paired with marshmallow-based creme filling for generations. However, the incorporation of pumpkin into this classic format is a more modern evolution, driven by the explosive popularity of pumpkin spice culture in the 21st century. Following the introduction of the Pumpkin Spice Latte by major coffee chains in the early 2000s, consumers began seeking pumpkin flavors in every conceivable category, from cereals to savory dishes. Bakers began experimenting with adding pumpkin puree to traditional cookie doughs to enhance moisture and impart seasonal flavor, eventually leading to the hybridization of the classic snack cake with autumnal ingredients. This recipe represents the culmination of that historical trajectory, honoring the mid-century innovation of the cream pie while embracing the contemporary love for pumpkin spice.
Ingredients Breakdown
Understanding the function of each component in this recipe is crucial for achieving the desired texture and flavor profile. Baking is a science, and each ingredient plays a specific role in the chemical reactions that occur during the mixing and baking processes.
The Cookie Dough Base
All-Purpose Flour: This provides the structural framework for the cookies. The proteins in the flour, when mixed with liquid, form gluten. In this recipe, we aim for minimal gluten development to ensure a tender, cake-like cookie rather than a tough, bread-like one.
Old-Fashioned Oats: Unlike quick oats, old-fashioned oats retain their shape better during baking, providing the signature chewy texture and hearty mouthfeel associated with cream pies. They also absorb moisture from the pumpkin puree, preventing the cookies from becoming too soggy.
Pumpkin Puree: This is the star ingredient that distinguishes this recipe from the classic version. Pumpkin adds significant moisture, natural sweetness, and a vibrant orange hue. It also acts as a fat replacer to some degree, allowing for a softer crumb. It is essential to use 100% pure pumpkin puree, not pumpkin pie filling, which contains added sugars and spices that could throw off the recipe balance.
Butter: Unsalted butter is preferred to control the sodium content. Creaming the butter with sugar incorporates air bubbles into the dough, which act as leavening agents during baking, contributing to the lift and softness of the cookie.
Sugars (Brown and White): White granulated sugar promotes spreading and crispness at the edges, while brown sugar contains molasses, which adds moisture, chewiness, and a deeper caramel-like flavor that complements the pumpkin spices.
Eggs: Eggs act as a binding agent, holding the ingredients together. They also provide structure through coagulation during baking and contribute to the richness of the dough.
Leavening Agents (Baking Soda and Baking Powder): Baking soda reacts with the acidity in the brown sugar and pumpkin to create carbon dioxide bubbles, helping the cookies rise. Baking powder provides an additional lift to ensure the cookies remain fluffy rather than dense.
Spices (Cinnamon, Nutmeg, Ginger, Cloves): This blend, often referred to as pumpkin pie spice, provides the aromatic profile that signals “fall” to the palate. Each spice contributes a different note: cinnamon for warmth, nutmeg for earthiness, ginger for zing, and cloves for depth.
The Cream Filling
Butter: Provides the fat base for the filling, ensuring it is rich and stable at room temperature.
Marshmallow Fluff: This is the secret to achieving the authentic texture of a classic oatmeal cream pie filling. It provides the sticky, fluffy consistency that powdered sugar alone cannot achieve.
Powdered Sugar: Also known as confectioners’ sugar, this sweetens the filling and helps thicken it to a spreadable consistency. It contains a small amount of cornstarch which aids in stabilization.
Vanilla Extract: Enhances the overall flavor profile, rounding out the sweetness and adding a floral note that pairs beautifully with the spiced cookies.
Step-by-Step Recipe
Creating the perfect Pumpkin Oatmeal Cream Pie requires patience and attention to detail. Follow this comprehensive guide to ensure success from mixing to assembly.
Phase 1: Preparation
Begin by preheating your oven to 350 degrees Fahrenheit (175 degrees Celsius). Proper oven temperature is critical; if the oven is too cool, the cookies will spread too much before setting, and if it is too hot, they will brown too quickly on the outside while remaining raw inside. Line two large baking sheets with parchment paper or silicone baking mats. This prevents sticking and ensures even heat distribution, promoting uniform browning. Gather all your ingredients and bring the butter and eggs to room temperature. Cold ingredients can cause the batter to curdle or prevent proper emulsification, leading to a greasy or dense cookie.
Phase 2: Mixing the Dough
In a large mixing bowl or the bowl of a stand mixer fitted with a paddle attachment, combine the softened butter, brown sugar, and granulated white sugar. Cream these ingredients together on medium-high speed for about three to five minutes. You are looking for a mixture that is pale in color and fluffy in texture. This process aerates the butter, which is essential for the lift of the cookies. Next, add the eggs one at a time, beating well after each addition to ensure they are fully incorporated. Scrape down the sides of the bowl with a spatula to ensure no pockets of butter or sugar remain unmixed. Add the vanilla extract and the pumpkin puree, mixing until smooth. The dough may look slightly separated at this stage, which is normal due to the moisture content of the pumpkin.
Phase 3: Dry Ingredients and Combining
In a separate medium-sized bowl, whisk together the all-purpose flour, old-fashioned oats, baking soda, baking powder, salt, and all the spices (cinnamon, nutmeg, ginger, cloves). Whisking the dry ingredients ensures that the leavening agents and spices are evenly distributed throughout the flour, preventing bitter spots of baking soda or clumps of cloves. Gradually add the dry ingredient mixture to the wet ingredient mixture. Start the mixer on low speed to prevent the flour from puffing out of the bowl, then increase to medium just until the flour disappears. Be careful not to overmix at this stage. Overmixing develops gluten, which will make the cookies tough rather than soft and chewy. The dough should be thick, sticky, and aromatic.
Phase 4: Portioning and Baking
Using a medium cookie scoop or a tablespoon, portion the dough onto the prepared baking sheets. Leave about two inches of space between each cookie mound to allow for spreading. If you want uniform sizes for sandwiching later, weigh the dough balls to ensure they are identical. Bake the cookies for 10 to 12 minutes. The edges should be set and lightly golden, but the centers should still look slightly soft and underdone. They will continue to cook on the hot pan after being removed from the oven. Remove the baking sheets from the oven and let the cookies cool on the sheet for five minutes before transferring them to a wire rack to cool completely. It is imperative that the cookies are completely cool before adding the filling, otherwise, the heat will melt the cream filling and cause it to slide out.
Phase 5: Making the Filling and Assembly
While the cookies cool, prepare the filling. In a large bowl, beat the softened butter until it is smooth and creamy. Add the marshmallow fluff and vanilla extract, mixing until combined. Gradually add the powdered sugar, one cup at a time, beating on low speed until incorporated. Once all sugar is added, increase the speed to high and whip the filling for two to three minutes until it is light, fluffy, and holds stiff peaks. To assemble, pair up cookies of similar size. Spread a generous layer of filling onto the flat side of one cookie, then sandwich it with another cookie, flat side down. Gently press together until the filling reaches the edges. Repeat with remaining cookies.
Tips
To elevate your baking game and troubleshoot common issues, consider these professional tips designed to refine your technique.
- Chill the Dough: If your kitchen is warm, the butter in the dough may become too soft, causing the cookies to spread excessively. Chilling the dough for 30 minutes before scooping can help maintain the shape.
- Measure Flour Correctly: Do not scoop the flour directly with the measuring cup, as this packs it down and leads to using too much flour. Instead, spoon the flour into the measuring cup and level it off with a knife for an accurate measurement.
- Room Temperature is Key: Ensure your butter, eggs, and even the pumpkin puree are at room temperature. This allows for a homogeneous emulsion, resulting in a smoother dough and better texture.
- Cooling is Crucial: Never rush the cooling process. If the cookies are even slightly warm, the cream filling will become oily and lose its structure. Patience here yields the best structural integrity for the pie.
- Storage Strategy: Store the assembled pies in an airtight container. Placing a piece of parchment paper between layers prevents them from sticking together if you need to stack them.
Variations and Customizations
While the classic recipe is divine, there are numerous ways to customize Pumpkin Oatmeal Cream Pies to suit different dietary needs or flavor preferences.
Flavor Twists
For a decadent twist, consider adding semi-sweet chocolate chips to the cookie dough. The bitterness of the chocolate pairs wonderfully with the sweet pumpkin spice. Alternatively, you can infuse the cream filling with maple extract instead of vanilla for a quintessential autumn flavor profile. Adding a pinch of sea salt on top of the filling before sandwiching can also enhance the sweetness and add a gourmet touch.
Dietary Modifications
To make this recipe gluten-free, substitute the all-purpose flour with a high-quality gluten-free flour blend that contains xanthan gum. Ensure your oats are certified gluten-free, as cross-contamination is common in oat processing. For a vegan version, replace the butter with a plant-based butter stick that has a similar fat content to dairy butter, and use a flax egg (one tablespoon ground flaxseed mixed with three tablespoons water) in place of chicken eggs. Vegan marshmallow fluff is also available in many specialty stores to keep the filling dairy-free.
Texture Adjustments
If you prefer a crunchier cookie, increase the baking time by two minutes or substitute half of the old-fashioned oats with quick oats. For a softer, cake-like texture, add an extra tablespoon of pumpkin puree and reduce the baking time by one minute. You can also add chopped pecans or walnuts to the dough for a nutty crunch that complements the spices.
Health Considerations and Nutritional Value
While Pumpkin Oatmeal Cream Pies are undoubtedly a treat meant for indulgence, understanding their nutritional profile can help you enjoy them mindfully. The primary sources of calories in this recipe come from the sugars, butter, and flour. However, the inclusion of pumpkin puree does offer some nutritional benefits. Pumpkin is rich in Vitamin A, which supports eye health and immune function, and it provides dietary fiber which aids in digestion. The oats contribute beta-glucan, a type of soluble fiber known to help lower cholesterol levels. Despite these benefits, the high sugar content in both the cookies and the filling means these should be consumed in moderation. A single pie can contain a significant amount of carbohydrates and saturated fats. For those monitoring their intake, consider making mini versions to control portion sizes, or reduce the sugar in the cookie dough by up to 25% without significantly affecting the texture. Using a sugar substitute in the filling is possible, though it may alter the texture and stability of the cream. Always consult with a nutritionist for specific dietary advice regarding sugar and fat consumption.
Ingredients
For the Cookies:
- 2 ½ cups all-purpose flour
- 1 teaspoon baking soda
- 1 teaspoon baking powder
- 1 teaspoon ground cinnamon
- ½ teaspoon ground nutmeg
- ¼ teaspoon ground ginger
- ¼ teaspoon ground cloves
- ½ teaspoon salt
- 1 cup unsalted butter, softened
- 1 cup packed brown sugar
- ½ cup granulated white sugar
- 2 large eggs, room temperature
- 1 teaspoon vanilla extract
- 1 cup pumpkin puree
- 2 cups old-fashioned rolled oats
For the Cream Filling:
- ½ cup unsalted butter, softened
- 1 cup marshmallow fluff
- 2 teaspoons vanilla extract
- 3 cups powdered sugar, sifted
- 1-2 tablespoons heavy cream or milk (if needed for consistency)
Directions
- Preheat oven to 350°F (175°C) and line baking sheets with parchment paper.
- In a medium bowl, whisk together flour, baking soda, baking powder, spices, salt, and oats.
- In a large bowl, cream together softened butter, brown sugar, and white sugar until light and fluffy.
- Beat in eggs one at a time, then mix in vanilla extract and pumpkin puree.
- Gradually add the dry ingredient mixture to the wet ingredients, mixing until just combined.
- Drop rounded tablespoons of dough onto prepared baking sheets, spacing them 2 inches apart.
- Bake for 10-12 minutes until edges are set but centers are soft.
- Cool on baking sheet for 5 minutes, then transfer to a wire rack to cool completely.
- For the filling, beat butter until smooth, then mix in marshmallow fluff and vanilla.
- Gradually beat in powdered sugar until filling is thick and fluffy.
- Spread filling on the flat side of half the cookies and sandwich with the remaining cookies.
- Store in an airtight container at room temperature for up to 5 days.
FAQ
Can I use fresh pumpkin instead of canned puree?
Yes, you can use fresh pumpkin, but you must cook and puree it first. Roast or steam the pumpkin until soft, then blend it until smooth. It is crucial to drain the fresh puree thoroughly to remove excess water, as too much moisture can make the cookies cakey and prevent them from setting properly. Canned puree is generally more consistent in texture and water content.
Why did my cookies spread too much?
Excessive spreading is usually caused by butter that was too melted or warm, or an oven that was not fully preheated. Ensure your butter is softened but still holds its shape when pressed, and always wait for the oven to reach the target temperature before baking.
Can I freeze these cream pies?
Yes, Pumpkin Oatmeal Cream Pies freeze very well. Assemble the pies, then wrap each one individually in plastic wrap. Place them in a freezer-safe bag or container. They can be frozen for up to three months. Thaw them in the refrigerator overnight or at room temperature for a few hours before serving.
How do I keep the filling from hardening?
The filling may harden slightly over time as the powdered sugar absorbs moisture from the air. To keep them soft, store them in a strictly airtight container. You can also add a slice of bread to the container; the cookies and filling will absorb moisture from the bread, staying softer for longer.
Can I make these ahead of time?
Absolutely. In fact, the flavor often improves after a day as the spices have time to meld and the cookies absorb a bit of moisture from the filling. They are an excellent make-ahead dessert for Thanksgiving or holiday parties.
Indulge in the perfect blend of chewy oats and spiced pumpkin.
A nostalgic treat elevated with seasonal warmth and creamy sweetness.