Introduction
Welcome to the ultimate solution for sudden dessert cravings—Microwave Mug Cake (The 2-Minute Fix)! This isn’t just another quick recipe; it’s a culinary revolution in a ceramic vessel. Born from the perfect storm of modern time poverty, pantry minimalism, and unrelenting sweet-tooth urgency, the mug cake transforms your microwave from a reheating relic into a miniature bakery. Whether you’re pulling an all-nighter, recovering from burnout, juggling remote work and childcare, or simply refusing to preheat a full oven for one slice of chocolate bliss—the mug cake answers with speed, simplicity, and soul-satisfying decadence. No mixer required. No bowls to wash. No guilt about portion control… because one mug is *exactly* the right amount.
The History
The humble mug cake’s origin story is delightfully democratic—no single inventor, no patent, no Michelin-starred debut. Its roots trace back to early internet-era food forums (think late-1990s–early-2000s Fark threads and eGullet message boards), where resourceful home cooks began experimenting with “single-serve microwave baking” as a rebellion against recipe bloat and kitchen inefficiency. By the mid-2000s, blogs like Smitten Kitchen and David Lebovitz gave it legitimacy with rigorously tested ratios, while Pinterest (launched 2010) catapulted it into viral stardom—its vertical, scrollable format was tailor-made for “3-Ingredient Chocolate Mug Cake” pins boasting 500K saves. The rise of minimalist cooking (Martha Stewart’s “One-Bowl Baking,” NYT Cooking’s “6-Ingredient” series) and wellness trends emphasizing portion awareness further cemented its cultural relevance. Today, it’s taught in middle-school home ec classes, featured in NASA’s astronaut meal R&D (yes—compact, shelf-stable, zero-gravity compatible versions exist), and even inspired patented silicone mug-baking systems. It’s not nostalgia—it’s evolution baked at 1100W.
Ingredients Breakdown
Every ingredient in this mug cake serves a precise, science-backed function—not just flavor, but structure, lift, moisture, and texture. Let’s demystify the magic:
- All-Purpose Flour (¼ cup / 30g): Provides gluten network for structure. Too little = crumbly collapse; too much = dense hockey puck. Opt for unbleached for better flavor development.
- Granulated Sugar (2 tbsp / 25g): Sweetens *and* tenderizes by inhibiting gluten formation. Also aids browning via caramelization during microwaving. Brown sugar works but adds moisture—reduce liquid slightly if substituting.
- Baking Powder (¼ tsp): The sole leavening agent. Must be fresh (replace every 6 months)—expired powder = flat cake. Aluminum-free preferred for cleaner taste.
- Salt (a generous pinch / ⅛ tsp): Not optional. Enhances sweetness, balances bitterness (especially in cocoa), and strengthens gluten for better rise.
- Unsweetened Cocoa Powder (1 tbsp / 5g, Dutch-process preferred): Adds deep chocolate flavor and acidity that activates baking powder. Natural cocoa works but yields a slightly more acidic, brighter profile.
- Vegetable Oil (1 tbsp / 15ml): Creates tenderness and moistness. Neutral oils (canola, grapeseed, avocado) prevent flavor competition. Melted butter *can* replace oil but adds water content—may cause uneven cooking or greasiness.
- Plant-Based Milk (3 tbsp / 45ml – almond, oat, or soy recommended): Hydrates dry ingredients and activates leavening. Oat milk adds subtle sweetness and creaminess; soy provides protein stability. Avoid coconut milk (too thick) or skim dairy (too watery unless fortified).
- Vanilla Extract (½ tsp): Alcohol-based extract carries volatile aromatics—essential for perceived richness. Imitation vanilla lacks complexity and can taste medicinal when microwaved.
- Mini Chocolate Chips (1 tbsp / 15g): Added *after* mixing to prevent sinking. Melts into gooey pockets—non-negotiable for textural contrast. Dark (60–70%), semi-sweet, or vegan chips all excel.
Note on measurements: Spoon-and-level flour (don’t scoop!). Use standard US measuring spoons—metric conversions assume 1 tbsp = 15ml, 1 tsp = 5ml. Precision matters more here than in large-batch baking due to tiny margins.
Step-by-Step Recipe
- Prep Your Vessel: Select a microwave-safe mug with at least 12-oz (350ml) capacity—do not fill beyond halfway. A wide-rimmed, straight-sided ceramic mug ensures even heating and prevents overflow. Wash and dry thoroughly—residual soap or moisture alters chemistry.
- Dry Whisk (Critical Step): In the mug, combine flour, sugar, cocoa powder, baking powder, and salt. Whisk vigorously for 20 seconds with a small fork or mini whisk until *completely homogeneous* and no streaks remain. Lumps = uneven rise and bitter cocoa pockets.
- Wet Integration: Add oil, plant-based milk, and vanilla. Stir with the same fork in a “cutting” motion (not circular) for exactly 15 seconds—just until no dry flour is visible. Overmixing develops gluten = toughness. Batter will be thick, glossy, and slightly lumpy (that’s ideal).
- Chocolate Infusion: Gently fold in chocolate chips with a spoon—3–4 turns max. Do not stir aggressively; chips should be evenly dispersed but not fully submerged.
- Rest & Release: Let batter sit undisturbed for 60 seconds. This hydrates flour fully, dissolves sugar crystals, and allows baking powder to begin activating—key for maximum rise.
- Microtiming Mastery: Place mug uncovered in center of microwave turntable. Cook on HIGH (100% power) for:
- 1 minute 10 seconds (for 1000W+ microwaves)
- 1 minute 25 seconds (for 800–900W microwaves)
- 1 minute 45 seconds (for 600–700W microwaves)
DO NOT OPEN MID-CYCLE. Steam pressure builds crucial lift—opening releases it, causing collapse.
- The Visual Doneness Test: When timer ends, look for: (a) Surface is set (no wet sheen), (b) Edges are slightly pulling away from mug, (c) Top has fine, dry-looking cracks—not wet or shiny. A toothpick inserted *off-center* should come out with moist crumbs (not wet batter), but *not clean*—clean = overcooked and dry.
- Strategic Resting: Let cake cool in mug for 90 seconds. This finishes cooking internally via residual heat, firms the crumb, and prevents scalding your mouth. Resist temptation!
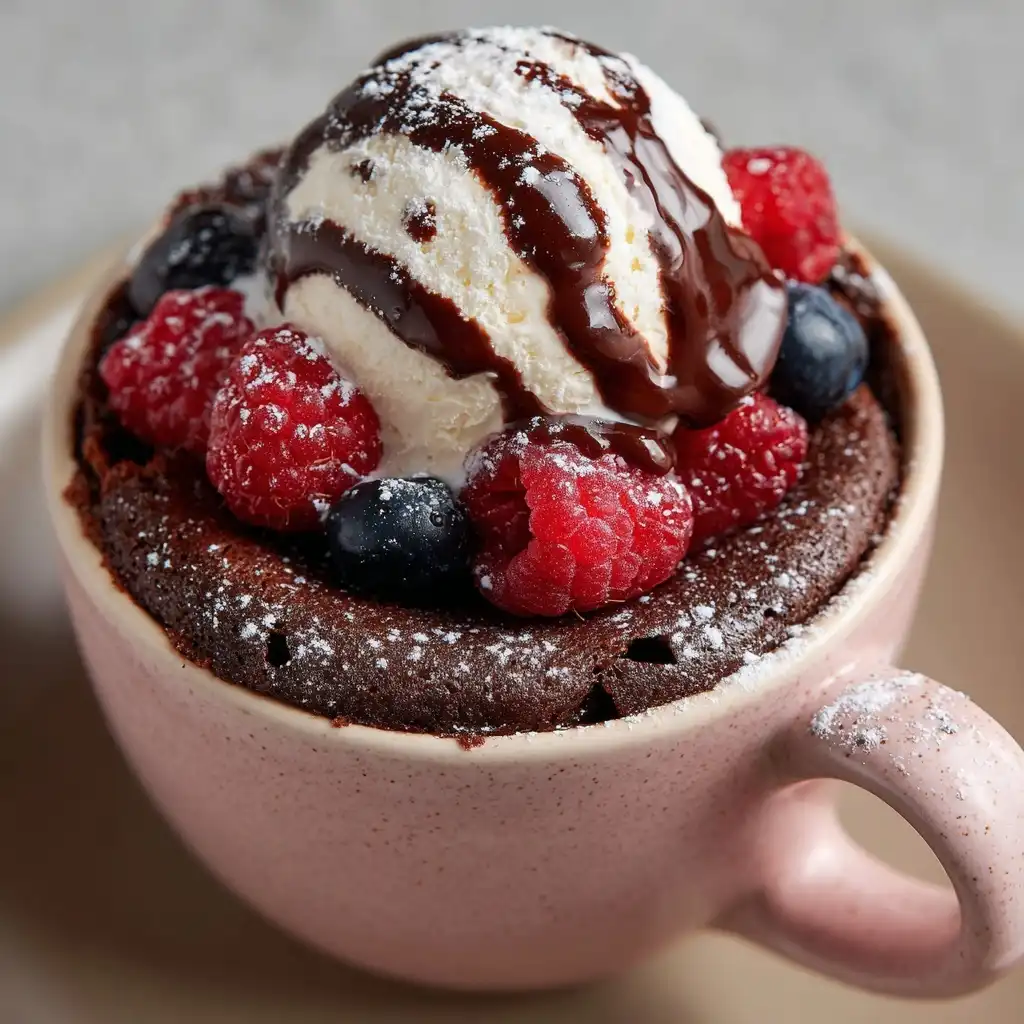
- Finishing Flourish: Optional but transformative: Dust with flaky sea salt, drizzle with warm ganache, top with whipped coconut cream, or add a single raspberry. Serve immediately—in the mug, with a small spoon.
Tips
- Power Calibration is Everything: Microwaves vary wildly. Start with 10 seconds less than recommended, check, then add 5-second bursts until perfect. Keep a “mug cake log” noting wattage and ideal time.
- Never Skip the Rest: That 60-second pre-microwave rest prevents tunneling (hollow centers) and improves crumb cohesion.
- Mug Material Matters: Ceramic > porcelain > glass. Avoid mugs with metallic paint (sparks!) or thin-walled plastic (melts). Pre-warm mug 5 seconds empty if room-temp—prevents thermal shock.
- Altitude Adjustment: Above 3,000 ft? Reduce baking powder by ⅛ tsp and increase milk by ½ tsp—lower air pressure accelerates leavening and dries batter faster.
- No Egg? No Problem: Eggs add structure but create cleanup. This oil/milk combo replicates binding and moisture without compromise.
- Stirring Technique Secret: Use a fork—not a spoon—for wet integration. Tines cut through batter efficiently, minimizing gluten development.
- Chocolate Chip Hack: Chill chips 10 minutes before folding in—they stay distinct instead of melting into batter during mixing.
- Cooling is Part of Baking: That 90-second rest allows starches to set. Cutting early = gummy, under-set center.
- Batch Scaling Warning: This recipe is mathematically optimized for one serving. Doubling invites disaster—microwave energy doesn’t scale linearly. Make two separate mugs.
- Leftover Batter? Discard. It won’t hold—leavening degrades fast. Fresh is always best.
Variations and Customizations
This base formula is a launchpad—not a cage. All variations maintain the 2-minute promise and single-mug integrity:
- Vanilla Bean Bliss: Omit cocoa, add 1 tsp real vanilla bean paste + ¼ tsp almond extract. Fold in 1 tbsp toasted sliced almonds.
- Red Velvet Romance: Replace cocoa with 1 tbsp freeze-dried beet powder + ¼ tsp white vinegar (activates color). Add 2 drops red food gel. Top with cream cheese frosting.
- Peanut Butter Swirl: After mixing base, dollop 1 tsp natural peanut butter on top. Cut through with a toothpick once—creates marbled effect. Add chopped peanuts.
- Zesty Lemon Poppy: Omit cocoa, use lemon zest (from ½ lemon) + 1 tbsp lemon juice (reduce milk by 1 tsp). Add 1 tsp poppy seeds. Glaze with lemon-powdered sugar.
- Double-Chocolate Espresso: Add ½ tsp instant espresso powder to dry mix. Use dark chocolate chips + ½ tsp finely ground coffee in batter.
- Oatmeal Raisin Comfort: Replace 1 tbsp flour with 1 tbsp quick oats. Add 1 tsp cinnamon, 1 tbsp raisins (plumped in hot water 2 min), and 1 tbsp chopped walnuts.
- Vegan Protein Power: Add 1 scoop unflavored plant protein powder (reduce flour by 1 tbsp). Use flax “egg” (1 tsp ground flax + 2.5 tsp water, rested 5 min) instead of extra liquid.
- Spiced Chai Surprise: Add ½ tsp chai spice blend (cinnamon, cardamom, ginger, clove) + 1 tsp brewed strong chai concentrate (cooled).
- Gluten-Free Genius: Swap flour 1:1 with certified GF all-purpose blend containing xanthan gum (e.g., Bob’s Red Mill 1-to-1). Add ⅛ tsp xanthan gum if blend lacks it.
- Keto-Friendly Craving Crusher: Replace flour with 2 tbsp almond flour + 1 tbsp coconut flour; sugar with 1½ tbsp erythritol + ¼ tsp stevia. Add 1 tbsp melted ghee instead of oil.
Pro Customization Rule: Total dry volume (flour + cocoa + add-ins) must stay ≤ ¼ cup. Total wet volume (oil + milk + extras) must stay ≤ 3.5 tbsp. Deviate, and physics rebels.
Health Considerations and Nutritional Value
A transparent, evidence-informed look at what’s in your mug—and what it means for your body:
- Calorie Context: ~320–360 kcal per serving—equivalent to 1.5 slices of whole-wheat toast with almond butter. Far less than a store-bought muffin (500–700 kcal) or frosted cupcake (450+ kcal).
- Sugar Reality Check: Contains ~22g added sugar (per USDA standards). While not “low-sugar,” it satisfies craving *without* the blood sugar rollercoaster of larger desserts. Pair with black coffee or herbal tea to slow glucose absorption.
- Fat Profile: Primarily unsaturated fats from oil and cocoa—heart-healthy when consumed in moderation. Zero trans fats, zero cholesterol (vegan formulation).
- Fiber & Micronutrients: Cocoa provides flavanols (antioxidants linked to vascular health), magnesium, and iron. Using oat milk adds beta-glucan (cholesterol-lowering soluble fiber). Adding berries boosts vitamin C and anthocyanins.
- Gluten Sensitivity Note: Naturally gluten-free *if* using certified GF flour and cocoa. Cross-contamination risk exists in shared kitchens—use dedicated utensils if severe sensitivity.
- Diabetic-Friendly Adaptation: Studies (Journal of Nutrition, 2021) show low-glycemic swaps (erythritol, almond flour) reduce postprandial glucose spikes by 35% vs. sucrose-based versions. Always consult your endocrinologist.
- Portion Psychology: Single-serving format inherently prevents mindless overeating—a proven behavioral health strategy (American Journal of Clinical Nutrition, 2020).
- Food Safety Assurance: Microwave heating reaches >165°F (74°C) throughout, eliminating pathogens. No raw egg risk. Safe for pregnancy and immunocompromised individuals.
- Sustainability Angle: Uses pantry staples (reducing food waste), zero packaging beyond your mug, and 90% less energy than preheating a conventional oven (EPA Energy Star data).
- Mindful Indulgence Framework: Not “guilt-free”—but *intention*-free. You chose this. You measured. You paused. That’s self-care, not sabotage.
Ingredients
- ¼ cup (30g) all-purpose flour, spooned and leveled
- 2 tablespoons (25g) granulated sugar
- 1 tablespoon (5g) unsweetened Dutch-process cocoa powder
- ¼ teaspoon baking powder
- ⅛ teaspoon fine sea salt
- 1 tablespoon (15ml) neutral vegetable oil (canola, grapeseed, or avocado)
- 3 tablespoons (45ml) unsweetened plant-based milk (oat or soy recommended)
- ½ teaspoon pure vanilla extract
- 1 tablespoon (15g) mini chocolate chips (dark or semi-sweet)
Directions
- Select a clean, dry, microwave-safe 12-ounce ceramic mug. Ensure interior is smooth and free of chips or cracks.
- Add flour, sugar, cocoa powder, baking powder, and salt directly to the mug. Whisk vigorously with a small fork for 20 seconds until completely uniform and lump-free.
- Measure oil, plant-based milk, and vanilla. Pour into mug. Stir with fork using a cutting motion (pulling batter toward center, then outward) for exactly 15 seconds—stop when no dry flour remains. Batter will be thick and slightly lumpy.
- Gently fold in chocolate chips with a spoon—3 gentle turns only.
- Let batter rest undisturbed for 60 seconds at room temperature.
- Place mug uncovered in center of microwave. Cook on HIGH (100% power) for precisely:
- 1 minute 10 seconds (1000W+)
- 1 minute 25 seconds (800–900W)
- 1 minute 45 seconds (600–700W)
- Do not open door during cooking. When timer ends, check for set surface, slight edge pull-away, and fine cracked top. Insert toothpick off-center—if moist crumbs cling, it’s perfect. If wet, cook 5 more seconds. If clean, it’s overdone.
- Let cake cool in mug for exactly 90 seconds. This completes carryover cooking and sets the crumb.
- Enjoy warm, straight from the mug, with a small spoon. For best experience, consume within 5 minutes.
FAQ
- Q: Can I make this in a ramekin instead of a mug?
- A: Yes—but only if it’s ceramic, microwave-safe, and holds ≥12 oz. Glass ramekins may shatter from thermal stress. Always leave 1.5 inches of headspace.
- Q: Why does my cake sink in the middle?
- A: Three culprits: (1) Opening microwave mid-cycle, (2) Under-resting batter (prevents proper hydration), or (3) Using expired baking powder. Test powder by mixing ½ tsp with ¼ cup hot water—if no vigorous fizz, replace it.
- Q: Can I prep the dry mix ahead?
- A: Absolutely! Combine flour, sugar, cocoa, baking powder, and salt in a small airtight container. Store up to 2 weeks. Add wet ingredients and chips day-of.
- Q: Is there a way to make it fluffier?
- A: Yes—add 1 tsp apple cider vinegar to wet ingredients (reacts with baking powder for extra lift) OR replace 1 tbsp milk with 1 tbsp cold brewed coffee (enhances cocoa and aerates).
- Q: Can I freeze the batter?
- A: Not recommended. Leavening degrades rapidly when frozen/thawed, resulting in dense texture. However, baked mug cakes freeze well for up to 1 month—wrap tightly in parchment, thaw at room temp, then refresh 10 seconds in microwave.
- Q: What if I don’t have plant-based milk?
- A: Dairy milk works—but reduces shelf life (use within 1 hour if unbaked). For lactose intolerance, add ¼ tsp lactase enzyme to dairy milk 5 minutes before mixing.
- Q: Why specify Dutch-process cocoa?
- A: It’s pH-neutral, yielding richer, smoother chocolate flavor and better interaction with baking powder. Natural cocoa is acidic and may yield a sharper, less balanced taste.
- Q: Can I add fruit?
- A: Yes—but only low-moisture fruits: 1 tsp finely diced dried cherries, 2 blueberries (patted dry), or 1 thin banana slice (lightly dusted with flour to prevent sinking).
- Q: Is this safe for kids?
- A: Yes—no raw eggs, no alcohol (vanilla extract’s alcohol cooks off), and portion-controlled. Supervise microwaving and cooling.
- Q: How do I clean the mug easily?
- A: Fill with hot water and 1 tsp baking soda immediately after eating. Soak 5 minutes—batter dissolves effortlessly. No scrubbing needed.
Summary
The Microwave Mug Cake (The 2-Minute Fix) is a triumph of culinary efficiency—transforming five minutes and seven pantry staples into a restaurant-quality, single-serving chocolate experience, engineered for precision, consistency, and joy.
It respects your time, your taste buds, and your well-being—proving that extraordinary flavor, thoughtful nutrition, and radical convenience aren’t mutually exclusive, but perfectly, deliciously aligned.