Melt-in-Your-Mouth Peanut Butter Cookies
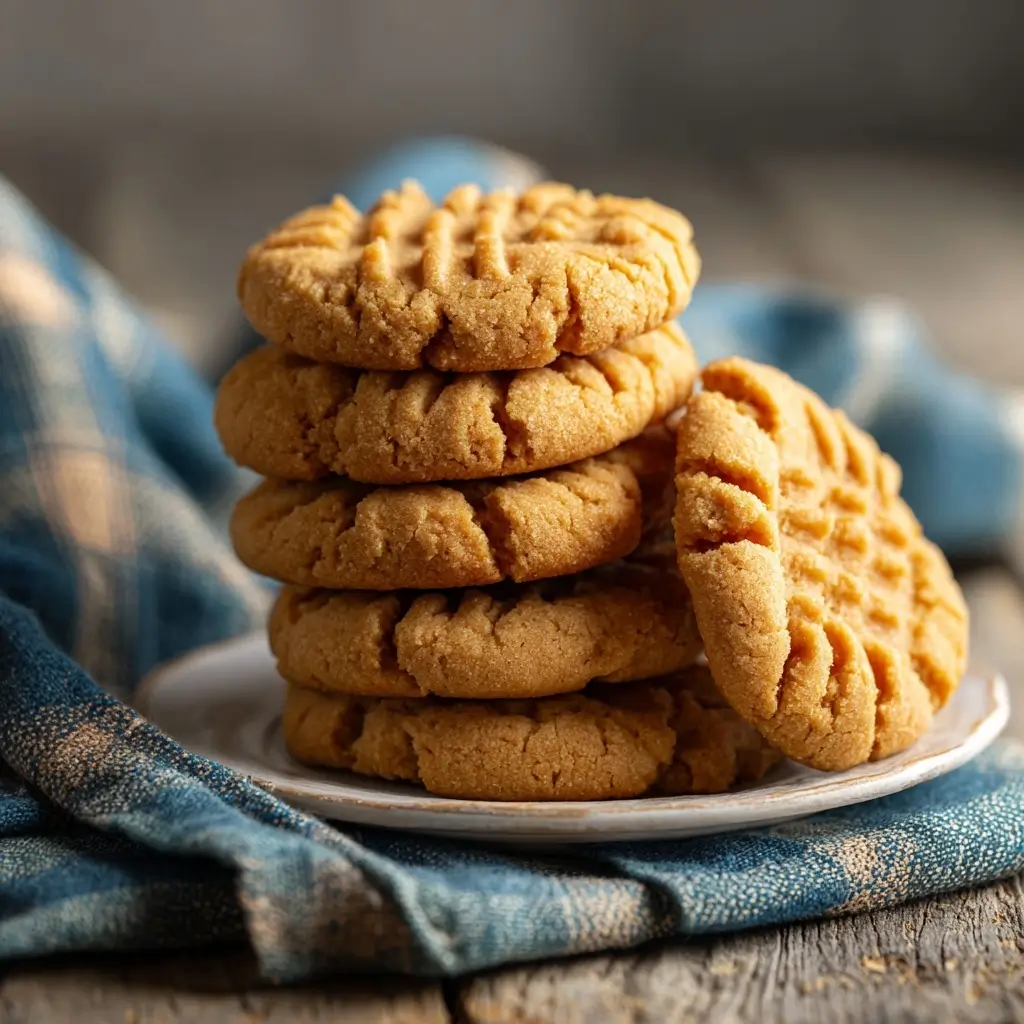
There’s something truly magical about a warm, freshly baked peanut butter cookie—soft, rich, and perfectly crumbly, with that unmistakable nutty aroma wafting through the kitchen. These Melt-in-Your-Mouth Peanut Butter Cookies are not just any ordinary treat; they’re a nostalgic journey back to childhood afternoons, family gatherings, and holiday baking traditions. With their golden-brown finish, signature fork-crossed tops, and a melt-away texture that dissolves on your tongue, these cookies are guaranteed to become a staple in your dessert repertoire.
The History of Peanut Butter Cookies
Peanut butter cookies have been delighting taste buds since the early 20th century. While peanut butter itself was patented in 1895 by Dr. John Harvey Kellogg (yes, the same Kellogg of breakfast cereal fame), it wasn’t until the 1930s that peanut butter began making its way into mainstream American baking. The first known printed recipe for peanut butter cookies appeared in Good Housekeeping in 1922, but the now-iconic crisscross pattern—created by pressing the dough with a fork before baking—became popular during World War II when food rationing made eggs and butter scarce. Peanut butter, being affordable, shelf-stable, and protein-rich, became a go-to ingredient in many households.
The simplicity and resourcefulness behind these cookies reflect a time when home cooks turned limited ingredients into beloved classics. Today, peanut butter cookies are cherished worldwide, appearing in cookie jars, school lunches, and gourmet bakeries alike. Their enduring popularity is a testament to their rich flavor, comforting texture, and the universal love for all things peanut butter.
Ingredients Breakdown: What Makes These Cookies So Irresistible?
The secret to achieving that “melt-in-your-mouth” quality lies in the careful balance of ingredients. Let’s take a closer look at each component and its role in creating perfection:
- Peanut Butter: Use creamy, unsweetened, and unhydrogenated peanut butter for the best flavor and texture. Natural peanut butter works well, but be mindful of oil separation—stir thoroughly before measuring. Avoid brands with added sugars or palm oil if you want a more authentic, rich taste.
- Butter: Unsalted butter ensures control over the salt content and contributes to the tender, velvety crumb. It should be softened to room temperature for easy creaming.
- Granulated Sugar and Brown Sugar: A combination of both creates the ideal balance. Granulated sugar adds crispness and helps with spreading, while brown sugar brings moisture, chewiness, and a hint of molasses depth.
- Eggs: One large egg binds the ingredients together and adds richness. For an even softer texture, some bakers use just the yolk, though the whole egg provides better structure.
- Vanilla Extract: Pure vanilla enhances the overall flavor profile, rounding out the nuttiness with a warm, aromatic sweetness.
- Flour: All-purpose flour gives the cookies their structure. Be sure to spoon and level the flour when measuring to avoid dry, dense cookies.
- Baking Soda: This leavening agent helps the cookies rise slightly and develop a soft interior with delicate cracks on the surface.
- Salt: Even when using salted peanut butter, a pinch of extra salt heightens the flavors and balances the sweetness.
Step-by-Step Recipe: How to Make Melt-in-Your-Mouth Peanut Butter Cookies
Follow this detailed guide to create cookies that are soft, tender, and utterly addictive. Yield: Approximately 24 cookies.
Ingredients
- 1 cup (250g) creamy peanut butter (natural or regular)
- 1/2 cup (113g) unsalted butter, softened
- 1/2 cup (100g) granulated sugar
- 1/2 cup (110g) packed light brown sugar
- 1 large egg
- 1 1/2 teaspoons pure vanilla extract
- 1 1/4 cups (160g) all-purpose flour
- 3/4 teaspoon baking soda
- 1/2 teaspoon salt
- Extra granulated sugar for rolling (optional)
Directions
- Preheat the oven to 350°F (175°C). Line two large baking sheets with parchment paper or silicone baking mats.
- Cream the wet ingredients: In a large mixing bowl, beat the softened butter, peanut butter, granulated sugar, and brown sugar together using a hand mixer or stand mixer on medium speed until smooth, fluffy, and lightly whipped (about 2–3 minutes).
- Add the egg and vanilla: Beat in the egg and vanilla extract until fully incorporated, scraping down the sides of the bowl as needed.
- Combine dry ingredients: In a separate bowl, whisk together the flour, baking soda, and salt.
- Mix dry into wet: Gradually add the dry mixture to the wet ingredients, mixing on low speed until just combined. Do not overmix—this can lead to tough cookies.
- Chill the dough (optional but recommended): Cover the bowl and refrigerate the dough for 30–60 minutes. Chilling prevents excessive spreading and enhances flavor development.
- Shape the cookies: Scoop tablespoon-sized portions of dough and roll them into balls. If desired, roll each ball in granulated sugar for a sweet, crackly crust.
- Flatten with a fork: Place the dough balls about 2 inches apart on the prepared baking sheets. Using a fork, gently press down on each ball to flatten, rotating 90 degrees to create the classic crisscross pattern.
- Bake: Bake for 10–12 minutes, or until the edges are lightly golden and the centers appear set. Do not overbake—they will continue to firm up as they cool.
- Cool: Allow the cookies to cool on the baking sheet for 5 minutes before transferring to a wire rack to cool completely.
Tips for Perfect Peanut Butter Cookies Every Time
- Use room-temperature ingredients: Cold butter or egg can cause the dough to seize or bake unevenly.
- Don’t skip chilling: Especially if your kitchen is warm, chilling the dough ensures thicker, chewier cookies.
- Measure flour correctly: Spoon flour into the measuring cup and level it off with a knife. Scooping directly from the bag compacts the flour and leads to dry cookies.
- Press gently with the fork: You want to flatten the dough just enough—press too hard and the cookies may spread too much or become thin and crispy.
- Rotate pans halfway: For even baking, rotate the baking sheets front to back in the oven at the 6-minute mark.
- Store properly: Keep cooled cookies in an airtight container at room temperature for up to 5 days. For longer storage, freeze for up to 3 months.
Variations and Customizations
While classic peanut butter cookies are heavenly on their own, feel free to get creative:
- Chocolate Lovers: Press a chocolate kiss into the center of each cookie right after baking, or fold 1/2 cup of chocolate chips into the dough.
- Crunchy Version: Substitute crunchy peanut butter for creamy to add delightful texture.
- Double Chocolate: Add 1/4 cup cocoa powder to the dry ingredients and mix in chocolate chips for a decadent twist.
- Gluten-Free: Replace all-purpose flour with a 1:1 gluten-free baking blend. Ensure other ingredients are certified gluten-free.
- Vegan Option: Use plant-based butter, flax egg (1 tbsp ground flax + 3 tbsp water), and vegan-certified peanut butter. Check sugar sources if strict.
- Sea Salt Finish: Sprinkle a pinch of flaky sea salt on top after baking for a sweet-salty contrast.
- Stuffed Cookies: Hide a small piece of peanut butter cup or caramel square inside each dough ball before baking.
Health Considerations and Nutritional Value
While these cookies are undeniably indulgent, understanding their nutritional profile can help with mindful enjoyment. Per serving (one cookie, based on 24 servings):
- Calories: ~140–160
- Fat: 9–10g (mostly from healthy monounsaturated fats in peanut butter and butter)
- Saturated Fat: 3–4g
- Carbohydrates: 15–17g
- Sugars: 9–11g
- Protein: 3–4g
- Sodium: ~100–120mg
Peanut butter offers heart-healthy fats, protein, and essential vitamins like B3 and E. However, due to their sugar and fat content, these cookies should be enjoyed in moderation, especially for those managing diabetes, weight, or cardiovascular concerns. Opting for natural peanut butter with no added sugar and reducing the sugar slightly (to 1/3 cup each) can make a healthier version without sacrificing too much taste.
Frequently Asked Questions (FAQ)
Why are my peanut butter cookies dry or crumbly?
This usually happens due to too much flour or overbaking. Always spoon and level your flour, and set a timer to avoid overcooking. Slight underbaking yields softer results.
Can I make these cookies without eggs?
Yes! Use a flax egg (1 tbsp ground flaxseed + 3 tbsp water, let sit for 5 minutes) or applesauce (1/4 cup) as a binder. Texture may be slightly denser.
Why do we press peanut butter cookies with a fork?
Historically, it ensured even baking since the dense dough didn’t spread well. Today, it’s a charming tradition and a signature look.
Can I freeze the dough?
Absolutely! Scoop into balls, freeze on a tray, then transfer to a bag. Bake straight from frozen—add 1–2 minutes to baking time.
Can I use powdered sugar instead of granulated?
You can, but it may alter texture. Granulated sugar helps with browning and spread, while powdered sugar makes cookies more tender and cake-like.
Are these cookies safe for people with nut allergies?
No. Peanuts are legumes, but they are common allergens. Always label clearly if sharing.
How do I make my cookies chewier?
Use more brown sugar than white, slightly underbake, and store them with a slice of bread to retain moisture.
Summary
These Melt-in-Your-Mouth Peanut Butter Cookies combine rich, nutty flavor with a tender, cloud-like texture that dissolves with every bite. Easy to make and endlessly customizable, they’re a timeless treat that brings joy to bakers and eaters of all ages.