Introduction
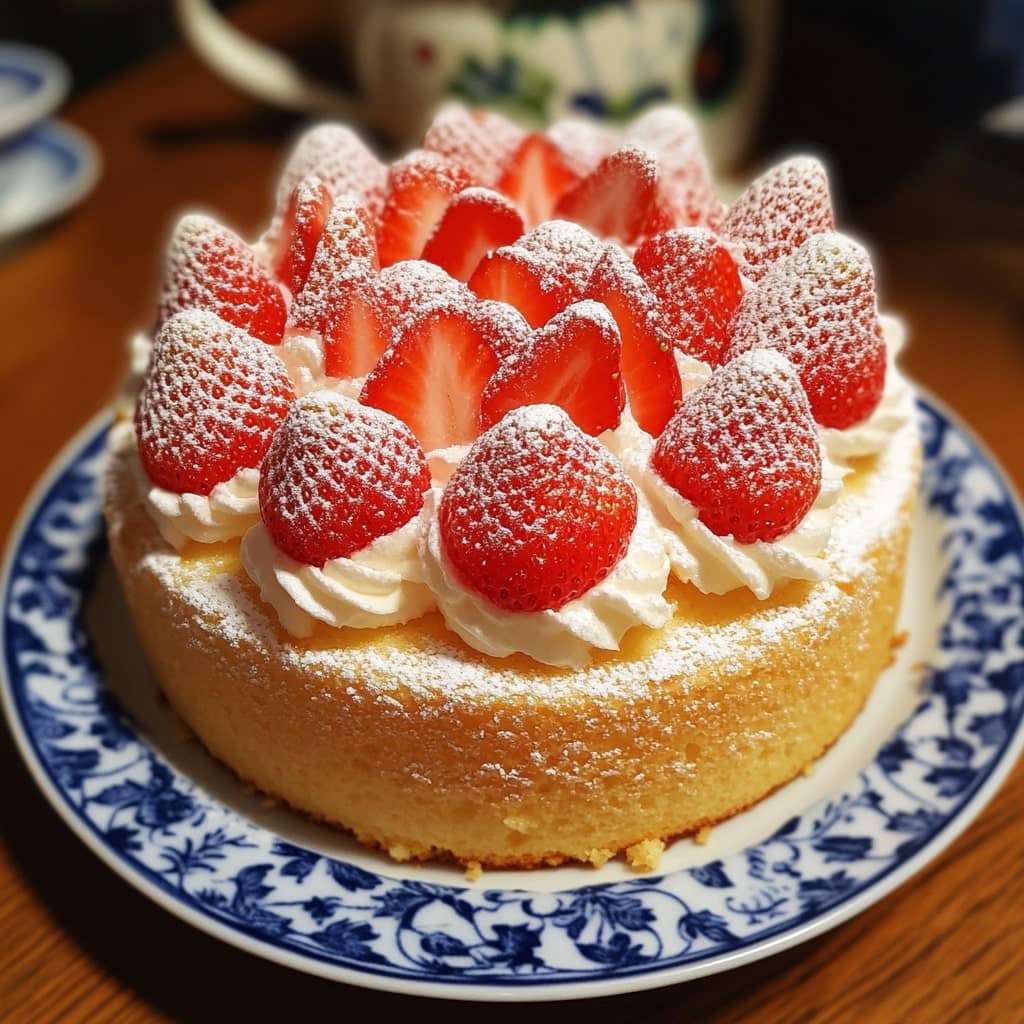
The Japanese Strawberry Sponge Cake, known as “Ichigo Shortcake” in Japan, is a delicate and airy dessert that is often enjoyed during special occasions such as birthdays and Christmas. Unlike traditional Western sponge cakes, the Japanese version is lighter and less sweet, with a spongy texture that practically melts in your mouth. This cake is traditionally made with fresh strawberries, light whipped cream, and a soft, fluffy sponge cake base, making it a perfect dessert for anyone who loves a light, fruity treat. Its simplicity and elegance have made it a popular choice not only in Japan but around the world.
The History of Japanese Strawberry Sponge Cake
Japanese strawberry sponge cake has its roots in European-style cakes but has evolved over time to reflect the Japanese preference for lighter, less sugary desserts. The origins of the cake can be traced back to the early 20th century, when Japan first encountered Western baking techniques. By the 1920s, sponge cakes became more popular, and the Japanese adapted them, adding fresh fruit like strawberries, a flavor commonly found in their desserts. Today, Ichigo Shortcake is enjoyed during Christmas and other celebrations and is an iconic dessert in Japanese pastry culture, embodying the light, fresh, and subtly sweet characteristics that Japanese cuisine is known for.
Ingredients Breakdown
For the Sponge Cake:
- 4 large eggs
- 1 cup (120g) cake flour (or all-purpose flour, sifted)
- 1/2 cup (100g) granulated sugar
- 1/4 cup (60ml) whole milk
- 1/4 cup (60g) unsalted butter, melted
- 1 tsp vanilla extract
- 1/2 tsp baking powder
- A pinch of salt
For the Whipped Cream:
- 2 cups (480ml) heavy whipping cream
- 2 tbsp powdered sugar (or more to taste)
- 1 tsp vanilla extract
For the Filling:
- 1 lb fresh strawberries, hulled and sliced
Step-by-Step Recipe
- Prepare the Sponge Cake: Preheat the oven to 325°F (165°C). Grease and line an 8-inch round cake pan with parchment paper. Sift the flour and baking powder together and set aside.
- In a mixing bowl, beat the eggs and granulated sugar with an electric mixer on high speed until pale and fluffy, about 5-7 minutes. The mixture should double in volume and form soft peaks when the whisk is lifted.
- Gently fold in the sifted flour mixture in batches, using a spatula. Take care not to deflate the batter.
- In a separate bowl, heat the milk and melted butter together, then slowly add it to the batter along with the vanilla extract. Gently fold until just combined.
- Pour the batter into the prepared cake pan and spread it out evenly. Bake for 20-25 minutes, or until the cake is golden brown and a toothpick inserted in the center comes out clean.
- Let the cake cool in the pan for 10 minutes before transferring it to a wire rack to cool completely.
- Prepare the Whipped Cream: In a large mixing bowl, beat the heavy whipping cream, powdered sugar, and vanilla extract on high speed until soft peaks form. Be careful not to overwhip, as it can turn into butter.
- Assemble the Cake: Once the sponge cake has completely cooled, slice it horizontally into two or three even layers. Place the bottom layer of the cake on a serving platter.
- Spread a layer of whipped cream over the cake, then add a layer of sliced strawberries on top.
- Place the second layer of cake on top and repeat the process with whipped cream and more strawberries.
- If desired, cover the entire cake with a final layer of whipped cream and decorate the top with more fresh strawberries.
- Chill the cake in the fridge for about 1-2 hours to allow the flavors to meld and the whipped cream to set.
Tips for the Perfect Japanese Strawberry Sponge Cake
- Be sure to beat the eggs and sugar until they are light and fluffy, as this helps give the cake its airy texture.
- Gently fold in the flour mixture to avoid deflating the batter.
- Use fresh, ripe strawberries for the best flavor and decoration.
- Make sure the cake layers are completely cool before assembling to prevent the whipped cream from melting.
- If you don’t have cake flour, you can substitute it with all-purpose flour, but the texture might not be as light.
- For added flavor, you can soak the sponge cake layers in a light sugar syrup before adding the whipped cream and strawberries.
Variations and Customizations
- For a different flavor profile, you can substitute the strawberries with other fresh fruits such as blueberries, peaches, or raspberries.
- You can also infuse the whipped cream with a bit of matcha powder for a subtle earthy flavor that complements the sweetness of the strawberries.
- To make the cake even more decadent, consider adding a layer of sweetened red bean paste between the cake layers.
- If you prefer a more luxurious version, you can use mascarpone cheese in the whipped cream for a richer, creamier texture.
Health Considerations and Nutritional Value
While the Japanese Strawberry Sponge Cake is a light dessert, it is still made with sugar and heavy cream, so it is best enjoyed in moderation. The sponge cake is relatively low in fat but contains refined sugars, which should be considered if you’re watching your sugar intake. Using a lighter whipped cream or reducing the sugar content can make this cake slightly more health-conscious, though the traditional recipe is rich and indulgent. Fresh strawberries add a good dose of vitamins, particularly Vitamin C, which boosts immunity.
FAQ
- Can I use a different size pan for this cake?
Yes, you can use different sizes, but adjust the baking time accordingly. A smaller pan will require less baking time, while a larger pan will need more time. - Can I make the cake ahead of time?
Yes, the sponge cake can be made a day in advance and stored at room temperature in an airtight container. However, it is best to assemble the cake the day of serving, as the whipped cream may start to soften after a while. - Can I make this cake gluten-free?
Yes, you can substitute the cake flour with a gluten-free flour blend to make the cake gluten-free. Make sure to check that the whipped cream and other ingredients are also gluten-free. - How do I store leftovers?
If you have leftovers, store them in an airtight container in the refrigerator. The cake is best consumed within 2-3 days for the freshest taste.

Japanese Strawberry Sponge Cake
Ingredients
Sponge Cake
- 125 g 4.4oz all-purpose flour, sifted 3 times
- 100 g 3.5oz sugar (see note 1)
- 4 large eggs yolks and whites separated (see note 2)
- 60 g 2.1oz butter, melted
- Butter and flour for coating the inside of the cake pan
Decoration
- 18 medium-sized strawberries see note 3
- 400 ml 0.8pt whipping cream (see note 4)
- 10 g 0.4oz sugar
- Syrup optional, see note 4
- 40 ml 1.4oz water
- 10 g 0.4oz sugar
Instructions
- Preheat the oven to 180°C (356°F).
- Coat the inside of an 18cm (7″) cake tin (see note 6) with butter, then dust it with flour and shake off any excess flour.
- In a bowl, place the egg yolks and add ⅔ of the sugar. Beat the egg yolks until they become whitish and thick. When the whisk draws a ribbon that disappears slowly (see the video), it is ready.
- In a separate bowl, beat the egg whites. Once small bubbles form and the volume of the egg whites doubles, add the remaining sugar in 2-3 batches and continue beating until a meringue forms.
- When the meringue becomes firm and forms a peak when you lift the whisk (see step-by-step photos and video in the post), it is ready.
- Sift the flour and add it to the beaten egg yolks. Gently fold the batter with a spatula.
- Transfer ⅓ of the meringue to the batter and mix with a whisk until the batter becomes smooth.
- Add the remaining meringue in 2-3 batches to the batter and fold gently.
- Pour the melted butter into the batter and fold a few times. It’s okay if the butter isn’t fully incorporated.
- Pour the batter into the prepared cake tin. Drop the tin onto the workbench a few times to settle the batter.
- Bake in the preheated oven at 180°C (356°F) for about 25 minutes. Insert a thin bamboo skewer into the center of the cake; if it comes out dry, the cake is done. If it’s a bit wet, bake for another 5 minutes.
- Remove the tin from the oven and drop it a couple of times onto the workbench to detach the cake from the tin. Remove the cake from the tin and place it upside down on a cooling rack to cool completely.
- Decorating the Cake (Perform steps 1 and 2 while the sponge cake is cooling)
- If you’re making syrup, combine the syrup ingredients in a small saucepan and bring to a boil. Once the sugar has dissolved, remove from heat and let it cool.
- Whip the cream until soft peaks form. Gently wipe the strawberries with a wet kitchen towel, remove the stems, and halve 10 strawberries.
- Leave the sponge cake upside down and slice it horizontally in half (see note 7). Remove the top half and place it next to the bottom half of the cake with the cut side facing up.
- Using a brush, gently coat the cut surface of both cake layers with syrup.
- Spread about 3 heaping tablespoons of the whipped cream on the bottom half of the sliced cake and cover the entire surface. Fill the surface with halved strawberries, trying to eliminate any gaps.
- Spread about 4 heaping tablespoons of whipped cream on top of the strawberries and around the edges.
- Place the top half of the cake on top, syrup side down. Gently press down to ensure the top and bottom layers align. Fill the gap around the strawberry filling with whipped cream.
- (Optional) Thinly coat the top and sides of the cake with whipped cream. It’s okay not to fully cover the sponge. Let the cake sit in the fridge for 10 minutes (see note 8).
- Using a cake spatula or a long flat spatula, cover the top and sides of the cake completely with the remaining whipped cream, leaving about 4-5 tablespoons for piping.
- Place the remaining cream in a piping bag fitted with a round nozzle. Pipe cream mounds in 8 positions around the edge of the cake and place a strawberry on each mound.