Giant Frankenstein Rice Krispie Treats: A Monstrous Delight for Halloween and Beyond
If you’re looking to bring some spooky fun and delicious sweetness to your next gathering, look no further than Giant Frankenstein Rice Krispie Treats. These oversized, green-hued marshmallow treats shaped like the iconic monster are perfect for Halloween parties, themed events, or just a fun baking project with kids. Not only do they deliver on flavor—chewy, sweet, and nostalgic—but their dramatic appearance makes them a centerpiece-worthy dessert that’s as much fun to make as it is to eat.
The History of Rice Krispie Treats and Their Monster Makeover
Rice Krispie Treats have been a staple in American kitchens since the 1930s. Originally created by Kellogg’s as a clever way to promote Rice Krispies cereal, the recipe quickly became a household favorite due to its simplicity, minimal ingredients, and satisfying texture. The original version combines butter, marshmallows, and cereal—a trifecta of comfort.
Over the decades, bakers and home chefs began experimenting with colors, flavors, and shapes, turning these humble squares into creative confections. Enter the era of holiday-themed treats. Around Halloween, green food coloring started appearing in Rice Krispie mixtures, giving rise to “monster” versions. Inspired by classic horror icons like Frankenstein’s monster, creative decorators began shaping the treats into grotesque yet lovable figures using molds, cookie cutters, and artistic flair.
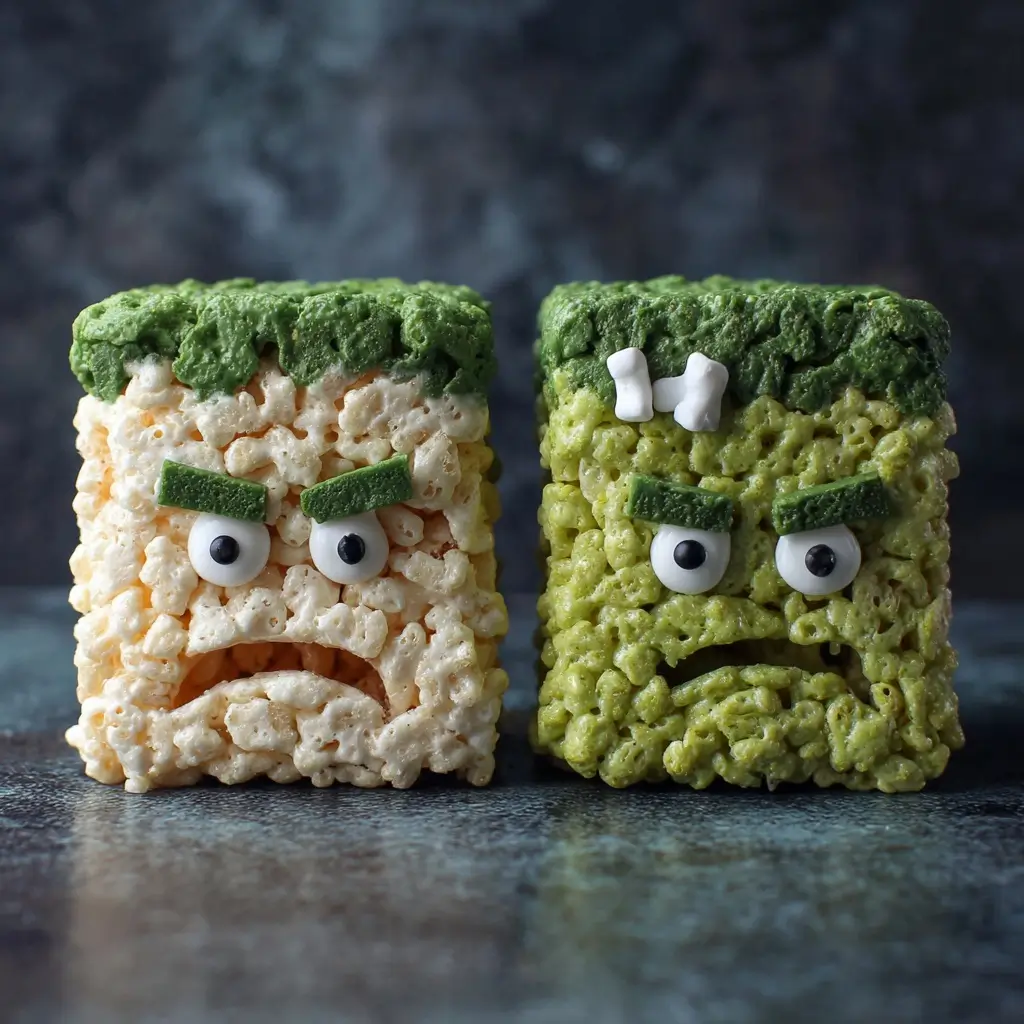
The Giant Frankenstein Rice Krispie Treat is a modern evolution—bigger, bolder, and more theatrical. Instead of small bars, entire full-sized Frankenstein heads are crafted from a single batch, making them ideal for display and sharing. This trend reflects a larger movement in baking: transforming simple recipes into edible art. With social media platforms amplifying creativity, these giant treats have gained popularity at birthday parties, school events, and seasonal celebrations.
Ingredients Breakdown: What Makes These Treats So Special?
The magic behind Giant Frankenstein Rice Krispie Treats lies in both the traditional base and the imaginative additions that transform them into something extraordinary. Let’s take a deep dive into each component:
- Butter: Unsalted butter is preferred for better control over flavor. It melts the marshmallows smoothly and adds richness to the final texture.
- Marshmallows: Standard mini marshmallows melt evenly and create that signature chewiness. For extra flavor, some use colored or flavored marshmallows (like green ones for added color intensity).
- Vanilla Extract: A splash enhances sweetness and rounds out the flavor profile, cutting through the cloying sugar.
- Green Food Coloring: Gel-based food coloring is recommended because it provides vibrant hue without altering the consistency. Liquid coloring can be used but may require more volume, potentially affecting texture.
- Rice Krispies Cereal: The structural backbone. Its light, crispy nature allows it to absorb the marshmallow mixture while maintaining shape when molded.
- Candy Eyes, Chocolate Bars, Fruit Roll-Ups, Gummy Worms, etc.: Used for decoration. Candy eyes give life to the monster, chocolate bars become bolts, fruit roll-ups form mouths, and gummy worms can act as “stitches” or hair.
- Corn Syrup (optional): Some recipes include a bit of light corn syrup to add shine and prevent cracking in large molds.
- Salt: A pinch enhances all other flavors and balances the sweetness.
Optional upgrades include adding sprinkles for texture, using dark chocolate instead of milk chocolate for contrast, or even incorporating peanut butter for a nutty twist.
Step-by-Step Recipe: How to Make Giant Frankenstein Rice Krispie Treats
Creating these colossal creatures might seem daunting, but with the right tools and patience, anyone can master this fun project. Follow these detailed steps to craft your own edible Frankenstein masterpiece.
Ingredients You’ll Need:
- ½ cup (1 stick) unsalted butter
- 10 oz (about 4 cups) mini marshmallows
- 1 teaspoon pure vanilla extract
- 4–5 drops neon green gel food coloring (adjust for desired shade)
- 6 cups Rice Krispies cereal
- Pinch of salt
- Non-stick cooking spray or butter (for greasing molds)
Decorations:
- Pack of pre-made candy eyes (or draw them with edible markers)
- 2 chocolate batons or small candy bars (for neck bolts)
- Red fruit roll-up or licorice strip (for mouth)
- Black icing or melted chocolate (for facial stitches and details)
- Gummy worms or black shoelaces (optional, for hair)
- Edible glue or corn syrup (to attach parts)
Equipment:
- Large saucepan
- Wooden spoon or silicone spatula
- Mixing bowl
- Frankenstein-shaped mold (available online), or use a loaf pan and sculpt by hand
- Piping bag with fine tip (optional, for detailing)
- Offset spatula or butter knife
Directions:
- Prepare Your Workspace: Cover your counter with parchment paper or wax paper. Lightly grease your Frankenstein mold (or loaf pan) with non-stick spray or softened butter. If not using a mold, sketch a rough outline of a Frankenstein head on paper as a guide.
- Melt the Butter: In a large saucepan over medium-low heat, melt the butter completely. Stir occasionally to prevent browning.
- Add Marshmallows: Once the butter is fully melted, reduce the heat to low. Add the mini marshmallows and stir continuously until they’re completely melted and form a smooth, glossy mixture.
- Flavor and Color: Remove the pan from heat. Stir in the vanilla extract, salt, and green food coloring. Mix thoroughly until the color is uniformly vibrant. Start with 3–4 drops; add more if a deeper green is desired.
- Incorporate Cereal: Gently fold in the Rice Krispies one cup at a time, mixing carefully to avoid crushing the cereal. Continue until all cereal is evenly coated and no dry patches remain.
- Shape the Head: Immediately transfer the mixture into your greased mold. Press down firmly and evenly with a buttered spatula or the back of a spoon to eliminate air pockets. If using a loaf pan, pack tightly and let cool slightly before trimming into a head shape with a sharp knife.
- Cool Completely: Allow the treat to set for at least 1–2 hours at room temperature, or speed up the process by placing it in the refrigerator for 30 minutes. Do not cut or decorate until fully cooled and firm.
- Unmold Carefully: Once hardened, gently loosen the edges and invert the mold onto a serving tray. Tap lightly if needed. If hand-sculpting, use kitchen scissors or a serrated knife to shape the forehead, jawline, and neck.
- Begin Decorating: Attach two large candy eyes near the top of the head. Use edible glue or a dab of melted marshmallow to secure them.
- Add Neck Bolts: Insert two small chocolate bars vertically into the sides of the “neck” area to mimic Frankenstein’s iconic electrical bolts.
- Create the Mouth: Cut a wavy line from a red fruit roll-up and press it horizontally below the eyes. For a scarred look, add jagged edges or layer multiple strips.
- Draw Stitches: Using a piping bag filled with melted black chocolate or edible icing, draw thick stitch lines across the forehead, cheeks, and chin. Crisscross for authenticity.
- Add Hair (Optional): Tuck gummy worms around the crown to simulate wild, electrified hair. Alternatively, use black licorice laces or shredded coconut dyed black.
- Final Touches: Use white icing to highlight stitch knots or add pupils to the eyes. Dust lightly with powdered sugar if the surface looks too shiny.
Tips for Success: Avoiding Common Mistakes
- Don’t Overheat the Marshmallows: High heat can cause caramelization or burning, leading to a bitter taste. Always use low to medium-low heat and stir constantly.
- Work Quickly After Melting: The mixture begins to harden as it cools. Have your mold ready and work efficiently once the cereal is mixed in.
- Use Gel Food Coloring: Liquid coloring contains water, which can interfere with texture. Gel gives intense color with minimal impact.
- Grease Hands or Tools: When pressing the mixture into molds, lightly butter your hands or spatula to prevent sticking.
- Let It Set Fully: Rushing the cooling process can lead to collapse or deformation. Patience ensures clean unmolding.
- Store Properly: Keep finished treats in an airtight container at room temperature for up to 3 days. Avoid refrigeration unless necessary, as condensation can make them soggy.
- Make Ahead Tip: Prepare the base treat a day in advance and decorate the morning of your event for freshest results.
Variations and Customizations: Make It Your Own
While the classic green Frankenstein version is a hit, there are countless ways to personalize these giant treats:
- Color Variants: Try purple for a “mad scientist” theme, blue for a winter monster, or glow-in-the-dark gel for a truly eerie effect.
- Flavored Marshmallows: Use peppermint, strawberry, or sour apple marshmallows to infuse unique tastes.
- Different Cereals: Swap Rice Krispies for Cocoa Krispies for a chocolatey base, or Fruity Pebbles for a rainbow monster.
- Gluten-Free or Vegan Versions: Use gluten-free puffed rice cereal and vegan marshmallows (such as Dandies or Freedom Confectionery) for dietary accommodations.
- Mini Frankentreats: Use muffin tins or silicone molds to create bite-sized versions—perfect for party favors.
- Themed Decorations: Turn it into a “zombie” with torn flesh details, a “werewolf” with fur made from coconut, or a “mummy” wrapped in white icing strips.
- Edible Glitter and Luster Dust: Add shimmer for a magical or royal monster vibe.
- Scented Extracts: Almond, mint, or lemon extract can subtly alter the aroma and taste for novelty.
Health Considerations and Nutritional Value
While undeniably tasty, Giant Frankenstein Rice Krispie Treats are high in sugar and refined carbohydrates. Here’s a general nutritional breakdown per serving (assuming one treat is divided into 8 portions):
- Calories: ~220–250 kcal
- Total Fat: 7–9g (mostly from butter)
- Saturated Fat: 4–5g
- Carbohydrates: 40–45g
- Sugars: 25–30g (primarily from marshmallows)
- Protein: 2–3g
- Sodium: 150–200mg
Consider the following health notes:
- High Glycemic Index: Rapid spike in blood sugar—best enjoyed in moderation, especially for diabetics.
- Allergens: Contains dairy (butter), and possibly soy or corn (in marshmallows). Check labels for allergen warnings.
- Kid-Friendly but Sugar-Laden: Great for parties but should be balanced with healthier snacks.
- Portion Control: Serve smaller slices to manage intake. Pair with fruit or yogurt for balance.
- Alternative Sweeteners: Not typically compatible due to the need for meltable marshmallows, though sugar-free marshmallows exist (results may vary).
Frequently Asked Questions (FAQ)
- Can I make these without food coloring?
- Yes, but they won’t look like Frankenstein! You’ll get a classic golden-brown treat. For a natural green tint, try spirulina powder (though flavor may change).
- How long do they last?
- Stored in an airtight container at room temperature, they stay fresh for 2–3 days. Refrigeration extends life slightly but may affect texture.
- Can I freeze them?
- Yes! Wrap individually in plastic wrap and place in a freezer-safe container. Thaw at room temperature for 1–2 hours before serving. Decorate after thawing.
- Why did my treat turn out too sticky?
- Too many marshmallows or not enough cereal. Stick to the recommended ratio and measure accurately.
- What if I don’t have a mold?
- No problem! Shape by hand using a large bowl or cake pan as a base. Sculpt features with scissors and icing.
- Are these safe for kids to eat?
- Yes, but supervise young children due to choking hazards (candy eyes, small decorations). Consider using edible markers instead of loose candies.
- Can I bake them to crisp them up?
- No—these are no-bake treats. Baking will melt or burn them. To crisp edges, toast the cereal lightly before mixing, but proceed with caution.
- How do I transport them?
- Place on a sturdy tray with non-slip liner. Cover loosely with dome or inverted bowl. Avoid stacking.
Summary
Giant Frankenstein Rice Krispie Treats combine nostalgic flavors with Halloween-inspired creativity, resulting in a show-stopping dessert that’s fun to make and impossible to resist. Whether for a spooky party or a whimsical family activity, this monstrous twist on a classic is guaranteed to electrify your next event.