Introduction
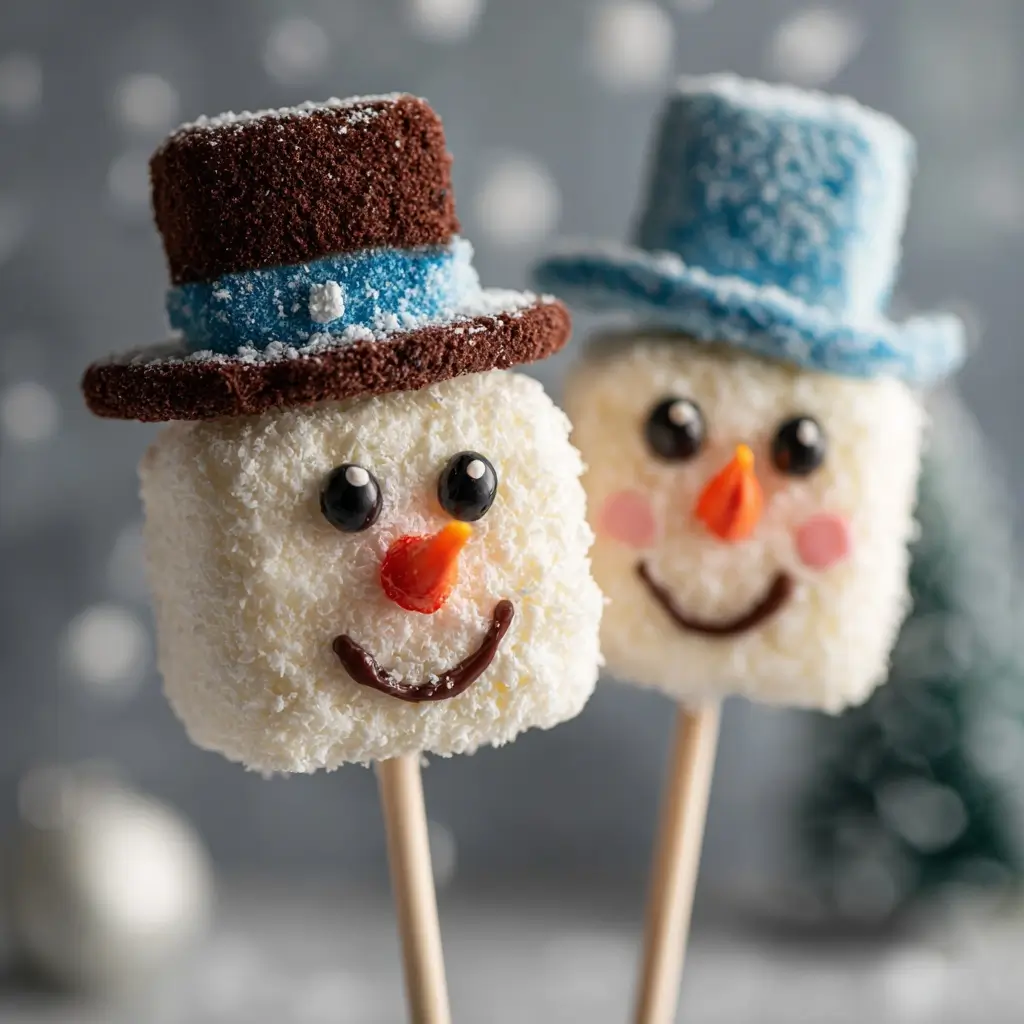
Snowman Marshmallow Pops are the perfect winter-themed treat that brings joy, creativity, and a touch of sweetness to any holiday gathering, classroom party, or cozy night at home. These adorable edible snowmen are not only fun to make but also delightfully delicious, making them ideal for kids and adults alike. With their fluffy marshmallow bodies, chocolate-dipped bases, and whimsical candy decorations, Snowman Marshmallow Pops transform simple ingredients into charming edible art. Whether you’re crafting them with family during the festive season or handing them out as holiday favors, these pops are guaranteed to spread cheer and add a magical sparkle to your celebrations.
The History
While there’s no definitive origin story for Snowman Marshmallow Pops, their roots can be traced back to the growing popularity of edible crafts and holiday-themed treats in the late 20th century. Marshmallows themselves have been around since ancient Egypt, originally made from the mallow plant, but the modern confection we know today was developed in 19th-century France using gelatin, sugar, and corn syrup. As convenience foods became mainstream in the mid-20th century, especially around holidays, people began experimenting with creative ways to use marshmallows beyond s’mores and hot cocoa.
The idea of decorating marshmallows to resemble snowmen likely emerged in the 1980s and 1990s when craft-based cooking and seasonal baking gained momentum in American households. School teachers, moms, and holiday enthusiasts started incorporating marshmallows into winter crafts, often skewering them on sticks and adding facial features with icing and candies. The trend grew alongside other popular holiday treats like gingerbread houses and reindeer snacks, eventually becoming a staple in holiday cookbooks, Pinterest boards, and food blogs. Today, Snowman Marshmallow Pops are celebrated not just for their simplicity but for their nostalgic charm and festive appeal.
Ingredients Breakdown
Creating Snowman Marshmallow Pops requires a blend of sweet, colorful, and functional ingredients that come together to form both the structure and personality of each little snowman. Here’s a detailed look at each component:
- Large Marshmallows (3 per pop): These serve as the snowman’s body—stacked three high to create a classic snowman silhouette. Their soft, pillowy texture makes them easy to pierce with a lollipop stick and decorate.
- Miniature Marshmallows (1 per pop): Used as “snowballs” held in the snowman’s hand or as decorative accents, though they’re optional.
- Lollipop Sticks or Cake Pop Sticks: These provide structural support, allowing the marshmallows to be stacked and handled easily. Wooden or paper sticks work best to avoid melting issues with warm chocolate.
- Chocolate Melts (Dark, Milk, or White Chocolate): Used to coat the bottom marshmallow, mimicking boots or a base. Chocolate melts are preferred over regular chocolate because they contain stabilizers that make them easier to melt and set smoothly.
- Candy Eyes (Pre-made or DIY): These give your snowman a lifelike expression. You can buy edible googly eyes or make them using tiny white and black fondant or candy dots.
- Orange Candy Pieces (for the nose): Typically, small triangle-shaped orange candy such as mini fruit slices, orange cinnamon candies, or even orange-tinted fondant is used to create the iconic carrot nose.
- Black Edible Markers or Licorice Strings: For drawing on the mouth and eyes if pre-made eyes aren’t used. Black licorice pieces can also act as coal buttons down the front.
- Red or Green Candy (for scarves): Thin strips of fruit roll-ups, red shoelaces (edible), or small pieces of gummy candy can be wrapped around the neck area to mimic a cozy scarf.
- Edible Glue or Melted Chocolate: A small amount of melted chocolate or edible glue (like royal icing or corn syrup) is essential for attaching accessories securely.
- Sprinkles, Sanding Sugar, or Edible Glitter: Optional additions to sprinkle on while the chocolate is wet, giving the boots a sparkly winter effect.
- Candy Canes (miniature, optional): Can be attached as arms or props, adding an extra festive flair.
All ingredients should be food-safe and preferably allergen-conscious depending on your audience. Gluten-free, vegan, and nut-free options are available for nearly every component, ensuring inclusivity for all.
Step-by-Step Recipe
- Prepare Your Workspace: Cover a large tray or baking sheet with parchment paper or wax paper. Lay out all ingredients, tools, and decorations within easy reach. This ensures a smooth and mess-free assembly process.
- Skewer the Marshmallows: Take one lollipop stick and carefully insert it through the center of three large marshmallows, stacking them vertically. Press gently so the marshmallows sit snugly together without squishing. Repeat for each snowman pop.
- Melt the Chocolate: Place your chosen chocolate melts (dark, milk, or white) in a microwave-safe bowl. Heat in 20-second intervals, stirring between each, until fully melted and smooth. Alternatively, use a double boiler on the stove for more control.
- Dip the Base: Holding the top marshmallow, dip the bottom marshmallow into the melted chocolate, covering about one-third to half of it. This represents the snowman’s boots. Gently shake off excess chocolate.
- Add Decorative Touches to Boots: While the chocolate is still wet, sprinkle sanding sugar, colored sprinkles, or edible glitter onto the dipped portion for a festive boot design. Place the pop upright in a styrofoam block, foam ball, or egg carton to hold it steady while drying.
- Let Chocolate Set: Allow the chocolate-coated base to harden completely. This usually takes 15–20 minutes at room temperature. For faster results, place in the refrigerator for 5–10 minutes (avoid condensation by covering loosely).
- Attach the Face: Once the base is firm, begin decorating the top marshmallow. Use edible glue or a dab of melted chocolate to attach candy eyes. Position them near the top to give space for the hat and mouth below.
- Create the Nose: Cut a small triangle from an orange candy or use a pre-made orange sprinkle. Attach it slightly below the eyes using edible glue. Angle it outward to resemble a carrot.
- Draw the Mouth: Using a black edible marker, draw a short curved line or a smiling jagged line beneath the nose. Alternatively, press tiny black licorice bits or chocolate chips into the marshmallow in a smile shape.
- Add the Scarf: Cut a small strip (about 1 inch long) from a fruit roll-up or gummy candy. Wrap it around the middle marshmallow (the neck area) and secure with a tiny dot of edible glue or melted chocolate.
- Attach Buttons: Use black licorice strings, chocolate chips, or black candy dots down the front of the middle marshmallow to represent coal buttons.
- Optional Arms and Accessories: Break a mini pretzel stick in half and insert one end into each side of the middle marshmallow to create arms. You can also attach a tiny candy cane or marshmallow “snowball” in one hand.
- Hat (Optional): For added detail, cut a small circle and rectangle from black fondant or construction paper (if not consuming) and glue them together to form a top hat. Attach to the top marshmallow with edible glue.
- Final Touches: Inspect each pop for balance and completeness. Add extra glitter, snowflake sprinkles, or a dusting of powdered sugar for a frosty effect.
- Set and Store: Let all decorations fully adhere and dry for at least 30 minutes before handling or packaging.
Tips
- Use Fresh Marshmallows: Older or stale marshmallows may be too dry and crack when pierced. Opt for plump, soft marshmallows for best results.
- Work in a Cool Environment: Warm rooms can cause chocolate to melt too quickly. If needed, chill the sticks briefly before dipping.
- Double-Dip for Thicker Boots: For sturdier or more dramatic boots, dip the base twice, letting the first layer set before applying the second.
- Stabilize While Drying: Use a styrofoam block, upside-down egg carton, or floral foam to keep pops upright and prevent leaning.
- Keep Chocolate Smooth: Stir melted chocolate frequently and avoid overheating, which can cause seizing. Add a teaspoon of coconut oil to improve consistency if needed.
- Use Toothpicks for Detail Work: A toothpick helps apply small amounts of glue, adjust candy placement, or draw fine lines with markers.
- Prepare Ahead: You can assemble the marshmallow stacks and dip the bases a day in advance. Store in a cool, dry place before decorating.
- Kid-Friendly Setup: Create a decoration station with labeled containers of candies and let children personalize their own snowmen—great for parties!
- Avoid Moisture: Water causes chocolate to seize. Make sure bowls, spoons, and spatulas are completely dry.
- Label Allergens: If serving at events, label pops that contain common allergens like gluten (from pretzels), dairy (chocolate), or nuts (in some candies).
Variations and Customizations
Snowman Marshmallow Pops are incredibly versatile and can be tailored to suit different tastes, dietary needs, and themes. Here are some creative variations:
- Vegan Version: Use vegan marshmallows (such as Dandies or Trader Joe’s brand), dairy-free chocolate melts, and fruit-based candies to make this treat entirely plant-based.
- Gluten-Free Option: Ensure all candies and marshmallows are certified gluten-free. Avoid pretzel arms or substitute with churro sticks or licorice made without wheat.
- Peppermint Theme: Add crushed candy canes to the chocolate boots or drizzle peppermint-flavored white chocolate over the marshmallows for a minty twist.
- Color-Themed Pops: Use blue-tinted chocolate and silver sprinkles for a Frozen-inspired Elsa snowman, or pink and purple for a princess theme.
- Mini Snowmen: Use smaller marshmallows and cocktail sticks to make bite-sized versions ideal for dessert tables or cookie trays.
- Flavored Chocolate Coatings: Try cookies-and-cream, caramel, or strawberry-flavored candy melts for unique boot colors and tastes.
- Seasonal Twists: Turn them into Easter bunnies (using pink and white), Halloween ghosts (add ghost faces), or Valentine’s sweethearts (with red scarves and hearts).
- Alcohol-Infused (Adult Version): Brush marshmallows lightly with flavored syrups or liqueurs like peppermint schnapps (non-alcoholic version for kids) for a grown-up twist—best served immediately.
- No-Stick Option: Skip the lollipop stick and lay the snowmen flat on a tray for a “snowman snack” instead of a pop.
- Personalized Messages: Attach small tags with names or holiday wishes for use as party favors or gifts.
Health Considerations and Nutritional Value
While Snowman Marshmallow Pops are undeniably fun and festive, it’s important to consider their nutritional content and health implications, especially when serving children or individuals with dietary restrictions.
- Sugar Content: Marshmallows and chocolate are high in added sugars. A single pop can contain 20–30 grams of sugar, nearing or exceeding the daily recommended limit for children.
- Calories: Depending on size and ingredients, each pop ranges from 120 to 200 calories, primarily from carbohydrates and fats in chocolate and sugar.
- Allergens: Common allergens include dairy (in chocolate), gluten (in some candies or pretzels), soy (in chocolate), and tree nuts (cross-contamination risk). Always check labels.
- Gelatin: Most marshmallows contain pork or beef-derived gelatin, making them unsuitable for vegetarians, vegans, or those following kosher/halal diets. Vegan alternatives are available.
- Portion Control: Due to their sweetness, these are best enjoyed in moderation. Serve alongside healthier snacks like fruit or nuts at parties.
- Artificial Ingredients: Many candies and colored chocolates contain artificial dyes (e.g., Red 40, Blue 1). Opt for naturally colored candies when possible.
- Dental Health: Sticky, sugary treats can contribute to tooth decay. Encourage brushing or rinsing after consumption.
For a lighter version, consider using sugar-free marshmallows, dark chocolate (lower sugar, higher antioxidants), and natural decorations like freeze-dried fruit powder or seeds for buttons.
Ingredients
- 9 large marshmallows (3 per snowman)
- 3 lollipop sticks or cake pop sticks
- 1 cup chocolate melts (any color/flavor)
- 6 candy eyes (or make your own)
- 3 orange candy pieces (for noses)
- 3 small strips red fruit roll-up (for scarves)
- 9 black licorice bits or chocolate chips (for buttons)
- Black edible marker or tiny licorice strings (for mouths)
- Edible glue or melted chocolate (for attaching parts)
- Sprinkles or sanding sugar (optional, for boot decoration)
- Mini pretzel sticks (optional, for arms)
- Mini marshmallows (optional, for snowballs)
Directions
- Insert a lollipop stick through the center of three large marshmallows, stacking them vertically. Repeat for each pop.
- Melt chocolate melts according to package instructions (microwave or double boiler).
- Dip the bottom marshmallow of each stack into the melted chocolate, coating about half of it. Sprinkle with desired decorations while wet.
- Place pops upright in a foam block or egg carton to dry for 15–20 minutes.
- Once set, attach candy eyes near the top of the top marshmallow.
- Glue on orange candy nose just below the eyes.
- Draw a smile with edible marker or arrange black candies into a mouth shape.
- Wrap a fruit roll-up strip around the neck area of the middle marshmallow for a scarf.
- Attach three black candies down the front of the middle marshmallow as buttons.
- (Optional) Insert mini pretzel halves into the sides of the middle marshmallow for arms.
- Allow all elements to set completely before serving or packaging.
- Store in a cool, dry place until ready to enjoy.
FAQ
Q: Can I make Snowman Marshmallow Pops ahead of time?
A: Yes! You can prepare them up to 3 days in advance. Store in an airtight container in a cool, dry place away from direct sunlight.
Q: How do I prevent the chocolate from cracking?
A: Avoid drastic temperature changes. Don’t refrigerate unless necessary, and bring pops to room temperature slowly if chilled.
Q: Are these safe for kids to eat?
A: Yes, but supervise young children due to small parts like candy eyes and sticks. Consider using larger, softer candies for toddlers.
Q: Can I use regular chocolate instead of candy melts?
A: Yes, but add 1 teaspoon of coconut oil per cup of chocolate to improve melting and setting.
Q: How do I store leftover pops?
A: Keep in an airtight container at room temperature for up to 5 days. Avoid humidity to prevent stickiness.
Q: Can I freeze them?
A: Not recommended. Freezing can cause condensation upon thawing, making marshmallows soggy and chocolate cloudy.
Q: What can I use instead of lollipop sticks?
A: Bamboo skewers (cut in half), paper straws, or even sturdy paper tubes work. Avoid plastic if melting chocolate.
Q: Why did my marshmallows fall apart?
A: Older or overly dry marshmallows are brittle. Use fresh ones and insert sticks slowly and centrally.
Summary
Snowman Marshmallow Pops are a delightful, easy-to-make holiday treat that combines creativity and sweetness in every bite. Perfect for kids, parties, and festive gatherings, these charming edible snowmen bring winter magic to any table.