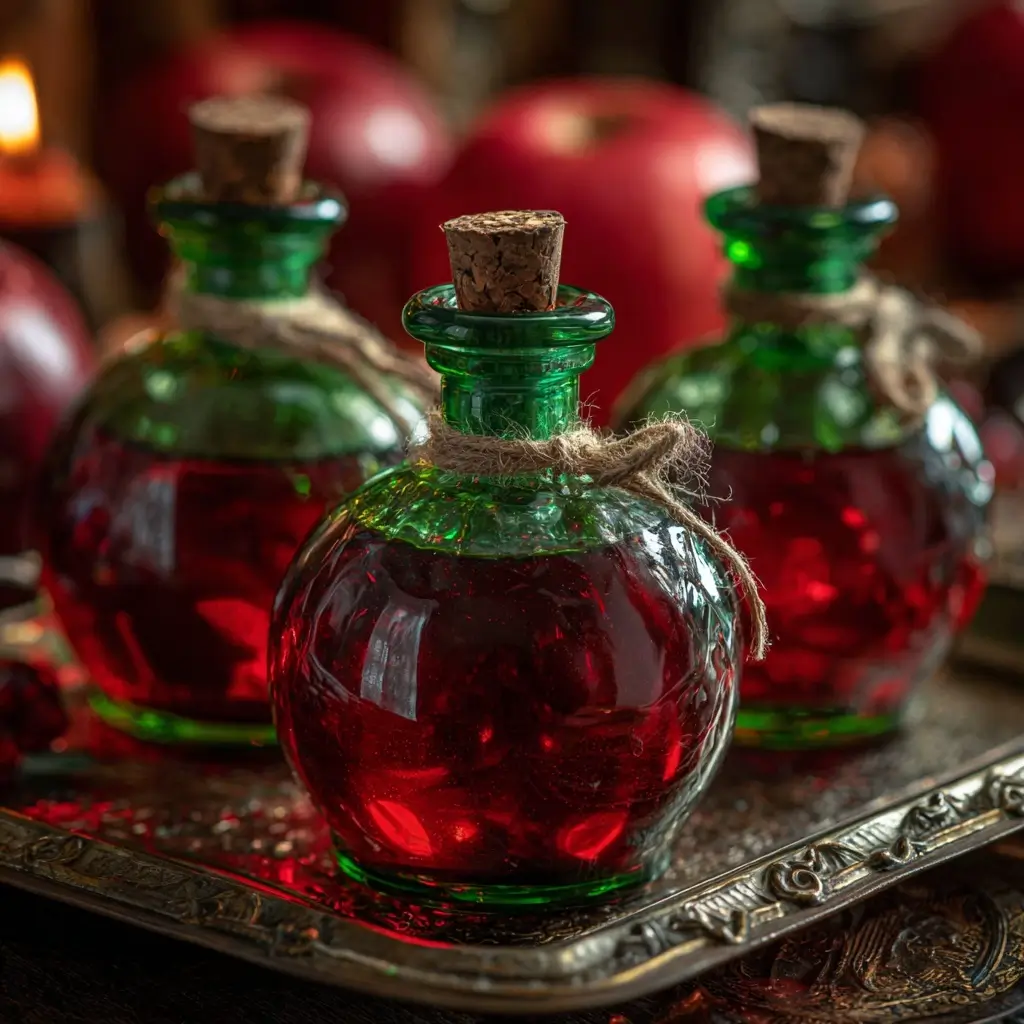
Poison Apples: A Darkly Delicious Treat Inspired by Fairy Tales
When you hear the words “poison apples,” your mind might instantly conjure images of Snow White, the wicked queen, and a fateful bite that leads to an enchanted slumber. While these apples aren’t actually poisonous (don’t worry—we won’t be serving up any real toxins!), they are a bewitching dessert inspired by one of the most iconic symbols in fairy tale history. With their glossy, deep red coating, dramatic presentation, and eerie glow under black light, poison apples have become a staple at Halloween parties, haunted dinners, and gothic-themed events. They’re equal parts delicious and theatrical—perfect for anyone who loves a touch of drama with their dessert.
The History Behind the Myth
The concept of the “poison apple” originates from European folklore, most notably in the Brothers Grimm version of Snow White (originally titled *Snow Drop*), first published in 1812. In the tale, a jealous queen disguises herself as an old peddler woman and offers Snow White a poisoned apple—one half deadly, the other tempting and sweet. The apple becomes lodged in Snow White’s throat, not killing her but placing her into a death-like sleep until she is revived by true love’s kiss.
Apples themselves were often symbolic in ancient mythologies—representing temptation, knowledge, and immortality. In Norse mythology, Idunn’s golden apples kept the gods eternally young. In Greek myth, the Apple of Discord sparked the Trojan War. So when storytellers wove tales of magic and danger, the apple was a natural choice: beautiful, familiar, and deeply rooted in symbolism.
Today, “poison apples” as a confectionery creation emerged in the 20th century, gaining popularity during Halloween celebrations and Disney-themed events. These treats mimic the look of the infamous apple from Snow White using candy coatings, food dyes, and creative garnishes like “smoking” dry ice or glowing edible glitter. They’re not just a dessert—they’re an experience, blending storytelling, theater, and sugar into one unforgettable bite.
Ingredients Breakdown: What Makes a Poison Apple So Enchantingly Sinister?
Creating a convincing—and delicious—poison apple requires more than just a red candy shell. The magic lies in the careful selection of ingredients that deliver both visual drama and rich flavor. Here’s what goes into making these darkly delightful treats:
- Granny Smith Apples: Tart green apples are ideal because their sourness contrasts beautifully with the sweet coatings. Their firm texture also holds up well during preparation.
- Candy Melts or Chocolate: Black, deep red, or purple candy melts are commonly used to achieve that ominous sheen. Some recipes use dark chocolate for a richer taste.
- Edible Glitter or Luster Dust: To give the apple a supernatural shimmer—often in silver, blood red, or electric blue—that catches the light like a cursed jewel.
- Food Coloring (Gel-Based): Deep crimson or black gel color intensifies the coating, making it look more sinister than standard red candy.
- Corn Syrup or Clear Extract: Mixed with coloring and glitter to create a sticky, glossy “poisonous ooze” effect around the stem or base.
- Dry Ice (Optional & For Display Only): When placed near the apples (never directly on them), dry ice creates a foggy, mystical vapor that enhances the eerie ambiance.
- Sticks or Skewers: Wooden or decorative sticks inserted into the apple base make them easy to hold, like caramel apples.
- Flavor Enhancers: Vanilla extract, cinnamon, or even a hint of almond extract can deepen the overall taste profile.
- Decorative Elements: Fake spiders, spiderwebs made from white chocolate, or edible “witch marks” drawn with icing add thematic flair.
The combination transforms a simple fruit into a spellbinding centerpiece that tempts guests with its beauty—and maybe a little fear.
Step-by-Step Recipe: How to Make Poison Apples at Home
Ready to brew your own batch of cursed confections? Follow this detailed guide to create stunning poison apples that will haunt your dessert table—in the best way possible.
- Prepare Your Apples: Choose medium-sized Granny Smith apples with smooth skins. Wash and thoroughly dry each apple—any moisture will prevent the coating from sticking properly. Insert wooden sticks firmly into the stem end of each apple. Place them upright in a styrofoam block or cup to keep them steady during decorating.
- Melt the Coating: In a double boiler or microwave-safe bowl, melt 16 oz of red or black candy melts in 30-second intervals, stirring frequently until smooth. If using chocolate, add 1 tsp of coconut oil to improve fluidity and shine.
- Add Depth with Color: Stir in a few drops of red or black gel food coloring to deepen the hue. You want it to look like liquid shadow, not just bright red.
- Dip the Apples: Holding the stick, slowly dip each apple into the melted coating, rotating to cover all sides. Let excess drip off, then place back into the stand.
- Create the “Poison Drip” Effect: Melt a small amount of white or clear candy melts. Tint with black or red gel to create a thick, syrupy color. Drizzle over the apples using a spoon or piping bag to simulate oozing venom. For extra realism, let some drips run down one side.
- Apply Edible Glitter: While the coating is still wet, sprinkle on edible black, silver, or red glitter. You can also brush on luster dust mixed with vodka or lemon extract for a metallic sheen.
- Add Final Details: Use edible markers or icing to draw cracks, runes, or spiderwebs. Attach plastic spiders with edible glue if desired.
- Cool and Set: Allow apples to harden completely at room temperature (about 30 minutes) or refrigerate for 15 minutes. Do not cover—condensation will ruin the finish.
- Display with Drama: Arrange on a dark platter surrounded by dry ice (in a separate container) for a smoky, mystical effect. Serve immediately or store in a cool, dry place.
Tips for Perfect Poison Apples Every Time
- Dry Apples Thoroughly: Water is the enemy of candy coatings. Pat apples completely dry—even overnight in the fridge—to avoid bubbling or cracking.
- Use Gel Food Coloring: Liquid colors can thin the candy melts too much. Gel provides intense color without altering consistency.
- Work in a Cool Room: High humidity or warmth can cause condensation and dull finishes. Air conditioning helps maintain crisp results.
- Don’t Rush the Dip: Let excess coating drip slowly. Quick shaking causes splatters and uneven coverage.
- Double-Coat for Thickness: For a more opaque, luxurious look, apply a second thin layer once the first has set.
- Test One First: Try the process on a single apple to adjust color, thickness, and technique before committing to the whole batch.
- Avoid Refrigeration Before Serving: Cold apples can sweat when brought into warm air, causing foggy or sticky surfaces.
- Label for Safety: If using dry ice, clearly mark it as non-edible. Never serve dry ice directly on food.
Variations and Customizations: Witches’ Brew, Glowing Apples, and More
Once you’ve mastered the classic poison apple, the dark arts of dessert customization are yours to command. Here are some enchanting twists:
- Glow-in-the-Dark Apples: Mix UV-reactive edible glitter with the coating and serve under black lights for a supernatural radiance.
- Blood-Red Apples: Use deep burgundy candy melts and drizzle with fake “blood” made from corn syrup, red food dye, and a drop of blue for realism.
- Chocolate-Covered Poison Apples: Swap candy melts for dark chocolate and add crushed nuts or cookie crumbs for texture.
- Mini Poison Apples: Use crab apples or apple wedges on toothpicks for bite-sized treats.
- Spiked Apples: For adult gatherings, brush apples with a reduction of port wine, cherries, and spices before coating.
- Vegetarian/Vegan Version: Use plant-based candy melts and ensure sticks are untreated wood. Pair with agave-based glaze instead of honey.
- Allergy-Friendly: Opt for nut-free, dairy-free coatings and clearly label ingredients for guests.
- Themed Variants: Create “witch apples” with green coating and herb sprinkles, or “cursed fruit” with gold leaf and thorny stems made from licorice.
Health Considerations and Nutritional Value
While poison apples are safe to eat (and quite delicious), they are high in sugar and calories due to the candy coating. Here’s a general nutritional estimate per apple (based on a medium Granny Smith coated in 2 oz of red candy melts):
- Calories: ~350–450
- Total Fat: 12–18g (mostly from candy oils)
- Saturated Fat: 7–10g
- Carbohydrates: 70–85g
- Sugars: 65–80g
- Fiber: 3–4g (from the apple)
- Protein: 1–2g
Consider these tips for a slightly healthier take:
- Use dark chocolate (70% or higher) for antioxidants and less sugar.
- Thinly coat the apple to reduce added sugars.
- Serve in smaller portions or alongside fresh fruit trays to balance indulgence.
- Offer sugar-free candy melts for diabetic guests (though taste and texture may vary).
Always check for allergens—many candy coatings contain milk, soy, or tree nuts. And remember: while the name says “poison,” these apples are meant to charm, not harm!
Ingredients
- 6 medium Granny Smith apples
- 16 oz red or black candy melts (or dark chocolate chips)
- 1–2 tsp coconut oil (optional, for smoother coating)
- Red and black gel food coloring
- Edible glitter (black, silver, or red)
- 1 tbsp corn syrup or clear vanilla extract
- 6 wooden craft sticks or lollipop sticks
- Small bowls for mixing drips
- Piping bags or spoons for drizzling
- Optional: dry ice, fake spiders, edible ink pens, luster dust
Directions
- Wash and dry apples completely. Insert sticks into the top center of each apple. Place upright in a foam block or cup.
- In a double boiler or microwave, melt candy melts with coconut oil (if using) until smooth and glossy. Stir in gel coloring for deeper hue.
- Dip each apple into the mixture, coating evenly. Allow excess to drip off, then return to stand.
- In a separate bowl, mix corn syrup with black or red gel color to create a thick, slimy “poison.” Drizzle over apples using a spoon or piping bag.
- Immediately sprinkle with edible glitter while coating is wet.
- Add decorative details like spiderwebs (using white chocolate), runes, or spiders.
- Let apples set at room temperature for 30 minutes or chill briefly (10–15 minutes) to speed setting.
- Display on a dark tray with dry ice (off to the side) for dramatic effect.
- Serve within 24 hours for best texture and appearance.
FAQ
Are poison apples actually poisonous?
No! Despite the name and spooky appearance, poison apples are completely safe to eat. The term refers only to their mythical inspiration.
Can I make poison apples ahead of time?
Yes, but no more than 24 hours in advance. Store in a cool, dry place (not the fridge) to prevent sweating. Best made the same day for optimal shine.
What kind of apples work best?
Granny Smith apples are ideal due to their tartness, firm flesh, and bright green skin that contrasts with the dark coating.
Can I use regular chocolate instead of candy melts?
Yes, but chocolate is more temperamental. Add coconut oil to help it set smoothly and resist cracking.
How do I get the “glow” effect?
Use UV-reactive edible glitter and display under black lights. This creates a magical, otherworldly glow perfect for Halloween.
Are there kid-friendly versions?
Absolutely! Skip scary decorations and use fun sparkles. Let kids decorate their own with colorful drizzles and sprinkles.
Can I freeze poison apples?
Not recommended. Freezing can cause condensation upon thawing, ruining the coating and making apples mushy.
Summary
Poison apples are a hauntingly beautiful dessert inspired by fairy tale legends, combining tart green apples with dark, glittering coatings for a show-stopping treat. Safe, sweet, and full of theatrical flair, they’re perfect for Halloween, themed parties, or anyone who loves a little magic with their snacks.