Neon Ombre Velvet Cake: A Vibrant, Show-Stopping Dessert Extravaganza
The History of the Neon Ombre Velvet Cake
The Neon Ombre Velvet Cake is a dazzling evolution of the classic Red Velvet Cake, which originated in the early 20th century in the American South. Traditionally known for its subtle cocoa flavor and striking red hue—originally enhanced by a reaction between natural cocoa powder and acidic ingredients like buttermilk and vinegar—the red velvet cake gained popularity through upscale bakeries and hotel restaurants such as the Waldorf-Astoria in New York.
Fast forward to the 21st century, where bakers and dessert artists began experimenting with color, texture, and presentation. The rise of social media platforms like Instagram, Pinterest, and TikTok fueled demand for visually stunning desserts. This gave birth to the “ombre” effect—a gradient blending from one shade to another—and the use of vibrant neon food dyes brought cakes into the realm of edible art. The Neon Ombre Velvet Cake emerged as a symbol of modern baking creativity, combining the rich, velvety crumb of traditional velvet cakes with bold, electric hues that transition seamlessly across layers. It’s now a staple at birthday parties, pride celebrations, baby showers, and viral baking challenges, embodying both whimsy and technical precision.
Ingredients Breakdown: What Makes This Cake So Special?
The magic of the Neon Ombre Velvet Cake lies not only in its appearance but also in its carefully balanced ingredients that produce a soft, moist, and luxuriously tender crumb. Here’s a detailed look at each component and its role:
- All-Purpose Flour: Provides the structural foundation of the cake. Sifted to ensure lightness and prevent lumps.
- Cocoa Powder (Unsweetened, Natural): Adds a mild chocolate flavor without overpowering sweetness. Natural cocoa reacts with acid to enhance rise and color development.
- Baking Soda & Baking Powder: Leavening agents work together—baking soda reacts with acid (buttermilk/vinegar), while baking powder provides additional lift for a fluffy texture.
- Salt: Enhances flavor and balances sweetness.
- Vegetable Oil: Keeps the cake incredibly moist. Unlike butter, oil remains liquid at room temperature, contributing to a softer crumb.
- Granulated Sugar: Sweetens the cake and helps retain moisture. Also aids in browning and tenderness.
- Large Eggs: Bind ingredients, add structure, and contribute to leavening through aeration when beaten.
- Buttermilk: Adds tanginess, activates baking soda, and keeps the cake tender. Its acidity also enhances the reaction with cocoa for a richer color.
- Distilled White Vinegar: Reacts with baking soda to create air bubbles, resulting in a lighter texture. Also deepens the cake’s color.
- Pure Vanilla Extract: Enhances overall flavor complexity and adds warmth.
- Fine-Grade Food Coloring (Neon Gel or Liquid): High-pigment gel colors are recommended for intense, vivid hues without altering batter consistency. Common neon shades include electric pink, lime green, sky blue, tangerine orange, and radiant purple.
- Water or Milk (as needed): Adjusts batter thickness when adding multiple colorants.
For the frosting:
The cake is typically paired with a rich cream cheese frosting, which complements the slight tang of the buttermilk and balances the sweetness. Key ingredients include:
- Cream Cheese (Full-Fat, Room Temperature): Provides creamy body and signature tang.
- Unsalted Butter (Room Temperature): Adds richness and helps stabilize the frosting.
- Powdered Sugar (Sifted): Sweetens and thickens the frosting for smooth spreading.
- Vanilla Extract: Enhances flavor profile.
- Salt (Pinch): Balances sweetness.
- Milk or Cream (Optional): Adjusts consistency if frosting is too thick.
Step-by-Step Recipe: Crafting the Perfect Neon Ombre Velvet Cake
Creating a Neon Ombre Velvet Cake requires patience, precision, and a bit of artistic flair. Follow these detailed steps to achieve a professional-looking, deliciously moist cake with a seamless color gradient.
Preparation:
- Preheat oven to 350°F (175°C).
- Grease and flour three 6-inch round cake pans or two 8-inch pans. Line bottoms with parchment paper for easy release.
- Sift all dry ingredients (flour, cocoa, baking soda, baking powder, salt) into a large bowl. Set aside.
Step 1: Make the Base Batter
- In a separate large mixing bowl, whisk together vegetable oil and granulated sugar until well combined and slightly pale.
- Add eggs one at a time, mixing well after each addition.
- Stir in vanilla extract.
- Combine buttermilk and vinegar in a measuring cup (it will curdle slightly—this is normal).
- Gradually alternate adding the dry ingredients and buttermilk mixture to the wet ingredients, beginning and ending with dry ingredients. Mix just until combined—do not overmix.
- Divide the plain batter evenly into 5–6 separate bowls (depending on how many ombre shades you want).
Step 2: Create the Neon Colors
- Add increasing amounts of neon food coloring to each bowl to form a gradient—from lightest to darkest in your chosen color family (e.g., light pink → magenta → hot pink → neon red → crimson).
- Start with a tiny drop in the first bowl and increase gradually. Use toothpicks or mini spatulas to avoid cross-contamination.
- If batter thickens due to gel color, add a teaspoon of milk or water to maintain consistency.
Step 3: Layering the Cake Pans
- Begin with the darkest color at the bottom of each prepared pan. Pour a thin, even layer.
- Gently add the next lighter shade on top, pouring slowly over the back of a spoon to minimize mixing.
- Repeat with remaining shades, finishing with the lightest color on top. You’ll have layered gradients in each pan.
- Tap pans gently on the counter to release air bubbles.
Step 4: Baking
- Bake for 25–32 minutes (for 6-inch pans) or 30–35 minutes (for 8-inch), or until a toothpick inserted in the center comes out clean.
- Avoid opening the oven during the first 20 minutes to prevent sinking.
- Let cakes cool in pans for 10 minutes, then transfer to wire racks to cool completely before frosting.
Step 5: Prepare Cream Cheese Frosting
- Beat room-temperature butter and cream cheese together until smooth and creamy (about 2–3 minutes).
- Gradually add sifted powdered sugar, one cup at a time, beating on low speed to avoid clouds of sugar.
- Add vanilla and a pinch of salt. Beat on medium-high until light and fluffy (another 2–3 minutes).
- If too thick, add milk one teaspoon at a time; if too soft, chill briefly or add more powdered sugar.
Step 6: Assembling the Ombre Cake
- Level the cooled cake layers with a serrated knife if needed.
- Place the first cake layer on a turntable or serving plate. Spread a thin layer of frosting (crumb coat).
- Add the next layer, aligning edges. Repeat until all layers are stacked.
- Apply a thin crumb coat over the entire cake and refrigerate for 20–30 minutes to set.
- Apply the final layer of frosting smoothly using an offset spatula or bench scraper.
- For extra ombre effect, tint small portions of frosting in matching neon colors and pipe swirls or ombré panels on the sides.
- Decorate with edible glitter, neon sprinkles, or fondant accents if desired.
Tips for Success
- Use Gel Food Coloring: Liquid dyes dilute the batter and may affect texture. Gel or paste colors offer intense pigmentation with minimal volume.
- Work Quickly When Layering: Batter sets fast, so have all colored portions ready before pouring.
- Keep Layers Uniform: Use a kitchen scale to divide batter evenly for consistent layer heights.
- Chill Before Cutting: Refrigerate the assembled cake for 30 minutes before slicing for clean, sharp edges.
- Color Accuracy: Natural cocoa can mute bright colors. For truer neon tones, consider using Dutch-process cocoa—but note it won’t react with acid the same way.
- Avoid Overmixing: Once flour is added, mix only until incorporated to prevent gluten development and a tough cake.
- Check Oven Temperature: Use an oven thermometer to ensure accuracy—hot spots or incorrect temps can cause uneven rising or color fading.
Variations and Customizations
The Neon Ombre Velvet Cake is highly adaptable. Here are some creative twists to personalize your masterpiece:
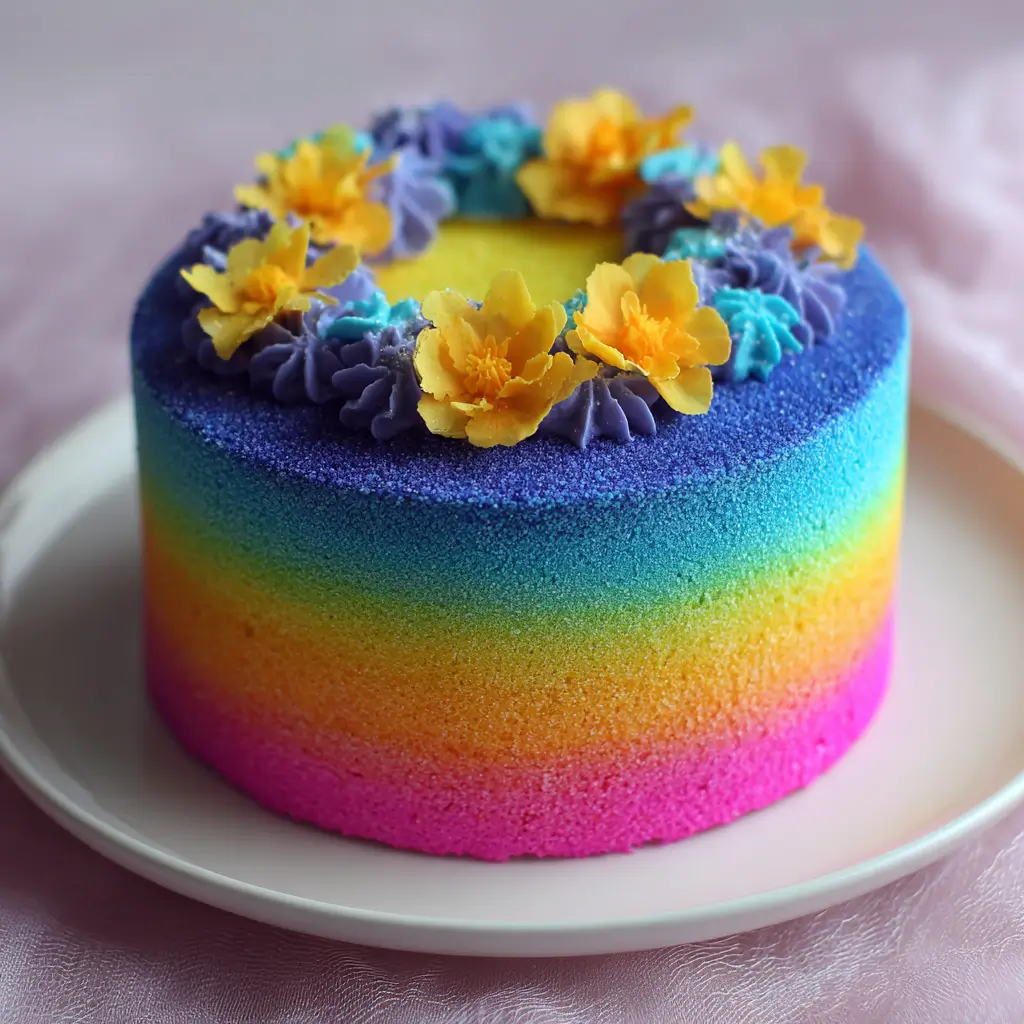
- Rainbow Ombre: Instead of one color family, blend across the rainbow spectrum—red, orange, yellow, green, blue, indigo, violet—for a festive Pride or birthday cake.
- Flavor Variations: Swap vanilla for almond, coconut, or lemon extract. Add citrus zest for brightness.
- Dietary Modifications:
- Gluten-Free: Use a 1:1 gluten-free flour blend.
- Dairy-Free: Substitute buttermilk with almond milk + vinegar, and use vegan butter and dairy-free cream cheese.
- Eggless: Replace eggs with flax eggs (1 tbsp ground flax + 3 tbsp water per egg) or commercial egg replacers.
- Filling Ideas: Add layers of raspberry jam, lemon curd, or neon-hued buttercream rosettes between cake tiers.
- Theme Decorations
: Top with glow-in-the-dark sprinkles, disco balls made of chocolate, or neon macarons for a retro party vibe.
- Mini Versions: Bake as cupcakes with ombre swirls in each liner for individual servings.
- Alcohol-Infused: Brush layers with simple syrup flavored with rum, amaretto, or fruit liqueur for added moisture and sophistication.
Health Considerations and Nutritional Value
While undeniably indulgent, it’s important to enjoy the Neon Ombre Velvet Cake in moderation. Here’s a general nutritional breakdown per slice (based on an 8-slice cake):
| Nutrient | Amount Per Slice (Approx.) |
|---|---|
| Calories | 480–550 |
| Total Fat | 22–28g |
| Saturated Fat | 10–13g |
| Cholesterol | 85mg |
| Sodium | 380mg |
| Total Carbohydrates | 65–75g |
| Dietary Fiber | 1–2g |
| Sugars | 50–60g |
| Protein | 5–7g |
Health Notes:
- The high sugar and fat content makes this cake best suited for occasional treats.
- Cream cheese frosting contains saturated fats and sodium—opt for reduced-fat versions if desired, though texture may be affected.
- Artificial food dyes (especially in neon colors) are controversial. Some studies suggest possible links to hyperactivity in children. Consider using natural alternatives like beet juice (pink), turmeric (yellow), or spirulina (green), though results may be less vibrant.
- To reduce sugar, try substituting part of the granulated sugar with coconut sugar or using a sugar substitute like erythritol (note: may alter texture).
- Serve with fresh fruit or a dollop of Greek yogurt to balance sweetness and add nutrients.
Ingredients
For the Cake:
- 2 ½ cups (300g) all-purpose flour
- ¼ cup (25g) unsweetened natural cocoa powder
- 1 ½ tsp baking soda
- 1 tsp baking powder
- 1 tsp salt
- 1 ½ cups (300g) granulated sugar
- 1 ½ cups (360ml) vegetable oil
- 4 large eggs, room temperature
- 1 tbsp pure vanilla extract
- 1 cup (240ml) buttermilk, room temperature
- 1 tsp distilled white vinegar
- Neon food coloring gels (pink, blue, green, orange, purple, etc.)
- 1–2 tbsp milk or water (optional, for adjusting batter)
For the Cream Cheese Frosting:
- 16 oz (450g) full-fat cream cheese, softened
- ½ cup (115g) unsalted butter, softened
- 5–6 cups (600–720g) powdered sugar, sifted
- 2 tsp vanilla extract
- Pinch of salt
- 1–2 tbsp heavy cream or milk (if needed)
Directions
- Preheat oven to 350°F (175°C). Grease and line three 6-inch or two 8-inch round cake pans.
- Sift flour, cocoa powder, baking soda, baking powder, and salt into a bowl. Whisk to combine.
- In a large bowl, beat sugar and oil until blended. Add eggs one at a time, mixing well. Stir in vanilla.
- In a measuring cup, combine buttermilk and vinegar. Let sit 1 minute.
- Alternately add dry ingredients and buttermilk mixture to wet ingredients, starting and ending with dry. Mix until just combined.
- Divide batter into 5–6 bowls. Tint each with increasing amounts of neon gel color to create a gradient.
- In each cake pan, layer colors from darkest (bottom) to lightest (top), pouring gently to avoid mixing.
- Bake 25–35 minutes until a toothpick comes out clean. Cool in pans 10 minutes, then on racks completely.
- Make frosting: Beat butter and cream cheese until smooth. Gradually add powdered sugar, vanilla, and salt. Whip until fluffy.
- Level cakes if needed. Stack layers with frosting, applying a crumb coat first. Chill 30 minutes.
- Apply final frosting layer. Decorate with neon sprinkles or ombre piping.
- Refrigerate 1 hour before serving for clean slices. Store leftovers covered in fridge for up to 5 days.
FAQ
Q: Can I make this cake ahead of time?
A: Yes! Bake and frost the cake up to 2 days in advance. Store refrigerated and bring to room temperature before serving.
Q: Why did my neon colors turn brown or dull?
A: Natural cocoa can mute bright colors. Try using a higher-quality gel color or switch to Dutch-process cocoa (though it changes chemical reactions).
Q: Can I use liquid food coloring?
A: Not recommended—liquid dyes add excess moisture and require large quantities, weakening the batter. Stick to concentrated gels.
Q: How do I prevent the layers from doming?
A: Use cake strips (wet fabric strips wrapped around pans) or bake at a slightly lower temperature (325°F) for longer.
Q: Can I freeze the cake layers?
A: Absolutely. Wrap unfrosted layers tightly in plastic and foil. Freeze for up to 3 months. Thaw in fridge before frosting.
Q: Is this cake suitable for kids?
A: Yes, but be mindful of artificial dyes. Consider natural color alternatives if serving sensitive individuals.
Summary
The Neon Ombre Velvet Cake is a breathtaking fusion of rich, moist velvet crumb and electrifying gradient hues that dazzle on any occasion. From its Southern roots to its modern-day Instagram fame, this cake proves that dessert can be both a feast for the palate and a masterpiece for the eyes.