Unicorn Horn & Ears Rainbow Cake: A Magical Baking Adventure
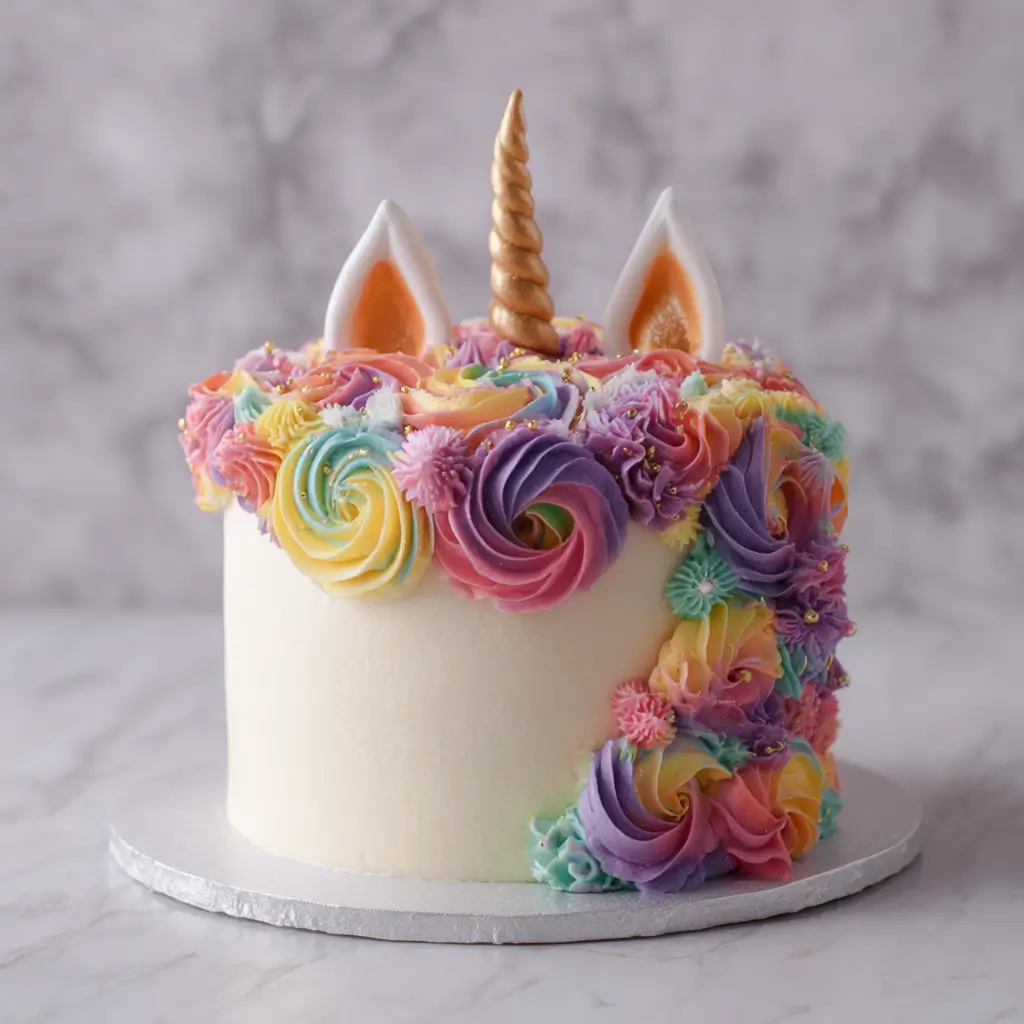
If you’ve ever dreamed of bringing a sprinkle of magic into your kitchen, look no further than the enchanting Unicorn Horn & Ears Rainbow Cake. This whimsical dessert is more than just a confection—it’s a celebration of color, imagination, and pure joy. Perfect for birthdays, baby showers, or any occasion that calls for a touch of fantasy, this cake dazzles with its vibrant rainbow layers, crowned by a glittering unicorn horn and delicate ears. Whether you’re baking for kids, adults who are young at heart, or simply to indulge in something extraordinary, this cake transforms ordinary ingredients into an edible masterpiece straight out of a fairy tale.
The History Behind the Magic
While unicorns have roamed legends and folklore for centuries—symbolizing purity, grace, and mystery—the modern phenomenon of the “unicorn cake” emerged in the mid-2010s as part of a broader trend celebrating all things magical, colorful, and Instagram-worthy. Social media platforms like Pinterest and Instagram fueled the rise of pastel rainbows, edible glitter, and fantastical desserts, turning baking into performance art. The Unicorn Horn & Ears Rainbow Cake evolved from these trends, combining bold visual storytelling with classic baking techniques. Inspired by children’s birthday parties and pop culture’s fascination with mythical creatures, this cake quickly became a staple of themed events. It blends nostalgia with innovation, where traditional vanilla or chocolate cakes are reimagined with vivid hues and sculpted details to resemble the mystical horn and pointed ears of a unicorn. Today, it stands as a symbol of creativity, joy, and the limitless possibilities of dessert design.
Ingredients Breakdown: Crafting the Colors of Magic
To create a truly spectacular Unicorn Horn & Ears Rainbow Cake, every ingredient must be chosen not only for flavor but also for texture, color stability, and structural integrity. Below is a detailed breakdown of each component:
- All-Purpose Flour: Provides structure and rise. Sifted well to avoid lumps and ensure even distribution of colors.
- Granulated Sugar: Sweetens the batter and contributes to browning during baking. Also helps retain moisture.
- Baking Powder & Baking Soda: Leavening agents that help the cake rise evenly across multiple colored layers.
- Salt: Balances sweetness and enhances overall flavor.
- Eggs: Bind ingredients together, add richness, and contribute to the cake’s tender crumb.
- Unsalted Butter: Adds flavor and moisture. Must be softened to room temperature for smooth creaming with sugar.
- Whole Milk: Keeps the cake moist. Can be substituted with buttermilk for a slightly tangy depth.
- Vanilla Extract: Enhances sweetness and adds warmth to the flavor profile.
- Fine-Tip Gel Food Coloring (Red, Orange, Yellow, Green, Blue, Purple): Unlike liquid dyes, gel colors deliver intense pigmentation without altering the consistency of the batter.
- Cream Cheese: Essential for the frosting base, offering tanginess and a creamy texture.
- Butter (for frosting): Blended with cream cheese for stability and spreadability.
- Powdered Sugar: Sweetens and thickens the frosting. Sifted to prevent clumping.
- Edible Glitter & Sprinkles: For shimmer and sparkle—key elements in achieving the magical aesthetic.
- Meringue Powder (optional): Used in royal icing for crafting sturdy unicorn ears and horn decorations.
- Gum Paste or Fondant (optional): For sculpting realistic-looking unicorn horns and ears if going for a more professional finish.
- Edible Gold Leaf or Luster Dust (optional): Adds a luxurious, ethereal glow to the horn and accents.
Step-by-Step Recipe: Building a Rainbow Layer by Layer
Creating a Unicorn Horn & Ears Rainbow Cake is a labor of love that rewards patience and attention to detail. Follow these steps carefully to achieve a stunning result.
- Preheat and Prepare: Preheat your oven to 350°F (175°C). Grease and line three 6-inch round cake pans with parchment paper. Alternatively, use one pan and bake layers sequentially if you don’t have enough.
- Mix Dry Ingredients: In a large bowl, whisk together 2 cups all-purpose flour, 1½ cups granulated sugar, 1½ tsp baking powder, ½ tsp baking soda, and ¼ tsp salt. Set aside.
- Cream Butter and Eggs: In another bowl, beat ¾ cup softened unsalted butter until creamy. Add 3 large eggs one at a time, mixing well after each. Stir in 2 tsp vanilla extract.
- Combine Wet and Dry: Gradually add the dry mixture to the wet ingredients in thirds, alternating with ¾ cup milk. Begin and end with dry ingredients. Mix until just combined—do not overmix.
- Divide and Color: Divide the batter evenly into six separate bowls. Using gel food coloring, tint each bowl with one color of the rainbow: red, orange, yellow, green, blue, and purple. Stir gently to avoid deflating the batter.
- Bake the Layers: Pour each colored batter into prepared pans, one color at a time, spreading evenly. Bake for 18–22 minutes or until a toothpick comes out clean. Cool completely on wire racks before removing from pans.
- Make the Frosting: Beat ½ cup softened butter with 8 oz softened cream cheese until smooth. Gradually add 4 cups sifted powdered sugar, 1 tsp vanilla, and a pinch of salt. Whip until light and fluffy. Tint portions with pastel colors if desired for decorative piping.
- Assemble the Cake: Place the first layer (e.g., purple) on a cake board or plate. Spread a thin layer of frosting. Repeat with each color in reverse order (purple, blue, green, yellow, orange, red), creating a rainbow effect when sliced.
- Crumbs Coat (Crumb Coat): Apply a thin layer of white or pastel frosting over the entire cake to seal in crumbs. Chill for 20–30 minutes.
- Final Frosting: Apply a thick, even layer of frosting over the chilled cake. Use a bench scraper or offset spatula for smooth sides. Pipe swirls or rosettes on top using colored frostings.
- Add Sparkle: Generously sprinkle edible glitter and rainbow sprinkles over the top and sides while the frosting is still soft.
- Create Unicorn Horn: Roll a cone-shaped piece from fondant or gum paste. Dust with luster powder or gold leaf. Insert into the center of the cake using a wooden dowel or food-safe skewer.
- Fashion Unicorn Ears: Cut ear shapes from fondant or use royal icing templates. Attach to either side of the cake using frosting as glue.
- Final Touches: Add extra sprinkles, mini stars, or hand-painted details with edible markers for enhanced magic.
Tips for Baking Success
- Use Gel Food Coloring: Liquid colors dilute the batter and may affect texture. Gel provides vibrant results without compromising consistency.
- Don’t Overmix After Adding Color: Stir just until uniform to keep the cake light and airy.
- Cool Layers Completely: Warm layers will melt the frosting and cause sliding. Use a fan or refrigerate briefly if needed.
- Chill Between Steps: Refrigerating the cake after crumb coating makes final decorating easier and cleaner.
- Invest in Quality Pans: Even heating prevents warping and ensures consistent color development.
- Label Your Bowls: Keep track of which color is which to maintain the correct layering order.
- Work Quickly with Colored Batter: Once divided, bake immediately to prevent settling or color bleeding.
- Use a Turntable: Makes frosting application smoother and more professional-looking.
- Color Consistency: Test shades on a white plate before applying to batter—colors deepen slightly when baked.
- Stabilize Tall Cakes: For taller designs, insert a central dowel rod to support the unicorn horn and prevent collapse.
Variations and Customizations
The beauty of the Unicorn Horn & Ears Rainbow Cake lies in its adaptability. Here are creative ways to personalize your magical creation:
- Flavor Twists: Swap vanilla for lemon, almond, coconut, or funfetti batter. Chocolate lovers can use a cocoa-based rainbow cake variant.
- Dietary Adaptations: Make it gluten-free using a 1:1 GF flour blend. For dairy-free, substitute butter with vegan margarine and milk with oat or almond milk. Use vegan cream cheese alternatives for frosting.
- Mini Versions: Create individual unicorn cupcakes with piped horns and tiny fondant ears—perfect for party favors.
- Ombre Effect: Instead of distinct layers, blend adjacent colors softly for a gradient rainbow look.
- Theme Fusion: Combine with mermaid aesthetics using seafoam greens, aqua blues, and seashell decorations.
- Gluten-Free & Vegan Rainbow Cake: Utilize flax eggs, plant-based milk, and egg replacers for a fully inclusive version.
- Alcohol-Infused: Add a splash of raspberry liqueur or vanilla vodka to the batter or soak layers with simple syrup for adult gatherings.
- Sugar-Free Option: Replace sugar with erythritol or monk fruit sweetener and use sugar-free powdered sugar for frosting.
- Kid-Friendly Assembly: Let children decorate pre-frosted cupcakes with safe-to-eat horns made from pretzel rods and marshmallows.
- Seasonal Themes: Add pastel colors for Easter, icy blues and silvers for winter unicorn themes, or neon brights for summer festivals.
Health Considerations and Nutritional Value
While undeniably delightful, the Unicorn Horn & Ears Rainbow Cake is rich in sugars and fats, so moderation is key—especially for those monitoring their dietary intake.
A typical slice (approx. 1/12th of an 8-inch cake) contains roughly:
- Calories: 380–450 kcal
- Total Fat: 18–22g (including saturated fat from butter and cream cheese)
- Carbohydrates: 55–65g (mostly from sugar and refined flour)
- Protein: 4–6g
- Sodium: 200–300mg
- Sugars: 40–50g
Considerations:
- Food Dyes: Some artificial colors may affect hyperactivity in sensitive children. Opt for natural food colorings derived from beet juice, turmeric, spirulina, or butterfly pea flower for a safer alternative.
- Dairy Sensitivity: Contains milk, butter, and cream cheese. Substitute with plant-based versions where necessary.
- Gluten Intolerance: Use certified gluten-free flour blends to accommodate celiac disease or gluten sensitivity.
- Diabetes Management: High glycemic load due to sugar content. Consider low-sugar substitutes and smaller portion sizes.
- Allergies: Common allergens include eggs, dairy, wheat, and soy (in some margarines). Always label ingredients clearly when serving guests.
Despite its indulgence, this cake can be enjoyed responsibly. Serve alongside fresh fruit platters or yogurt parfaits to balance the sweetness. For healthier versions, explore whole grain flour options, reduce sugar by 25%, or use applesauce as a partial fat substitute.
Ingredients
For the Rainbow Cake:
- 2 cups all-purpose flour (or gluten-free substitute)
- 1½ cups granulated sugar
- 1½ tsp baking powder
- ½ tsp baking soda
- ¼ tsp salt
- ¾ cup unsalted butter, softened (or vegan alternative)
- 3 large eggs (or flax eggs for vegan)
- ¾ cup whole milk (or non-dairy milk)
- 2 tsp vanilla extract
- Gel food coloring: red, orange, yellow, green, blue, purple
For the Frosting:
- ½ cup unsalted butter, softened
- 8 oz cream cheese, softened (or vegan version)
- 4 cups powdered sugar, sifted
- 1 tsp vanilla extract
- Pinch of salt
- Optional: pastel gel colors for ombre frosting
For Decorations:
- Edible glitter (non-toxic, food-grade)
- Rainbow sprinkles
- Fondant or gum paste (for horn and ears)
- Luster dust or edible gold/silver leaf
- Wooden skewer or dowel (for horn support)
- Royal icing (for attaching ears, optional)
Directions
- Preheat oven to 350°F (175°C). Grease and line three 6-inch round cake pans with parchment paper.
- In a large bowl, whisk together flour, sugar, baking powder, baking soda, and salt.
- In a separate bowl, beat butter until creamy. Add eggs one at a time, then mix in vanilla.
- Gradually add dry ingredients to wet, alternating with milk. Mix until just combined.
- Divide batter into six equal portions. Tint each with gel food coloring to form the rainbow spectrum.
- Pour each color into pans and bake for 18–22 minutes. Cool completely.
- Beat butter and cream cheese until smooth. Add powdered sugar, vanilla, and salt. Whip until fluffy.
- Assemble cake: stack layers in reverse rainbow order (purple on bottom, red on top), frosting between each.
- Apply a thin crumb coat, chill for 20–30 minutes, then apply final frosting layer.
- Decorate with sprinkles and glitter while frosting is soft.
- Shape a cone from fondant for the horn, dust with luster, and insert securely into the center.
- Cut and attach unicorn ears using royal icing or frosting as adhesive.
- Add final decorative touches. Refrigerate until ready to serve.
- Slice and enjoy your magical creation!
FAQ
Q: Can I make the cake ahead of time?
A: Yes! Bake and freeze unfrosted layers up to 2 months in advance. Thaw before assembling. Fully assembled cakes can be refrigerated for 2–3 days.
Q: Why did my colors turn brown or muddy?
A: Overmixing or using too much liquid dye can cause this. Stick to gel colors and mix gently.
Q: How do I prevent the layers from sliding?
A: Ensure layers are level and use a dab of frosting on the cake board to anchor the first layer.
Q: Can I use boxed cake mix?
A: Absolutely. Use a vanilla or white cake mix and divide the batter into six bowls for coloring.
Q: Is the fondant safe for kids?
A: Yes, if using food-grade, non-toxic fondant. Many brands offer allergen-free and vegan options.
Q: How do I store leftovers?
A: Cover and refrigerate for up to 5 days. Bring to room temperature before serving for best texture.
Q: Can I bake all layers at once?
A: Only if you have six identical pans. Otherwise, bake in batches, keeping unused batter cool.
Q: What can I use instead of a unicorn horn?
A: Pretzel rods dipped in candy melts, candy floss twists, or even a sparkly candle (not lit!) work as playful alternatives.
Summary
The Unicorn Horn & Ears Rainbow Cake is a dazzling fusion of flavor, color, and fantasy—a show-stopping dessert that brings joy to any celebration. With careful layering, vibrant hues, and imaginative decorations, it transforms simple ingredients into a magical centerpiece fit for royalty.