Introduction
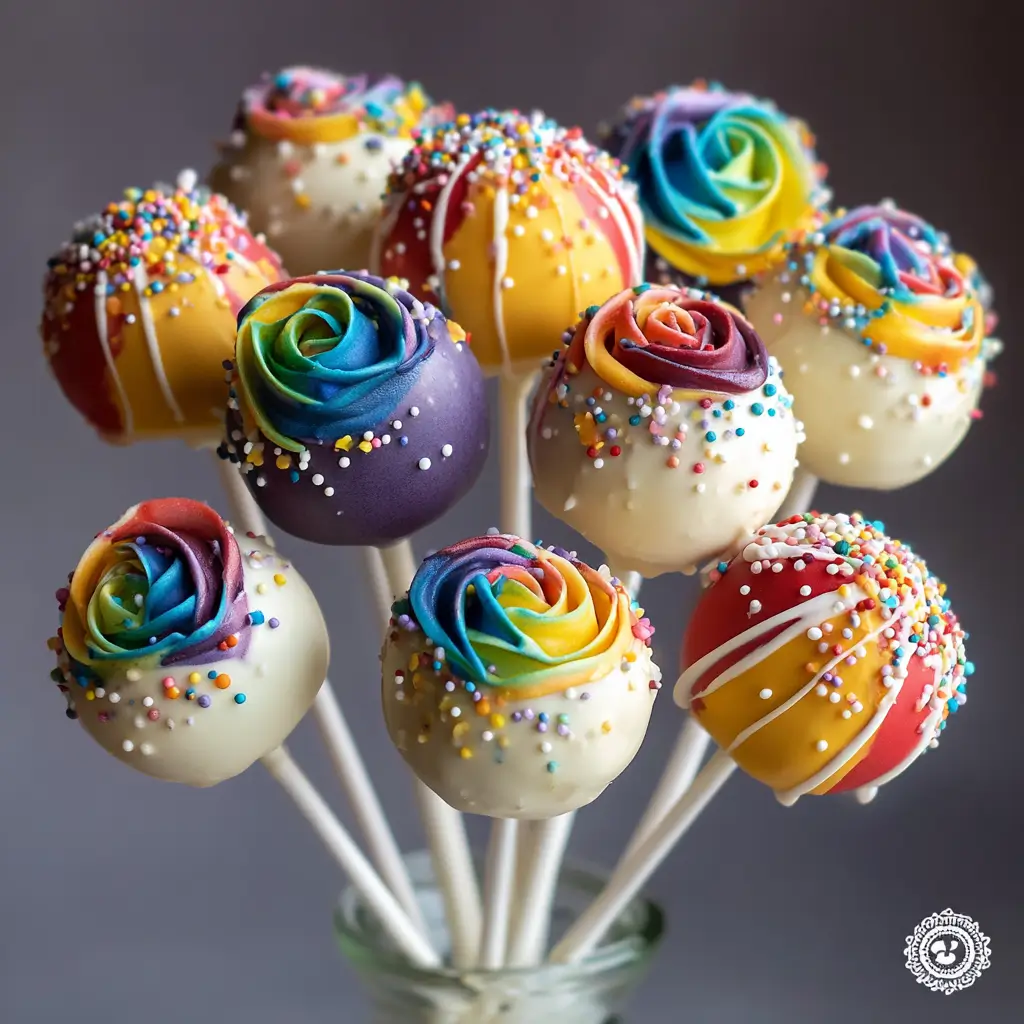
Welcome to a delightful journey into the world of confectionery artistry with our stunning Rainbow Cake Pops in a Bouquet! These vibrant, cheerful treats are more than just dessert—they’re edible masterpieces that bring joy to birthdays, baby showers, weddings, and any celebration worth remembering. Imagine a lush bouquet filled not with flowers, but with colorful cake pops on sticks, arranged like a floral arrangement in a decorative pot or box. This eye-catching centerpiece is as delicious as it is photogenic, making it a must-have for anyone who loves baking with flair. Whether you’re an experienced baker or a creative beginner, this guide will walk you through every step of crafting these whimsical rainbow delights from scratch.
The History
Cake pops, as we know them today, gained widespread popularity in the late 2000s thanks to baker Angie Dudley and her blog Bakerella, where she introduced the concept of cake balls on sticks decorated like adorable characters and seasonal themes. However, the idea of repurposing leftover cake into bite-sized morsels dates back much further—bakers have long used crumbled cake mixed with frosting to create truffles or petit fours. The rainbow variation, symbolizing joy, inclusivity, and celebration, emerged alongside growing cultural appreciation for vibrant, colorful desserts. When arranged in a bouquet format, cake pops take on a new level of sophistication, borrowing inspiration from floral design to create edible centerpieces that dazzle guests before they even take a bite. Today, Rainbow Cake Pops in a Bouquet are a favorite among event planners and home bakers alike, blending nostalgia, creativity, and sweetness into one unforgettable treat.
Ingredients Breakdown
Creating perfect Rainbow Cake Pops begins with understanding each ingredient’s role in texture, flavor, and stability. Here’s a detailed breakdown:
- Vanilla Cake Mix (or homemade batter): Forms the base of your cake pops. A light, fluffy vanilla cake works best because it holds moisture well and pairs beautifully with colored layers.
- Frosting (homemade or store-bought vanilla buttercream): Acts as the “glue” that binds the crumbled cake together. It adds richness and helps form smooth balls.
- Food Coloring (gel-based in red, orange, yellow, green, blue, indigo, violet): Gel colors are highly concentrated and won’t alter the cake’s texture, unlike liquid dyes which can make the mixture too wet.
- Candy Melts or Chocolate Couverture (white or vanilla): Used for coating the cake balls. Candy melts are ideal for beginners due to their ease of melting and setting; couverture offers a more premium finish.
- Cake Pop Sticks or Lollipop Sticks: Specially designed sticks that hold the cake pop securely during dipping and display.
- Floral Foam or Styrofoam (for bouquet arrangement): Hidden inside a decorative planter or vase to support the cake pops upright like stems in a flower bouquet.
- Decorative Toppings (sprinkles, edible glitter, sanding sugar, nonpareils): Add sparkle and texture. Rainbow-themed sprinkles enhance the festive look.
- Vegetable Oil or Shortening (optional): Thins the candy coating slightly for smoother dipping and prevents cracking.
- Parchment Paper and Baking Sheets: Essential for cooling and preparing components without sticking.
Each ingredient contributes to both taste and presentation, ensuring your bouquet isn’t just beautiful—but deliciously balanced.
Step-by-Step Recipe
- Bake the Vanilla Cake: Prepare a 9×13 inch vanilla cake according to package instructions or using a homemade recipe. Bake until golden and a toothpick inserted in the center comes out clean. Allow it to cool completely on a wire rack.
- Crumble the Cake: Once cooled, use your hands or a food processor to break the cake into fine crumbs. Transfer to a large mixing bowl.
- Mix with Frosting: Gradually add vanilla frosting (about ½ cup at a time) to the cake crumbs until the mixture holds together when pressed. You want it moist but not soggy—start with 1 cup and adjust as needed.
- Divide Into Seven Portions: Split the cake mixture evenly into seven separate bowls—one for each color of the rainbow.
- Color Each Portion: Using gel food coloring, tint each bowl to represent: red, orange, yellow, green, blue, indigo, and violet. Wear gloves to avoid stained hands. Mix thoroughly until color is uniform.
- Form Cake Balls: Roll each colored portion into small, marble-sized balls (about 1 inch in diameter). Place them on parchment-lined trays and chill in the refrigerator for at least 1–2 hours to firm up.
- Melt the Coating: In a deep bowl or tall measuring cup, melt white candy melts according to package directions—either in the microwave (in 20-second intervals, stirring between) or over a double boiler. Stir in a teaspoon of vegetable oil per 6 oz of candy melts for smoother consistency.
- Attach Sticks: Remove chilled cake balls from the fridge. Dip the tip of a lollipop stick into the melted coating and insert it halfway into a cake ball. Return to the tray and chill again for 15 minutes to set the bond.
- Dip and Decorate: One by one, dip each cake pop into the melted candy coating, twirling gently to cover completely. Let excess drip off, then immediately add sprinkles or other decorations while still wet.
- Dry Upside Down: Insert the sticks into a styrofoam block or cake pop stand to dry upright. Allow 15–20 minutes for the coating to fully harden.
- Assemble the Bouquet: Choose a decorative pot, tin, or gift box. Hide a piece of floral foam inside, secured with tissue paper or fabric. Carefully insert the dried cake pops into the foam at varying heights, mimicking a real flower bouquet. Alternate colors for maximum visual impact.
- Final Touches: Wrap the container in cellophane or ribbon. Attach a gift tag or personalized message if giving as a present.
Tips
- Use gel food coloring: Liquid colors dilute the cake mixture and may cause your pops to fall apart. Gel provides intense hues without affecting texture.
- Chill thoroughly: Cold cake balls are less likely to crack when dipped and hold their shape better.
- Avoid air bubbles: Don’t press too hard when rolling; trapped air can cause cracks in the coating.
- Work in batches: Melt only a portion of candy coating at a time to prevent overheating or seizing.
- Wipe excess coating: After dipping, gently wipe the base of the stick against the edge of the bowl to prevent pooling at the bottom.
- Prevent sweating: If storing in the fridge, allow cake pops to come to room temperature slowly to avoid condensation, which can ruin the coating.
- Keep tools handy: Have paper towels, extra oil, and spare sticks nearby for quick fixes during assembly.
- Label colors clearly: When working with multiple hues, label bowls to avoid accidental mixing.
Variations and Customizations
The beauty of Rainbow Cake Pops lies in their versatility. Try these fun twists to personalize your bouquet:
- Flavor Variants: Instead of vanilla, use lemon, strawberry, or confetti cake for different flavor profiles.
- Gluten-Free/Vegan Options: Substitute gluten-free flour and dairy-free butter and milk in both cake and frosting. Use vegan-certified candy melts.
- Ombre Effect: Create gradient shades within each color family (e.g., light to dark pink) for a soft, blended look.
- Theme-Based Designs: Tailor the bouquet to occasions—pastel tones for baby showers, metallic sprinkles for weddings, or black-and-rainbow for Pride celebrations.
- Add Characters: Use edible markers or fondant to turn some pops into smiley faces, hearts, or tiny flags.
- Seasonal Themes: Incorporate holiday elements—snowflakes in winter, shamrocks in spring, or sunbursts in summer.
- Miniature Bouquets: Make smaller versions in test tubes or shot glasses for party favors.
- Floral Mimicry: Shape certain cake pops to resemble roses, daisies, or tulips using molds or hand-sculpting techniques.
- Scented Variations: Infuse the frosting with lavender, rosewater, or citrus zest for aromatic appeal.
Health Considerations and Nutritional Value
While Rainbow Cake Pops are undeniably indulgent, it’s important to enjoy them mindfully. A single cake pop typically contains around 120–180 calories, depending on size and ingredients. Key nutritional factors include:
- Sugar Content: High due to frosting, candy coating, and sprinkles. One pop may contain 15–20g of sugar—approaching or exceeding daily recommended limits for children.
- Fat: Primarily from butter, shortening, and candy melts. Most fats are saturated, so moderation is advised.
- Allergens: Common allergens include eggs, dairy, wheat, and soy. Always label accordingly when serving others.
- Artificial Colors: Some gel food dyes contain synthetic additives. For a cleaner option, consider natural food colorings derived from beet juice, turmeric, spirulina, etc., though results may be less vivid.
- Portion Control: Since they’re small, it’s easy to eat several without realizing. Serve with fruit skewers or yogurt dips to balance the spread.
- Dietary Modifications: Reduce sugar by using low-sugar frosting and dark chocolate coatings. Increase fiber by incorporating almond flour or oatmeal into the cake base.
These treats are best enjoyed occasionally as part of a balanced diet, especially for children and those managing blood sugar levels.
Ingredients
- 1 (9×13 inch) vanilla cake (box or homemade)
- 1 cup vanilla buttercream frosting (store-bought or homemade)
- 7 gel food coloring shades: red, orange, yellow, green, blue, indigo, violet
- 18 oz white candy melts (or vanilla-flavored chocolate wafers)
- 50 lollipop sticks (approx. 4–6 inches long)
- 1 block floral foam (size depends on bouquet)
- Decorative planter, pot, or gift box
- Assorted rainbow sprinkles, edible glitter, or colored sugars
- 1–2 tsp vegetable oil or shortening
- Parchment paper
- Cellophane wrap and ribbon (for gifting)
Directions
- Bake the vanilla cake as directed and let it cool completely.
- Crumble the cake into fine pieces and mix with frosting until it forms a moldable dough.
- Divide the mixture into seven equal portions and color each with a different gel dye to create the rainbow spectrum.
- Roll each colored batch into 1-inch balls and place on parchment paper. Chill for 1–2 hours.
- Melt the white candy melts with a bit of oil until smooth and fluid.
- Dip the end of a lollipop stick into the melted coating, then insert it into a chilled cake ball. Chill again for 15 minutes.
- Dip each cake ball into the candy coating, shake off excess, and immediately roll in sprinkles or decorate.
- Insert sticks into a drying stand or styrofoam block and let harden completely (15–20 mins).
- Prepare your bouquet base by placing floral foam inside a decorative container. Cover the foam with tissue, moss, or fabric to hide it.
- Arrange the hardened cake pops in the foam, positioning them at different heights to mimic a blooming bouquet.
- Wrap the container in cellophane, tie with a ribbon, and add a custom tag if desired.
- Serve immediately or store in a cool, dry place until ready to enjoy.
FAQ
Q: Can I make rainbow cake pops ahead of time?
A: Yes! Assemble the cake pops up to 3 days in advance. Store them in a single layer in an airtight container in the fridge. Bring to room temperature before displaying.
Q: How do I prevent cracking in the coating?
A: Cracking usually occurs when the cake ball is too cold or the coating is too thick. Let cake balls sit at room temp for 5 minutes before dipping, and thin the candy melts with oil.
Q: Can I freeze cake pops?
A: Yes, but only before dipping. Freeze undipped cake balls on a tray, then transfer to a bag. Thaw in the fridge before proceeding. Avoid freezing after coating to prevent condensation and dull finishes.
Q: What can I use instead of floral foam?
A: Alternatives include crumpled aluminum foil, shredded paper, styrofoam balls, or even a potted plant (with fake grass covering the soil).
Q: Are cake pops safe for kids?
A: Yes, but supervise young children due to the sticks. Consider using shorter sticks or edible alternatives like pretzel rods for safety.
Q: Why did my cake pops fall off the sticks?
A: This happens if the frosting-to-cake ratio is off (too dry), or if you didn’t chill them long enough. Also ensure you dip the stick in candy coating before inserting—it acts as glue.
Q: Can I use chocolate instead of candy melts?
A: Absolutely, but real chocolate requires tempering for a shiny, snap-worthy finish. Candy melts are easier for beginners.
Summary
Rainbow Cake Pops in a Bouquet are a joyful fusion of baking and artistry—colorful, customizable, and perfect for any festive occasion. From preparation to presentation, this guide ensures your edible bouquet dazzles with flavor and flair.