Brushed Watercolor Buttercream Cake: A Masterpiece of Elegance and Flavor
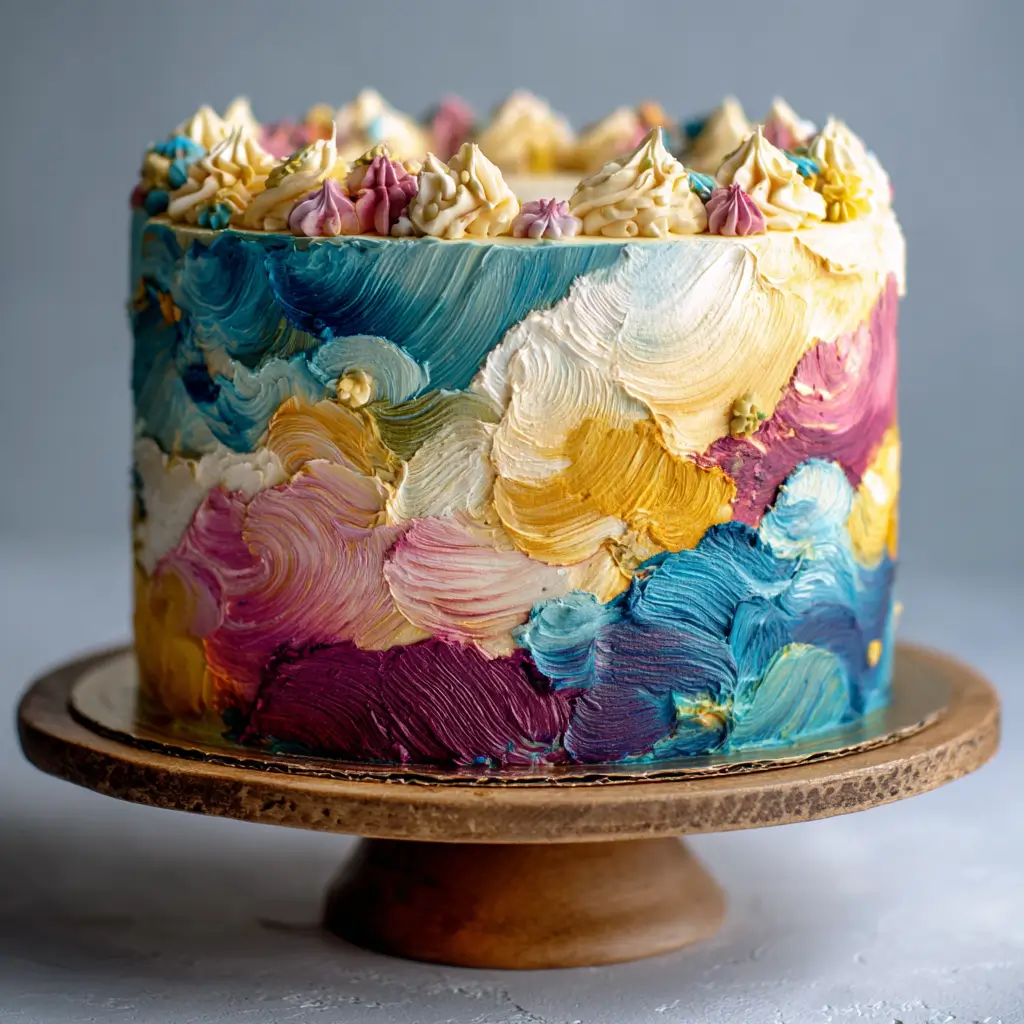
The Brushed Watercolor Buttercream Cake is more than just a dessert—it’s edible art. With its soft, painterly swirls of color that resemble watercolor paintings on canvas, this cake has become a favorite for weddings, baby showers, birthdays, and high-end dessert displays. The delicate gradient effect achieved through expert buttercream techniques transforms a simple cake into a visual masterpiece, while the rich, velvety texture and balanced sweetness delight the palate. This guide will take you through every aspect of creating your own brushed watercolor cake, from its origins to pro-level finishing touches.
The History of the Brushed Watercolor Buttercream Cake
The concept of decorative cakes dates back centuries, but modern buttercream artistry emerged in the 20th century as home bakers and professional pastry chefs began experimenting with textures, colors, and finishes. The brushed watercolor technique gained popularity in the early 2010s, largely due to the rise of social media platforms like Instagram, Pinterest, and YouTube, where visually stunning desserts could go viral overnight.
Inspired by traditional watercolor painting, bakers adapted brush techniques to buttercream frosting, using food-safe brushes and gel colors to create soft, blended hues on cake surfaces. Unlike the sharp edges of fondant or the uniform swirls of standard piping, the brushed watercolor look offers an organic, dreamy aesthetic that feels both modern and timeless. Top-tier bakeries in cities like New York, Paris, and Tokyo began incorporating this style into their signature designs, cementing its place in contemporary cake culture.
Today, the brushed watercolor buttercream cake stands at the intersection of culinary skill and artistic expression, symbolizing creativity, sophistication, and personalization in celebration baking.
Ingredients Breakdown: What Makes This Cake Special
The magic of the brushed watercolor buttercream cake lies not only in its appearance but also in the quality and balance of ingredients used. Each component plays a crucial role in flavor, texture, and workability—especially when it comes to achieving that perfect canvas for your color gradients.
For the Cake:
- All-Purpose Flour (or Cake Flour): Provides structure. Cake flour yields a softer crumb, ideal for delicate layer cakes.
- Granulated Sugar: Sweetens and helps aerate the batter during creaming.
- Unsalted Butter (room temperature): Adds richness and moisture. Using unsalted allows better control over salt levels.
- Eggs (room temperature): Bind the ingredients and add structure and leavening.
- Whole Milk or Buttermilk: Moisture and tenderness. Buttermilk adds slight tang and improves crumb softness.
- Baking Powder & Baking Soda: Leavening agents that help the cake rise evenly.
- Vanilla Extract: Enhances flavor and complements the buttercream.
- Pinch of Salt: Balances sweetness and enhances overall flavor.
For the Buttercream:
- Unsalted Butter (softened): The base of American buttercream; should be creamy but not greasy.
- Powdered Sugar (confectioners’ sugar): Sweetens and thickens. Sifted to avoid lumps.
- Heavy Cream or Whole Milk: Adjusts consistency for smooth spreading and brushing.
- Clear Vanilla Extract (optional): Prevents yellowing of light-colored buttercreams.
- Fine Sea Salt: Cuts through sweetness and enhances flavor depth.
For the Watercolor Effect:
- Gel Food Coloring (highly concentrated): Preferred over liquid to avoid thinning the buttercream. Brands like Americolor, Wilton, or Chefmaster offer vibrant, blendable options.
- Food-Grade Paint Brushes: Soft-tipped, silicone, or natural bristle brushes designated solely for food use.
- Edible Luster Dust or Pearl Powder (optional): For shimmer effects when mixed with clear alcohol or extract.
- Vodka or Clear Alcohol (optional): Dissolves luster dust without affecting buttercream texture.
Step-by-Step Recipe: How to Make a Brushed Watercolor Buttercream Cake
Step 1: Bake the Cake Layers
- Preheat oven to 350°F (175°C). Grease and line three 8-inch round cake pans with parchment paper.
- In a bowl, whisk together 2 ½ cups cake flour, 2 ½ tsp baking powder, ½ tsp baking soda, and ½ tsp salt. Set aside.
- In a stand mixer fitted with a paddle attachment, beat 1 cup (2 sticks) softened unsalted butter and 2 cups granulated sugar on medium-high speed until light and fluffy (~5 minutes).
- Add 4 room-temperature eggs, one at a time, scraping down the bowl after each addition.
- Mix in 2 tsp vanilla extract.
- Alternately add the dry ingredients and 1 ¼ cups buttermilk in three parts, starting and ending with dry ingredients. Mix until just combined—do not overmix.
- Divide batter evenly among pans and bake for 22–26 minutes or until a toothpick comes out clean.
- Cool in pans for 10 minutes, then transfer to wire racks to cool completely.
Step 2: Prepare the Buttercream
- In the stand mixer, beat 2 cups (4 sticks) softened unsalted butter on medium speed for 5 minutes until creamy and pale.
- Sift in 8 cups powdered sugar, one cup at a time, mixing on low to avoid clouds of sugar.
- Add 2–4 tbsp heavy cream, 1 tsp clear vanilla, and ¼ tsp salt. Beat on high for 5–7 minutes until light, fluffy, and spreadable.
- If too stiff, add more cream 1 tsp at a time. If too soft, chill briefly or add more powdered sugar.
Step 3: Crumb Coat and Chill
- Level each cake layer with a serrated knife. Place the first layer on a cake turntable.
- Spread a thin layer of buttercream on top. Add second layer and repeat. Top with third layer.
- Apply a thin crumb coat over the entire cake, sealing in crumbs. Use a bench scraper or offset spatula for smooth sides.
- Chill the cake for 30 minutes to set the crumb coat.
Step 4: Final Frosting Layer
- Apply a thick, even layer of buttercream over the chilled crumb coat.
- Smooth the top and sides with an offset spatula and bench scraper, rotating the turntable slowly.
- For a perfectly smooth finish, dip the bench scraper in hot water, dry it, and glide it over the surface.
- Chill again for 20–30 minutes until the buttercream is firm to the touch.
Step 5: Create the Brushed Watercolor Effect
- Select 3–5 complementary gel food colors (e.g., blush pink, lavender, sky blue, peach).
- Dab small amounts of each color onto separate plates or palette.
- Using a clean, soft-bristled brush, lightly dampen the tip with a drop of water or vodka (for shimmer).
- Touch the brush to a color, then gently brush it onto the chilled buttercream in horizontal or sweeping diagonal strokes.
- Overlap colors slightly where they meet to encourage blending.
- Use long, light strokes—don’t press hard—to avoid pulling the buttercream.
- Rotate the cake turntable gradually as you work around the sides.
- For the top edge, apply color near the rim and softly brush inward for a halo effect.
- Allow subtle white space between color zones for an authentic watercolor look.
- Let the cake sit at room temperature for 10 minutes to allow colors to settle before serving.
Tips for Success: Pro Techniques You Need to Know
- Temperature is Key: Buttercream should be cool but spreadable. Too warm = smearing. Too cold = cracking. Ideal working temp: 65–70°F (18–21°C).
- Color Gradation Tip: Start with lighter shades and build intensity gradually. You can always add more color, but you can’t remove it.
- Use Gel Colors Only: Liquid dyes dilute buttercream and may cause streaking or melting.
- One Brush Per Color: Avoid muddy blends by assigning a dedicated brush to each hue.
- Wipe Brushes Frequently: Clean with a damp cloth between strokes to prevent cross-contamination.
- Chill Between Layers: After applying one color zone, chill briefly before adding adjacent ones to prevent bleeding.
- Practice First: Try the brush technique on a dummy cake, wax paper, or parchment to test stroke length and pressure.
- Avoid Humidity: High humidity can cause condensation on chilled cakes, leading to blurred colors. Work in a climate-controlled environment.
- Turntable Magic: Rotate slowly and steadily for even coverage. Mark quadrants with toothpicks if needed.
- Less Is More: Subtle gradients often look more elegant than bold, saturated blocks.
Variations and Customizations
The beauty of the brushed watercolor buttercream cake is its versatility. Here are some creative ways to personalize your design:
Flavor Variations:
- Lemon Vanilla: Add lemon zest and juice to the cake batter and pair with lemon curd layers.
- Chocolate Velvet: Use red velvet or chocolate cake layers with cream cheese buttercream.
- Earl Grey or Lavender: Infuse milk with tea or dried flowers for a floral twist.
- Strawberry Champagne: Fold puréed strawberries into batter and use champagne-infused buttercream.
Color Themes:
- Romantic Pastels: Blush, mint, and buttercream yellow for baby showers or spring weddings.
- Ombre Sunset: Coral, peach, gold, and amber gradients.
- Moody Blues: Navy, teal, and silver for gender reveals or winter celebrations.
- Monochromatic Elegance: Shades of rose pink or gray with metallic accents.
Design Twists:
- Ombré Top-Down: Apply darker colors at the base fading upward.
- Watercolor Drips: Use thinned royal icing or candy melts for painted-drip effects.
- Hand-Painted Florals: Add edible flowers or brush-painted blooms atop the watercolor base.
- Geometric Accents: Combine watercolor sides with fondant triangles or metallic stripes.
- Naked Cake Version: Expose cake layers partially with watercolor buttercream only on visible sections.
Health Considerations and Nutritional Value
While undeniably indulgent, understanding the nutritional profile of a brushed watercolor buttercream cake can help with mindful enjoyment or modifications for dietary needs.
Nutritional Overview (Per Slice, Approximate):
- Calories: 450–600 kcal
- Total Fat: 25–35g (mostly saturated from butter)
- Carbohydrates: 50–65g (primarily from sugar and flour)
- Sugars: 40–50g
- Protein: 4–6g
- Sodium: 200–300mg
Dietary Modifications:
- Gluten-Free: Substitute cake flour with a 1:1 gluten-free blend. Ensure all additives are GF-certified.
- Dairy-Free: Use plant-based butter (e.g., Miyoko’s or Earth Balance) and coconut cream instead of heavy cream.
- Reduced Sugar: Replace powdered sugar with monk fruit-sweetened confectioners’ alternative (note: texture may vary).
- Egg-Free: Use flax eggs or commercial egg replacers in the cake (test for lift).
- Lower Fat: Consider Swiss meringue buttercream, which uses less butter and egg whites, though it’s more advanced.
Note: Gel food colorings are generally safe in small amounts. Some contain dyes like Red 40 or Blue 1—opt for natural alternatives (beet, spirulina, turmeric powders) if preferred, though blending may be less vibrant.
Full Ingredient List
Cake:
- 2 ½ cups (300g) cake flour (or all-purpose)
- 2 ½ tsp baking powder
- ½ tsp baking soda
- ½ tsp salt
- 1 cup (2 sticks / 226g) unsalted butter, room temperature
- 2 cups (400g) granulated sugar
- 4 large eggs, room temperature
- 2 tsp pure vanilla extract
- 1 ¼ cups (300ml) buttermilk, room temperature
Buttercream:
- 2 cups (4 sticks / 452g) unsalted butter, softened
- 8 cups (960g) powdered sugar, sifted
- 3–4 tbsp heavy cream or whole milk
- 1 tsp clear vanilla extract (optional)
- ¼ tsp fine sea salt
Watercolor Decoration:
- Gel food colors (e.g., pink, purple, blue, yellow)
- 3–5 food-grade soft brushes
- Small bowls or palette for color separation
- Optional: 1–2 tsp vodka or lemon extract (to mix with luster dust)
- Optional: Edible pearl or rainbow luster dust
Detailed Directions Recap
- Bake and cool three 8-inch cake layers. Level tops.
- Make buttercream: Beat butter until creamy, gradually add sifted powdered sugar, then cream, vanilla, and salt. Whip until fluffy.
- Assemble cake: Stack layers with buttercream filling.
- Apply crumb coat: Thin layer over entire cake. Chill 30 minutes.
- Apply final coat: Smooth with bench scraper. Chill another 30 minutes.
- Prepare colors: Place small dots of gel color on a palette.
- Dampen brush slightly. Pick up color and apply in soft, sweeping strokes to the cake sides and top edge.
- Blend colors gently where they meet. Rotate cake as you go.
- Chill briefly to set colors if needed.
- Serve at room temperature for best texture.
Frequently Asked Questions (FAQ)
Q: Can I make this cake ahead of time?
A: Yes! Bake and freeze cake layers up to 2 months in advance. Assembled, unfrosted cakes can be frozen. Frosted cakes keep refrigerated for 2 days or at room temperature (in cool climates) for 1 day. Add watercolor effects the day of serving for best clarity.
Q: Why is my buttercream tearing when I brush it?
A: Likely too cold or over-chilled. Let the cake sit at room temp for 5–10 minutes before brushing. Also ensure your brush isn’t too wet.
Q: Can I use liquid food coloring?
A: Not recommended. Liquid colors add moisture and can break the buttercream’s structure, causing runny streaks.
Q: How do I prevent colors from bleeding into each other?
A: Work quickly with light strokes, and chill the cake briefly between color applications. Don’t oversaturate the brush.
Q: Is this technique suitable for beginners?
A: With practice, yes! Start with two colors and simple strokes. Use a spare batch of buttercream on parchment to test first.
Q: Can I use whipped cream instead of buttercream?
A: Whipped cream is too soft for brushing techniques and won’t hold color well. Stabilized whipped cream may work but lacks durability.
Q: How do I store the finished cake?
A: Refrigerate uncovered for up to 3 days. Bring to room temperature before serving. Avoid covering—it may smear the paint.
Q: Are the brushes reusable?
A: Yes, if cleaned thoroughly with warm soapy water immediately after use. Designate them for food-only purposes afterward.
Summary
The brushed watercolor buttercream cake combines artistic elegance with rich, comforting flavor, making it a standout centerpiece for any celebration. With careful layering, smooth frosting, and delicate brushwork, you can transform a simple dessert into a breathtaking edible masterpiece.