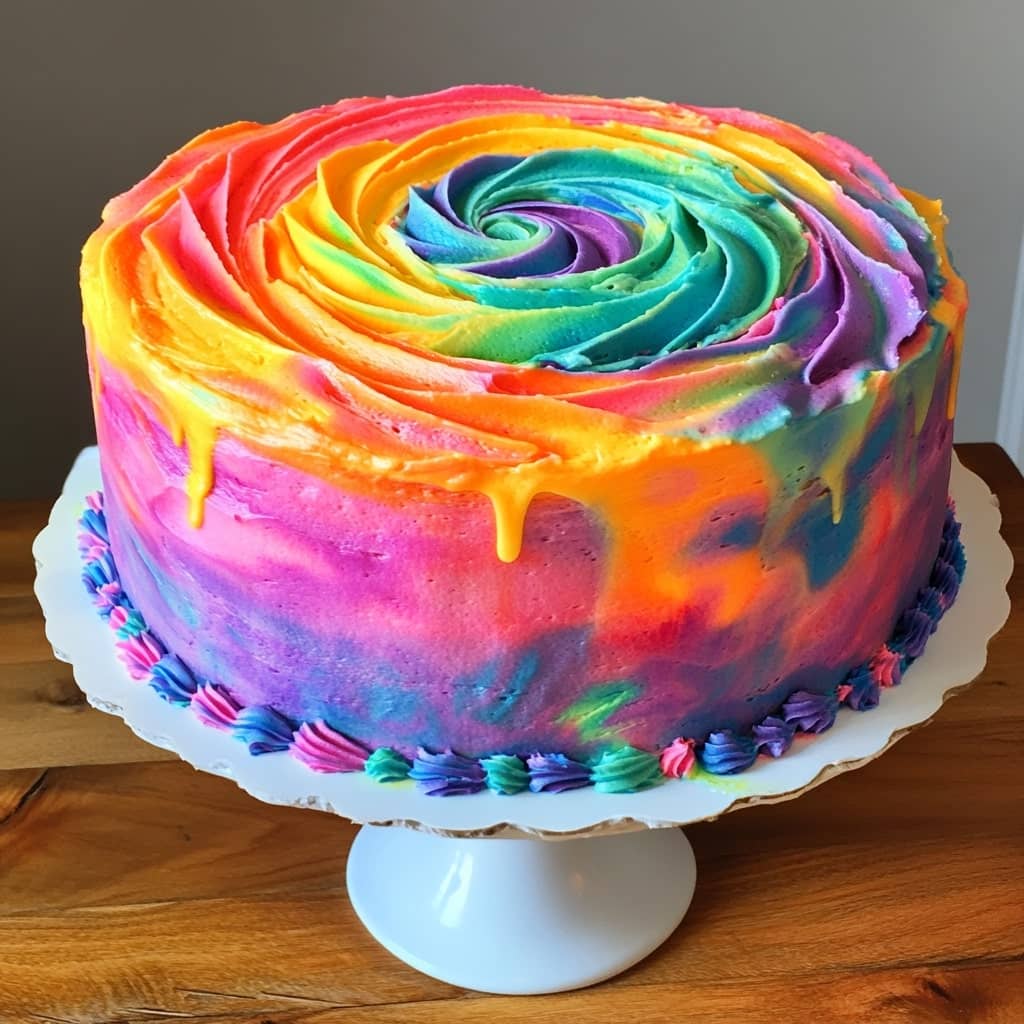
Introduction Rainbow tie-dye cake is an eye-catching dessert that has become a favorite for those who want to add a splash of color and creativity to their baking. It’s a whimsical take on the traditional layered cake, offering not only a delightful rainbow effect but also a delicious, soft texture that will appeal to both children and adults alike. The fun of baking this cake lies not only in its vibrant colors but in the joy it brings to any celebration, whether it’s a birthday party, a baby shower, or a casual get-together. A slice of rainbow tie-dye cake is more than just a treat—it’s an experience that adds a sense of wonder and excitement to any event.
The History of Rainbow Tie-Dye Cake The rainbow tie-dye cake may seem like a recent trend, but the concept of multicolored cakes has existed for decades. The colorful tie-dye effect gained popularity in the 1960s, rooted in the vibrant, psychedelic colors and patterns associated with the tie-dye movement. However, it was only in the 2000s that the rainbow cake, particularly the tie-dye version, began to make its way into the mainstream baking world. The combination of colored batter and creative, visually striking presentations soon became a favorite among bloggers, food influencers, and home bakers alike, leading to its widespread appeal. Today, rainbow tie-dye cakes are often made with bright food coloring or natural dyes, making them an exciting option for anyone looking to impress guests with a show-stopping dessert.
Ingredients Breakdown To create a perfect rainbow tie-dye cake, you’ll need simple, easily accessible ingredients. The base of the cake is usually made with flour, sugar, butter, eggs, baking powder, and a bit of vanilla extract to provide flavor. Food coloring is the secret to bringing the rainbow effect to life, with liquid or gel-based dyes being the most common options. For the frosting, most people use buttercream or cream cheese frosting, both of which are easy to spread and pipe while complementing the sweetness of the cake. The exact proportions of each ingredient can vary depending on the recipe you use, but these are the essentials you’ll need for a basic rainbow tie-dye cake.
Step-by-Step Recipe 1. Preheat your oven to 350°F (175°C). Grease and flour your cake pans, or line them with parchment paper. You’ll need 3-4 round cake pans depending on how many layers you want. 2. In a large mixing bowl, cream together 1 cup of butter and 1 ½ cups of sugar until light and fluffy. Add 4 large eggs one at a time, beating well after each addition. Mix in 2 teaspoons of vanilla extract. 3. In a separate bowl, whisk together 2 ½ cups of all-purpose flour, 1 tablespoon of baking powder, and a pinch of salt. Gradually add the dry ingredients to the wet ingredients, alternating with 1 cup of milk, beginning and ending with the dry ingredients. Mix until just combined. 4. Divide the batter evenly into separate bowls (usually four to six bowls for the rainbow effect). Add different food colors to each bowl and stir well to combine. 5. Drop spoonfuls of each color of batter into the center of the prepared cake pans. After adding one color, drop another on top and continue layering the colors in a circular pattern until the pans are full. Use a toothpick or skewer to swirl the colors together to create the tie-dye effect. 6. Bake for 25-30 minutes or until a toothpick inserted into the center comes out clean. Allow the cakes to cool in the pans for 10 minutes before transferring them to a wire rack to cool completely. 7. Once the cakes are cooled, frost them with your choice of buttercream or cream cheese frosting. Spread frosting between each layer and around the sides and top of the cake. You can even add more colors to the frosting to enhance the tie-dye look!
Tips for the Perfect Rainbow Tie-Dye Cake To ensure your rainbow tie-dye cake turns out perfect, there are a few things to keep in mind. First, use high-quality food coloring for the most vibrant results. Gel food coloring tends to work best as it offers more intense colors without affecting the cake’s texture. When dividing your batter into bowls, make sure each bowl has enough batter to maintain a good size layer in your cake pans. Don’t be afraid to be generous with the food coloring, but also make sure the colors are evenly distributed to create the most striking visual effect. When swirling the batter, be careful not to overdo it. A gentle swirl is enough to create the tie-dye pattern without blending the colors too much. If you want an extra level of flavor, consider adding a few drops of almond extract or lemon zest to your batter for a subtle twist. Lastly, allow the cakes to cool completely before frosting to prevent the frosting from melting or sliding off the warm cake layers.
Variations and Customizations Rainbow tie-dye cake is highly customizable, and there are plenty of ways to make it your own. For a more natural approach, you can use fruit and vegetable-based food coloring, like beet juice, spinach puree, or blueberry juice. This will give you beautiful pastel colors and a healthier alternative to artificial dyes. For a different flavor profile, try experimenting with different cake bases. A vanilla cake is a classic option, but you could use chocolate cake, lemon cake, or even carrot cake as the base. For a festive twist, add sprinkles or edible glitter to the frosting or between layers for extra fun and sparkle. You can also customize the frosting flavor by using different extracts, like lemon, almond, or coconut, or even infusing your frosting with chocolate, coffee, or matcha for an interesting flavor contrast. Another creative option is to make mini rainbow cakes in jars or cupcakes for a fun, portable dessert option.
Health Considerations and Nutritional Value While rainbow tie-dye cake is undeniably fun and visually appealing, it’s not exactly the healthiest option. Traditional recipes tend to be high in sugar, fat, and calories, which may not make it the best choice for people who are watching their diet or looking for a lighter treat. A standard serving of rainbow tie-dye cake can range from 300 to 500 calories, depending on the ingredients and portion size. Additionally, food coloring used in the cake, while generally considered safe, is often artificial and has been associated with concerns over its potential impact on health, particularly in children. However, by making some simple swaps, you can make a healthier version of this cake. For instance, you could use a lower-sugar frosting, opt for a gluten-free or whole-wheat flour cake, and use natural food coloring options instead of synthetic dyes. When served as an occasional treat rather than a regular indulgence, rainbow tie-dye cake can still be enjoyed in moderation.
FAQ
- Can I make this cake ahead of time? Yes, you can bake the cake layers a day or two in advance and store them in an airtight container at room temperature or in the fridge. Frost the cake just before serving for the best texture.
- Can I use any type of food coloring? Gel food coloring is ideal for this cake, as it provides vibrant colors without altering the consistency of the batter. Liquid food coloring works as well but may result in slightly less intense colors.
- Can I make a gluten-free version of this cake? Absolutely! Simply substitute the all-purpose flour with a gluten-free flour blend and ensure that your baking powder is gluten-free as well.
- How do I get the colors to not bleed into each other? Be gentle when swirling the batter, and don’t overmix. You can also try chilling the batter slightly before swirling to help the colors stay more distinct.
- Can I freeze the cake? Yes, you can freeze the cake layers. Wrap them tightly in plastic wrap and aluminum foil, and store them in the freezer for up to three months. Allow them to thaw completely before frosting.

Rainbow Tie-Dye Cake
Ingredients
For the Cake:
- 2 boxes of white cake mix I used Pillsbury
- 6 large eggs at room temperature
- 1 cup vegetable oil
- 2 cups water
Food coloring
- For the Frosting:
- 1 cup unsalted butter softened to room temperature
- 4 cups powdered sugar 16 ounces
- ¼ cup heavy whipping cream
- 1 teaspoon pure vanilla extract
Instructions
For the Cake
- Preheat your oven to 350°F and line a 13″x18″ half-sheet pan with parchment paper. Set it aside.
- Prepare the cake mixes according to the instructions on the box, adding 6 eggs, 1 cup of oil, and 2 cups of water.
- Divide the batter evenly into 5 bowls and color each one with a different food coloring of your choice. I used pink, orange, yellow, green, and blue.
- Transfer each colored batter into a separate large pastry bag.
- Cut the tips off each pastry bag and pipe the batter onto the prepared pan in straight lines, alternating colors. Each line should be about 13 inches long. Once all the batter has been piped, take a toothpick and gently insert it into the center of the batter. Drag it out to the outer edge and back toward the center, creating a spoke-like pattern—this will give the cake a tie-dye effect.
- Bake the cake for 25 minutes. Let it cool completely, then refrigerate for 2 hours. Afterward, use a cake cutter to cut out three 6-inch round layers.
- Place the first layer on a cake plate, pipe dollops of frosting on top, and spread it out to cover the layer. Repeat this process with the remaining two layers. Do not frost the sides of the cake. Your cake is now ready to serve!
For the Frosting
- Beat the softened butter on medium speed using an electric or stand mixer for about 3 minutes, until smooth and creamy.
- Add the powdered sugar, heavy cream, and vanilla extract while the mixer is running on low. Once everything is incorporated, increase the speed to high and beat for an additional 3 minutes.
- Transfer the frosting into a large pastry bag fitted with a large round pastry tip.
- Note: If the frosting is too thick, you can adjust the consistency by adding a tablespoon of cream at a time. Mix thoroughly after each addition until you reach your desired texture.
- What to Do with Leftover Cake
- If you have leftover cake and frosting, don’t worry! You can cut the extra cake into small squares or circles and pipe frosting on top to create mini cakes. You should be able to make around 12 mini square or circular cakes.