These No-Bake Peanut Butter Chocolate Snack Bars are the perfect quick and easy treat to satisfy your sweet tooth without turning on the oven. Combining creamy peanut butter, rich chocolate, and hearty oats, these bars offer a delicious balance of flavors and textures in every bite. The beauty of this recipe lies in its simplicity and convenience — with minimal ingredients and no baking required, you can have a batch of these bars ready in no time. Whether you’re craving something indulgent, need a snack to fuel you through the day, or want to prepare a make-ahead treat for the week, these bars will quickly become a favorite in your snack rotation. Plus, they can be customized to suit your dietary preferences and flavor combinations, making them versatile and adaptable for all occasions. Perfect for when you’re craving something sweet but don’t want to spend too much time in the kitchen, these bars are as easy to make as they are delicious.
The History of Peanut Butter Chocolate Bars The pairing of peanut butter and chocolate is a beloved combination that has been around for decades. Peanut butter, which has been enjoyed as a food spread for centuries, became popular in the United States in the early 1900s. Chocolate and peanut butter bars became iconic as the two ingredients gained popularity in various forms, especially in candy bars. The classic combination was first seen in candy bars such as Reese’s Peanut Butter Cups, which were introduced in 1928. The evolution of no-bake bars occurred alongside the rise in convenience foods, and recipes like this one have become popular in modern kitchens for their ease of preparation and the ability to store them for longer periods. With the growing popularity of no-bake desserts, peanut butter chocolate bars became a go-to snack for their deliciousness and simplicity, gaining even more appeal for those seeking a quick, satisfying treat.
Ingredients Breakdown For the Bars: 1 cup peanut butter (smooth or crunchy) 1/2 cup honey or maple syrup 2 cups rolled oats 1/2 teaspoon vanilla extract 1/4 teaspoon salt For the Chocolate Topping: 1 cup semisweet or dark chocolate chips 2 tablespoons coconut oil or butter
Step-by-Step Recipe Begin by lining an 8×8-inch baking pan with parchment paper or lightly greasing it for easy removal of the bars. In a medium saucepan, combine the peanut butter and honey (or maple syrup) over low heat. Stir frequently until the peanut butter is melted and the mixture is smooth. Remove from heat and stir in the oats, vanilla extract, and salt. Mix well to combine until everything is evenly coated. Press the mixture into the prepared baking pan, making sure to evenly distribute it and compact it down so the bars will hold together. For the chocolate topping, melt the chocolate chips and coconut oil (or butter) in a small saucepan over low heat, stirring constantly until smooth and glossy. Pour the melted chocolate over the peanut butter oat layer in the pan, spreading it evenly with a spatula or the back of a spoon. Place the pan in the refrigerator and chill for about 2-3 hours, or until the bars are set and the chocolate is firm. Once chilled, remove the bars from the pan and cut them into squares. Serve immediately or store in an airtight container in the fridge for up to a week.
Tips for the Perfect No-Bake Peanut Butter Chocolate Snack Bars To make sure your bars set properly, be sure to press the mixture down firmly into the pan before chilling it. This helps the bars hold together and prevents them from falling apart when you cut them. If you prefer a sweeter bar, you can increase the amount of honey or maple syrup, or even add a small handful of mini chocolate chips into the oat mixture for added sweetness and texture. If you’d like to make these bars dairy-free, simply swap out the butter for coconut oil in the chocolate topping. For a crunchier texture, use crunchy peanut butter instead of smooth, and feel free to mix in other add-ins like chia seeds, dried fruit, or nuts for an extra nutritional boost. If you’re short on time, you can skip the refrigeration step and place the pan in the freezer for about an hour to speed up the process.
Variations and Customizations These bars are incredibly customizable to suit your taste preferences or dietary restrictions. For a vegan version, use maple syrup instead of honey and dairy-free chocolate chips. You can also experiment with adding different mix-ins, such as shredded coconut, chopped nuts (like almonds or walnuts), or a drizzle of caramel on top for extra sweetness. For a bit of spice, try adding a pinch of cinnamon or nutmeg to the oat mixture. If you prefer a sweeter topping, drizzle the chocolate with a bit of peanut butter after it has set to give them an extra layer of flavor. You can also swap the oats for quinoa flakes or use gluten-free oats if you need to make them gluten-free. To enhance the flavor, try adding a teaspoon of instant coffee to the chocolate mixture for a mocha flavor that pairs perfectly with the peanut butter.
Health Considerations and Nutritional Value These No-Bake Peanut Butter Chocolate Snack Bars are a great source of protein, healthy fats, and fiber thanks to the peanut butter and oats. The peanut butter provides heart-healthy fats and essential nutrients like vitamin E, magnesium, and potassium. Oats are a great source of soluble fiber, which helps with digestion and supports heart health. The bars are naturally sweetened with honey or maple syrup, which are better alternatives to refined sugars. However, they can still be calorie-dense, so portion control is important, especially for those watching their calorie intake. The addition of chocolate provides antioxidants, but be mindful of the amount of chocolate used if you’re aiming for a lower-sugar snack. These bars are also customizable for various dietary needs, including gluten-free, dairy-free, and vegan options, making them accessible for many people with different dietary preferences.
FAQ How should I store these bars? These bars should be stored in an airtight container in the refrigerator to keep them fresh for up to a week. They can also be frozen for longer storage (up to 3 months). Just be sure to thaw them before eating. Can I use something other than oats? Yes! You can replace the oats with quinoa flakes or puffed rice for a different texture. You can also use gluten-free oats to make the bars gluten-free. Can I make these bars ahead of time? Absolutely! These bars are great for meal prep and can be made ahead. Just store them in the fridge and enjoy them throughout the week. How do I make these bars less sweet? To reduce the sweetness, use less honey or maple syrup, or swap them out for a sugar substitute like stevia or monk fruit sweetener. Can I add protein powder to these bars? Yes, you can add a scoop of your favorite protein powder to the oat mixture. Just make sure to adjust the liquid ratio if needed to maintain the correct consistency.

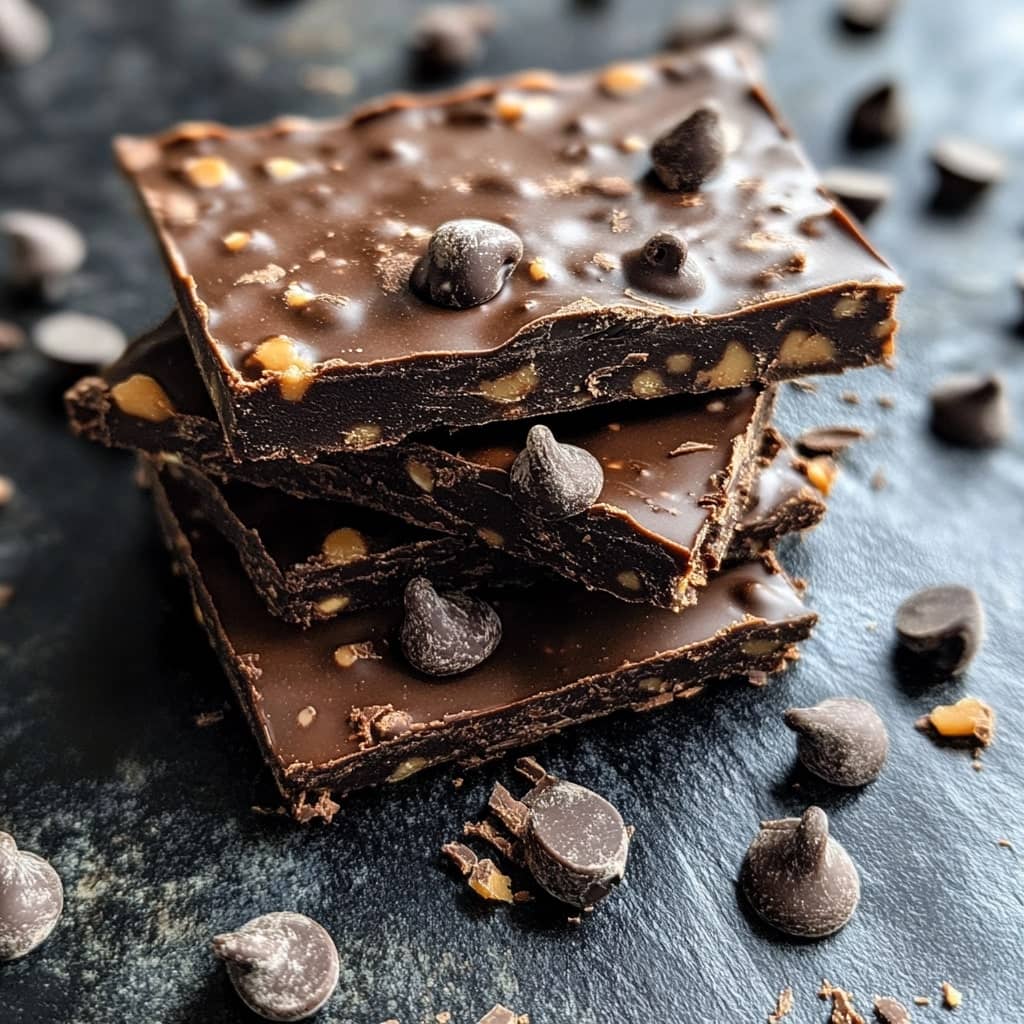
No-Bake Peanut Butter Chocolate Snack Bars
Ingredients
- 1/2 cup 8 Tbsp; 113g salted butter, melted
- 1 cup 120g graham cracker crumbs (about 8 full sheets of graham crackers)
- 2 cups 240g powdered sugar
- 1 cup + 2 tablespoons 280g creamy peanut butter, divided
- 1 cup 180g semi-sweet chocolate chips
Instructions
- Line an 8-inch or 9-inch square baking pan with aluminum foil or parchment paper and set it aside. In a medium bowl, combine the melted butter, graham cracker crumbs, and powdered sugar. Stir in 1 cup (250g) of peanut butter, then press the mixture evenly into the prepared pan.
- In a microwave or on the stove, melt the remaining 2 tablespoons of peanut butter with the chocolate chips, stirring until smooth. Spread the melted chocolate mixture over the peanut butter layer.
- Chill in the refrigerator for at least 2 hours, or until fully set. Let the bars sit at room temperature for 10 minutes before cutting. Serve chilled, though they can be left out at room temperature for a few hours before serving.
- Store any leftovers tightly covered in the refrigerator for up to 1 week.