Introduction
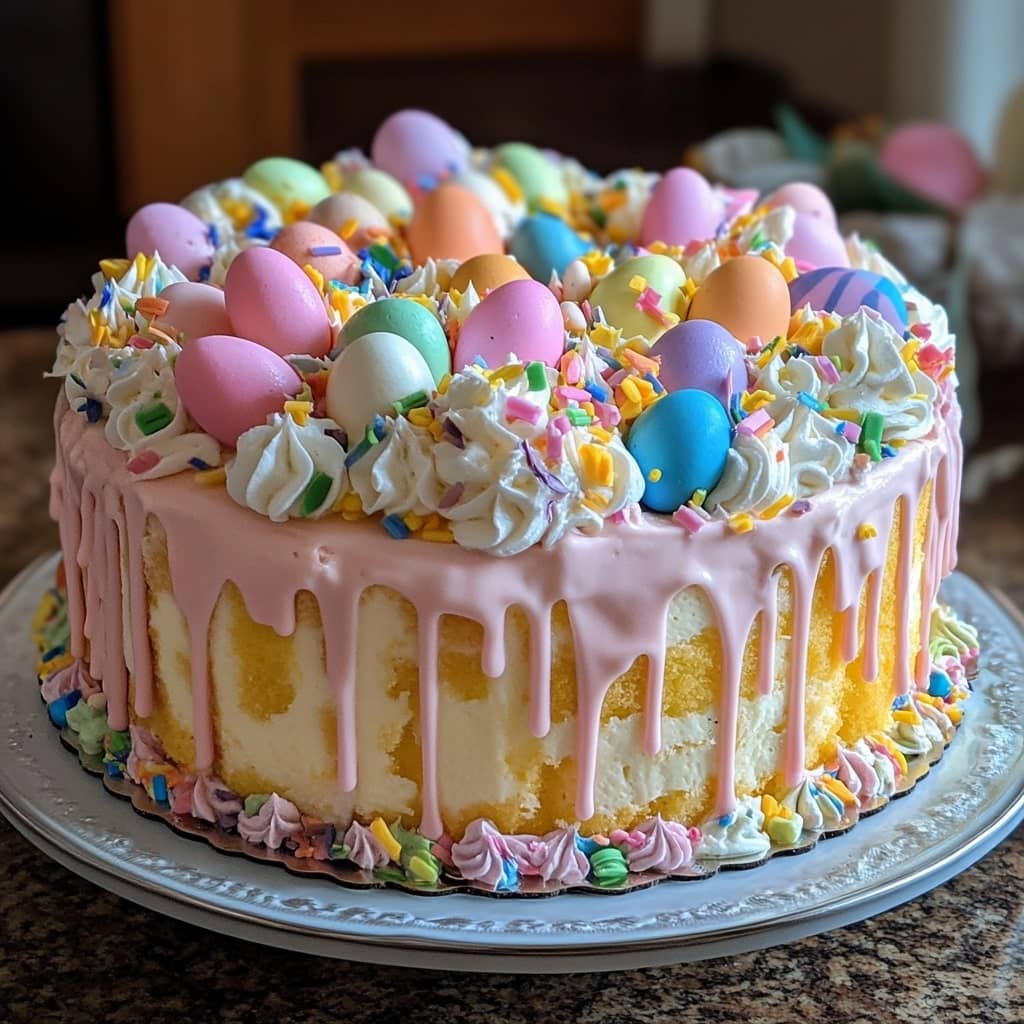
Easter Poke Cake is a fun and festive dessert that combines moist cake, colorful layers, and a creamy filling, perfect for celebrating the Easter holiday or any special occasion. The cake’s vibrant colors and sweet, creamy texture make it a crowd-pleaser, and its easy preparation ensures that even novice bakers can impress their guests. Whether you’re hosting an Easter brunch, family gathering, or simply looking for a colorful dessert, Easter Poke Cake offers a delicious and eye-catching option that will brighten up any table.
The History of Easter Poke Cake
The poke cake tradition dates back to the 1970s, when a cake mix company introduced the concept of poking holes in a baked cake and filling them with flavored gelatin or pudding to create a moist and flavorful dessert. Over time, the poke cake has evolved into a beloved treat for holidays and celebrations, especially Easter, due to its customizable nature and ability to incorporate seasonal flavors and colors. The Easter variation typically features pastel shades of gelatin, cream cheese, and whipped topping, making it a fitting choice for springtime gatherings.
Ingredients Breakdown
To make Easter Poke Cake, you’ll need a few basic ingredients: cake mix (preferably white or yellow), eggs, oil, and water. For the filling, gelatin is essential to create the colorful layers, with flavors such as strawberry, lime, or blueberry being popular choices for the Easter theme. A cream cheese mixture (cream cheese, powdered sugar, and whipped topping) is added to bring a smooth and creamy texture to the cake, while whipped topping serves as the final layer, enhancing the cake’s festive appearance. Food coloring, if desired, helps to achieve the pastel Easter theme.
Step-by-Step Recipe:
First, preheat the oven to the temperature indicated on the cake mix box and prepare a 9×13-inch baking pan by greasing it lightly. Prepare the cake mix according to the package instructions, using eggs, oil, and water. Pour the batter into the prepared pan and bake for the recommended time. Once baked, let the cake cool for about 15 minutes. After it cools slightly, use a fork to poke holes evenly across the surface of the cake. Prepare the gelatin according to the package instructions, but only use half of the water. Once the gelatin is dissolved, pour it over the cake, ensuring it seeps into the holes. Allow the cake to cool completely, and then prepare the cream cheese mixture by beating the cream cheese with powdered sugar and folding in whipped topping. Spread the cream cheese mixture evenly over the cake. Finally, top with more whipped topping and food coloring for a colorful effect. Refrigerate the cake for several hours before serving to allow the flavors to meld and the cake to set.
Tips for the Perfect Easter Poke Cake
To ensure your Easter Poke Cake turns out perfectly, be sure to let the cake cool slightly before poking holes to prevent the gelatin from melting. For the best texture, use a good-quality whipped topping and cream cheese, and don’t skip the refrigeration time—this will help the flavors blend and the cake hold together better when sliced. Feel free to experiment with different gelatin flavors to suit your taste, and for an added touch, garnish the cake with sprinkles, candy, or even edible flowers for a more festive presentation.
Variations and Customizations
While the traditional Easter Poke Cake uses pastel-colored gelatin and whipped topping, there are many ways to customize this dessert. You can swap out the cake mix for a homemade version, or even try a gluten-free cake mix if you’re catering to dietary restrictions. For a more decadent twist, consider adding chocolate pudding to the filling or layering in fruit such as strawberries or blueberries for added flavor and texture. Additionally, you can use different types of gelatin flavors to create unique combinations that suit the tastes of your guests—think raspberry, lemon, or tropical fruit varieties. If you’re looking for a less sugary version, substitute the whipped topping with a lighter option like Greek yogurt or whipped coconut cream.
Health Considerations and Nutritional Value
Easter Poke Cake, like many festive desserts, is high in sugar and calories, making it a treat to enjoy in moderation. A typical serving of poke cake contains around 300-350 calories, depending on the portion size and the ingredients used. The cake is made with refined sugar and processed ingredients like whipped topping, which may not be the healthiest choice for those watching their sugar intake or trying to follow a low-carb diet. For those seeking a healthier alternative, you can make adjustments by using a sugar-free cake mix, low-fat cream cheese, or substituting fresh fruit for the gelatin. While the cake is not necessarily a health food, it can still be enjoyed as an occasional indulgence during the Easter season.
FAQ
- Can I make Easter Poke Cake ahead of time? Yes, Easter Poke Cake can be made up to two days ahead of time. Be sure to refrigerate it until you’re ready to serve.
- Can I use a different cake flavor instead of white or yellow? Yes, feel free to experiment with different flavors such as chocolate or carrot cake. Just keep in mind that the gelatin and cream cheese filling might look more vibrant on a lighter-colored cake.
- Can I make this cake without gelatin? If you prefer to avoid gelatin, you can substitute it with flavored pudding or even fruit preserves to achieve a similar colorful effect.
- Can I make a smaller version of the Easter Poke Cake? You can easily make a smaller version by cutting the recipe in half and using an 8×8-inch pan.
- Can I freeze Easter Poke Cake? While it’s not recommended to freeze the cake with the whipped topping, you can freeze the cake portion before adding the toppings. Let it thaw and then add the whipped topping and gelatin before serving.

Easter Poke Cake
Ingredients
- 1 box of white cake mix
- Ingredients listed on the box eggs, water, oil
- 2 3.3 oz. boxes of instant white chocolate pudding
- 3 1/2 cups of milk
- 2 cups of heavy cream
- 1/4 cup powdered sugar or more to taste
- 1 teaspoon vanilla extract
- Food coloring blue, green, pink, and yellow
Instructions
- Preheat the oven to the temperature indicated on the cake mix box. Grease a 9×13-inch baking dish with baking spray and set it aside. Prepare the cake mix according to the instructions on the box.
- Next, divide the batter into four equal portions, adding a few drops of food coloring to each bowl, and stir well. Using a spoon, drop small portions of each colored mixture into the bottom of the baking dish. The batter will spread in the greased dish, so work quickly. Start by dropping one color at a time, leaving a few inches between the drops, and then proceed with the next color, continuing until the bottom of the pan is covered. Add another layer of each color until all the batter is used. Once done, gently tap the baking dish on the counter to level the surface—avoid spreading with a spatula to keep the colors intact. With a toothpick, swirl the colors just a little; do not overmix, as you want the colors to swirl but not blend. Bake the cake as directed on the box.
- Once baked, allow the cake to cool at room temperature for about 10 minutes. Then, using the handle end of a wooden spoon, poke holes all over the top of the cake, spacing them nearly an inch apart. Let the cake cool completely.
- In a bowl, whisk together the white chocolate pudding mix and milk until the pudding dissolves. Before the pudding sets, pour it evenly over the cooled cake, making sure to fill the holes completely. Spread any remaining pudding on top, then refrigerate to allow it to set fully.
- Once the pudding is set and the cake has cooled completely, prepare the whipped cream. Beat chilled heavy cream and vanilla extract until soft peaks form, then add powdered sugar and continue mixing until stiff peaks form. Spread the whipped cream over the pudding layer.
- Garnish the cake with sprinkles before serving.
- Store any leftovers in the fridge.